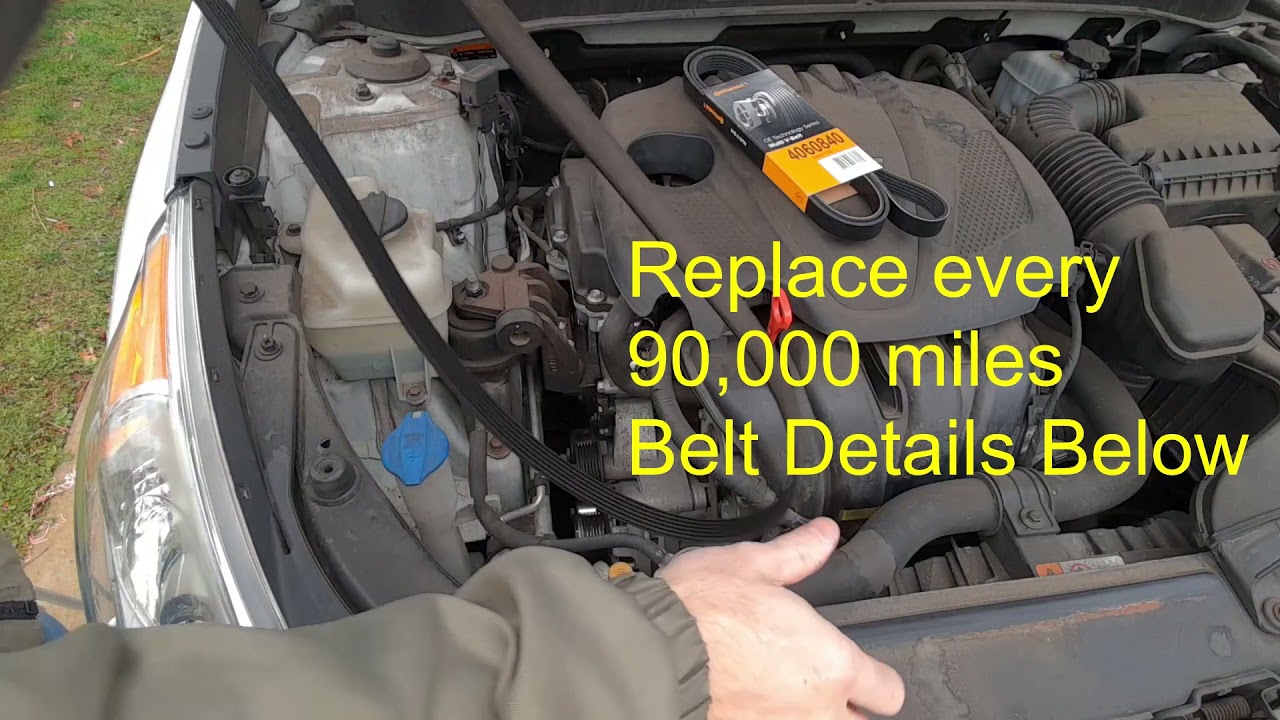
2011 Hyundai Sonata Serpentine Belt Diagram
For the intermediate car owner, modder, or DIY mechanic, understanding the serpentine belt system on your 2011 Hyundai Sonata is crucial. This article delves into the serpentine belt diagram, providing a comprehensive guide to its components, function, and troubleshooting, empowering you to perform basic maintenance and repairs.
Purpose of the 2011 Hyundai Sonata Serpentine Belt Diagram
The serpentine belt diagram is your roadmap to the engine's accessory drive system. It's indispensable for several reasons:
- Belt Replacement: Absolutely essential for routing the new belt correctly. An incorrectly installed belt will not function, and can cause immediate and serious damage.
- Troubleshooting: Helps diagnose issues like squealing belts, failing accessories (e.g., alternator not charging, power steering not working), or unusual vibrations.
- Repair/Maintenance: Critical when replacing or servicing components like the alternator, power steering pump, AC compressor, or tensioner pulley.
- Learning: Provides a visual aid for understanding how the engine's accessories are driven. This knowledge can aid in future repairs or modifications.
Key Specs and Main Parts
The 2011 Hyundai Sonata typically uses a single, long serpentine belt to drive the following accessories. The belt length varies based on engine type (2.0L, 2.4L, hybrid), so always verify the specific length for your vehicle when purchasing a replacement.
- Crankshaft Pulley (Damper): The engine's crankshaft provides the rotational power to drive the belt. This is the starting point of the system.
- Alternator Pulley: The alternator generates electricity to power the car's electrical system and charge the battery.
- Power Steering Pump Pulley: Provides hydraulic pressure for power-assisted steering.
- Air Conditioning (AC) Compressor Pulley: Compresses the refrigerant to cool the car's cabin.
- Tensioner Pulley: A spring-loaded pulley that maintains the proper tension on the serpentine belt. Proper tension is *critical* for correct operation and belt life.
- Idler Pulley (optional): Some Sonatas might have one or more idler pulleys, which are smooth pulleys used to guide the belt around obstacles or to increase the belt's wrap angle on certain components.
A typical serpentine belt for the 2011 Sonata is a multi-ribbed belt, also called a V-ribbed belt. The "V" shaped ribs on the belt engage with corresponding grooves on the pulleys, providing a high degree of grip. The belt material is usually a synthetic rubber compound reinforced with cords for added strength and durability.
Symbols and Markings on the Diagram
Understanding the symbols used on a serpentine belt diagram is essential for interpreting it correctly:
- Solid Lines: Represent the path of the belt itself, indicating which pulleys the belt wraps around. The diagram shows how the belt *must* be installed.
- Arrows: Indicate the direction of belt travel around each pulley. This confirms the rotational direction of each component.
- Pulley Symbols: Each pulley is typically represented by a circle. Some diagrams might differentiate between grooved pulleys (for driven accessories) and smooth pulleys (for tensioners and idlers).
- Tensioner Symbol: The tensioner pulley is often indicated by a spring symbol or a specific notation indicating that it's the tensioning device.
- Component Labels: Abbreviations or full names of the components (e.g., ALT for Alternator, P/S for Power Steering, A/C for Air Conditioning Compressor).
- Color Coding (less common): Some advanced diagrams might use color coding to distinguish between different sections of the belt path or to highlight the front and back of the belt. However, most diagrams for the 2011 Sonata are black and white.
How the Serpentine Belt System Works
The crankshaft pulley, driven directly by the engine, transfers rotational power to the serpentine belt. This belt, in turn, drives all the engine accessories connected to their respective pulleys. The tensioner pulley maintains the correct belt tension, preventing slippage and ensuring efficient power transfer. Without proper tension, the belt will slip, causing accessories to malfunction and potentially damaging the belt itself.
The order in which the belt wraps around the pulleys is carefully designed to maximize efficiency and minimize stress on the belt. The diagram illustrates this specific routing. The wrap angle is the amount of contact the belt makes with a pulley. Insufficient wrap angle can cause slippage, especially on pulleys that require significant torque, like the alternator or AC compressor.
Real-World Use: Troubleshooting Tips
Here are some common issues and how the serpentine belt diagram can help:
- Squealing Belt: Often caused by a worn or glazed belt, loose tension, or a misaligned pulley. The diagram helps you visually inspect the belt's routing and identify potential misalignment. Check the tensioner to make sure it is operating smoothly.
- Accessory Failure (e.g., No Power Steering): If the power steering suddenly fails, consult the diagram to confirm the belt is properly routed around the power steering pump pulley. A broken or slipped belt is a likely culprit.
- Battery Not Charging: If the alternator isn't charging the battery, check the belt routing around the alternator pulley. A slipping belt could be preventing the alternator from generating sufficient power.
- Belt Breaks: If the belt breaks, the diagram is essential for correctly installing the replacement belt. Look for signs of wear, cracking, or fraying on the old belt to help identify the cause of the failure (e.g., a seized pulley).
To troubleshoot, always start by visually inspecting the belt for damage. Then, use the diagram to verify the routing and check the tension. Finally, inspect each pulley for free rotation; a seized pulley will quickly destroy a new belt. A simple test is to spray a tiny amount of water on the belt when the engine is running (use extreme caution). If the squeal goes away temporarily, it confirms the belt is slipping due to tension issues or a glazed surface.
Safety Considerations
Working around a running engine involves significant risks. Observe these safety precautions:
- Disconnect the Battery: Before working on the serpentine belt system, disconnect the negative battery cable to prevent accidental starting of the engine.
- Hot Engine: Never work on the serpentine belt system while the engine is hot. Allow it to cool completely to avoid burns.
- Moving Parts: Keep hands, hair, and clothing away from the moving serpentine belt and pulleys. Serious injury can result.
- Eye Protection: Wear safety glasses to protect your eyes from debris.
- Tool Safety: Use the correct tools for the job and follow the manufacturer's instructions. Using the wrong tools can damage components and cause injury.
- The Radiator Fan: The electric radiator fan can turn on at any time, even with the engine off, if the engine is hot or the AC is on. Be extremely careful around the fan blades. Disconnecting the fan motor harness is a good practice.
Important Note: The tensioner pulley is under spring tension. Be careful when releasing the tensioner to remove or install the belt. Use the correct wrench or tool to relieve the tensioner and avoid injury.
Working on your vehicle can be rewarding, but it's essential to prioritize safety and have a clear understanding of the system you're working on. With the serpentine belt diagram and this guide, you'll be well-equipped to handle basic maintenance and repairs on your 2011 Hyundai Sonata.
We have the 2011 Hyundai Sonata Serpentine Belt Diagram file available. You can download it [Link to download].