2011 Hyundai Sonata Tail Light Wiring Harness
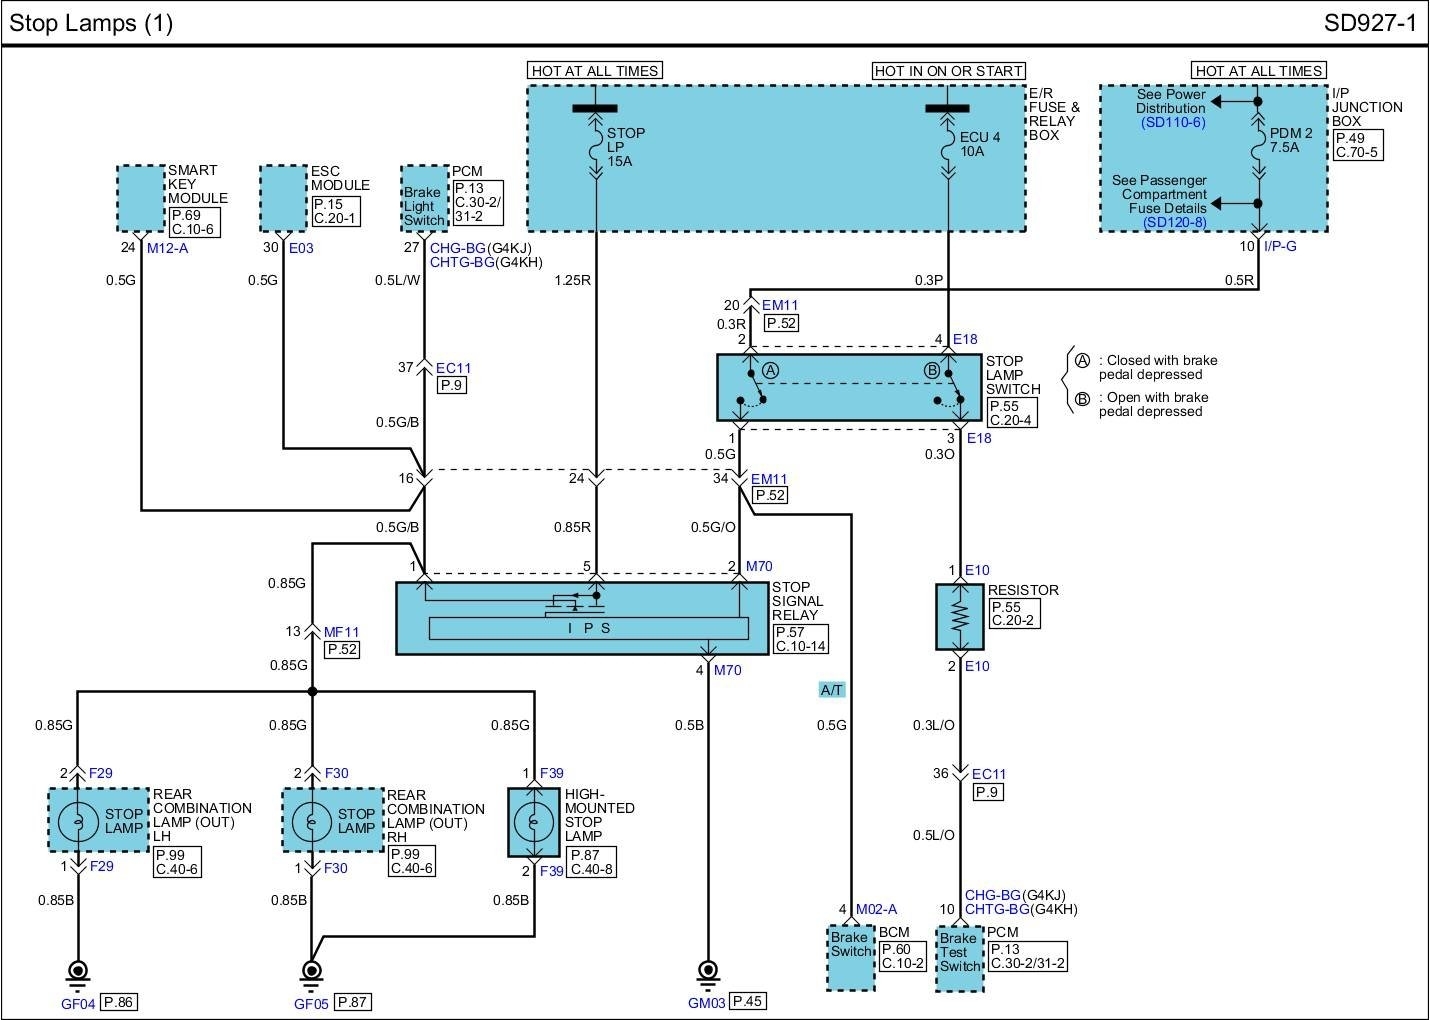
Understanding your 2011 Hyundai Sonata's tail light wiring harness is crucial whether you're tackling a repair, upgrading your lighting, or simply expanding your automotive knowledge. This article will break down the tail light wiring system, its components, and how it functions, empowering you to confidently diagnose and fix common issues. We will cover the key specifications, explain the wiring diagram symbols, and offer practical troubleshooting tips. We also have the 2011 Hyundai Sonata Tail Light Wiring Diagram available for download. Refer to this diagram as you read through this article for optimal understanding.
Purpose of Understanding the Tail Light Wiring Harness
A clear understanding of the tail light wiring harness offers several advantages:
- Troubleshooting: Quickly identify the cause of a faulty tail light, brake light, or turn signal.
- Repair: Accurately fix damaged wiring, connectors, or bulbs.
- Modification: Safely install aftermarket tail lights or lighting accessories.
- Safety: Ensure proper function of essential safety lighting systems, reducing the risk of accidents.
- Learning: Gain a deeper understanding of automotive electrical systems.
Key Specs and Main Parts
The 2011 Hyundai Sonata tail light wiring harness is a complex network of wires, connectors, and bulbs designed to provide essential rear lighting functions. Key components include:
- Tail Lights: The main running lights that illuminate when the headlights are on.
- Brake Lights: Brighter lights that activate when the brake pedal is pressed.
- Turn Signals: Flashing lights that indicate the intended direction of a turn.
- Reverse Lights: White lights that illuminate when the vehicle is in reverse.
- Wiring Harness: A bundle of wires encased in a protective sheath, connecting all the lighting components to the vehicle's electrical system.
- Connectors: Plastic housings that plug into the tail light assembly and other components, providing a secure electrical connection. These often utilize a locking mechanism to ensure they remain connected.
- Bulbs: The light source for each function (tail, brake, turn, reverse). The 2011 Sonata typically uses incandescent bulbs but LED replacements are common.
- Ground Wire: A crucial wire that provides a return path for the electrical current, typically connected to the vehicle's chassis. A faulty ground is a common cause of lighting issues.
- Fuses and Relays: Protective devices that prevent electrical overloads and control the flow of current to the tail lights. Fuses protect circuits by breaking the circuit when current exceeds a specified limit.
The voltage for the tail light system is typically 12V DC (Direct Current), the standard for automotive electrical systems. The gauge (thickness) of the wires in the harness is important; thinner wires can only handle smaller currents. Using a wire gauge smaller than specified by the OEM could cause the wire to overheat and potentially cause a fire.
Symbols – Understanding the Wiring Diagram
Wiring diagrams use standardized symbols to represent electrical components and connections. Understanding these symbols is essential for interpreting the diagram effectively.
- Solid Lines: Represent wires. The thickness of the line generally doesn't indicate wire gauge, but simply represents the wire's path.
- Dashed Lines: May represent shielded wires or wires that are optional.
- Circles: Often represent connectors.
- Squares: Can represent fuses, relays, or other electrical components.
- Ground Symbol (typically three descending horizontal lines): Indicates a connection to ground (the vehicle's chassis).
- Bulb Symbol: Represents a light bulb, often with a filament drawn inside.
- Color Codes: Wires are color-coded to help identify them. Common color codes include:
- BK: Black (Ground)
- RD: Red (Power)
- WH: White
- GN: Green
- BL: Blue
- YW: Yellow
- OR: Orange
- Component Labels: Each component is typically labeled with a code (e.g., "T/L" for Tail Light, "B/L" for Brake Light) to identify its function.
The diagram will also show how the components are interconnected, illustrating the flow of electricity through the circuit. Understanding these symbols and color codes allows you to trace the path of electricity and pinpoint potential problems.
How It Works
The tail light system operates as follows:
- Power Source: The battery provides the initial electrical power.
- Switch Activation: The headlight switch activates the tail lights, sending power through the wiring harness to the tail light bulbs. The brake light switch activates the brake lights when the brake pedal is pressed. The turn signal switch activates the turn signals, causing the corresponding lights to flash. Putting the car in reverse activates the reverse lights.
- Current Flow: Electricity flows through the wires, connectors, and bulbs, causing them to illuminate.
- Ground Connection: After passing through the bulb, the electricity returns to the battery through the ground wire, completing the circuit.
The Body Control Module (BCM) plays a crucial role in modern vehicles. The BCM often monitors and controls various lighting functions, including the tail lights. If the BCM detects a problem with a tail light circuit, it may trigger a warning light on the dashboard.
Real-World Use – Basic Troubleshooting Tips
Here are some basic troubleshooting steps for common tail light problems:
- Check the Bulbs: This is the first and easiest step. Visually inspect the bulbs for a broken filament. If a bulb appears to be fine but isn't working, try replacing it with a new one.
- Check the Fuses: Locate the fuse box (usually under the dashboard or in the engine compartment) and check the fuses associated with the tail lights. A blown fuse will have a broken filament inside. Replace blown fuses with fuses of the same amperage rating. Never use a fuse with a higher amperage rating, as this could cause a fire.
- Check the Ground Connection: Ensure the ground wire is securely connected to the vehicle's chassis and free from corrosion. A loose or corroded ground connection can cause intermittent lighting problems. Clean the contact point with a wire brush and apply dielectric grease to prevent future corrosion.
- Check the Connectors: Inspect the connectors for corrosion, damage, or loose connections. Clean the connectors with electrical contact cleaner and ensure they are securely plugged in.
- Test for Voltage: Use a multimeter to test for voltage at the tail light connector. If there is no voltage, there is a problem upstream, such as a broken wire, a faulty switch, or a blown fuse.
- Check for Continuity: Use a multimeter to check the continuity of the wires in the harness. Disconnect the battery before performing continuity testing to avoid damaging the multimeter or the vehicle's electrical system.
If you suspect a more complex problem, such as a faulty BCM, it is best to consult a qualified mechanic.
Safety – Highlight Risky Components
Working with automotive electrical systems can be dangerous. Take the following precautions:
- Disconnect the Battery: Always disconnect the negative battery terminal before working on any electrical component to prevent electrical shock and damage to the vehicle's electrical system. Secure the negative terminal away from the battery post to prevent accidental contact.
- Use Insulated Tools: Use tools with insulated handles to prevent electrical shock.
- Avoid Water: Never work on electrical systems in wet conditions.
- Properly Identify Wires: Always refer to the wiring diagram to identify the correct wires before making any connections.
- Don't Overload Circuits: Avoid adding too many accessories to a single circuit, as this can overload the circuit and cause a fire.
- Be Careful of Airbags: Be mindful of the location of airbags when working near the steering column or dashboard, as accidental airbag deployment can cause serious injury.
- High-Intensity Discharge (HID) or LED Conversions: Exercise extreme caution with aftermarket HID or LED kits that require ballasts or control modules. These devices handle higher voltages.
Remember that the tail light wiring system is a critical safety component. If you are not comfortable working on it yourself, it is best to seek professional assistance.
Now that you have a comprehensive understanding of the 2011 Hyundai Sonata tail light wiring harness, you are better equipped to tackle repairs, modifications, and troubleshooting. This article is intended as a guide only. Always consult a professional if you are unsure about any aspect of the repair. For a visual reference, you can download the 2011 Hyundai Sonata Tail Light Wiring Diagram that we have available.