2011 Subaru Forester Serpentine Belt Diagram
The serpentine belt, also known as the accessory drive belt, in your 2011 Subaru Forester is a critical component responsible for powering various engine accessories. Understanding its routing and how it functions is essential for preventative maintenance, troubleshooting, and repairs. This article provides a detailed look at the 2011 Subaru Forester serpentine belt diagram, empowering you to tackle related tasks with confidence.
Purpose of Understanding the Serpentine Belt Diagram
Why should you care about the serpentine belt diagram? Several reasons:
- Repairs and Maintenance: The most common use is for replacing a worn, cracked, or damaged serpentine belt. The diagram shows the correct belt routing, preventing misinstallation and potential damage to your accessories.
- Troubleshooting: Squealing or other noises from the engine bay can often be traced to a failing or misaligned serpentine belt. The diagram helps you inspect the belt and pulleys for signs of wear or improper alignment.
- Accessory Replacement: When replacing components like the alternator, power steering pump, or AC compressor, you'll need to remove and reinstall the serpentine belt. The diagram ensures proper re-installation.
- Learning and Understanding: For those interested in automotive mechanics, understanding the serpentine belt system provides insight into how various engine components interact.
Key Specs and Main Parts
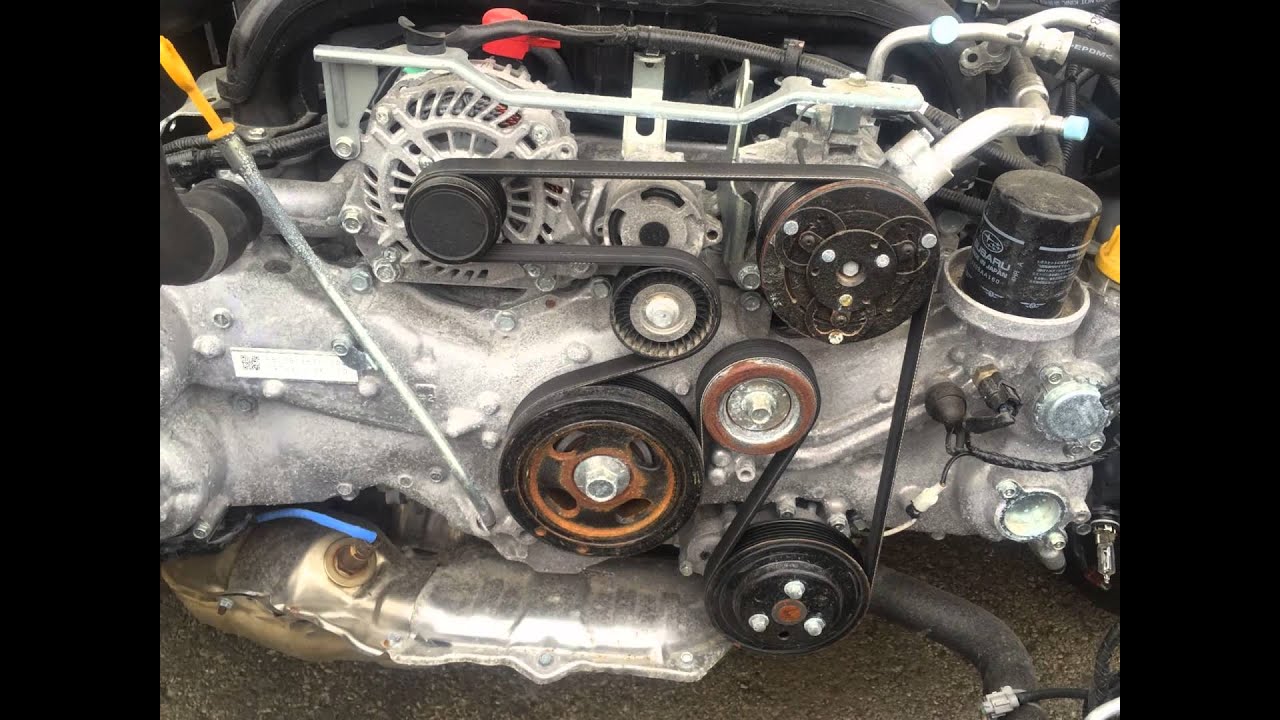
The 2011 Subaru Forester typically uses a multi-ribbed serpentine belt, often referred to as a "poly-v" belt. The exact length and number of ribs vary depending on the specific engine configuration (e.g., naturally aspirated vs. turbocharged). It's crucial to use the correct belt specified for your model. Check your owner's manual or a reputable auto parts retailer to ensure you purchase the right one.
The main components associated with the serpentine belt system are:
- Crankshaft Pulley: The driven pulley connected directly to the engine's crankshaft. It's the primary source of rotational power for the serpentine belt.
- Alternator Pulley: The alternator generates electrical power for the vehicle. The serpentine belt drives its pulley.
- Power Steering Pump Pulley: The power steering pump provides hydraulic assistance for steering.
- Air Conditioning (AC) Compressor Pulley: The AC compressor circulates refrigerant, providing cooling.
- Idler Pulleys: Smooth, bearing-mounted pulleys that guide the belt and maintain proper tension.
- Tensioner Pulley: This pulley is part of the tensioner assembly, which maintains the correct tension on the serpentine belt. It usually has a spring-loaded mechanism or a hydraulic damper. Proper tension is critical for preventing belt slippage and premature wear.
Understanding the Diagram's Symbols
Serpentine belt diagrams often use symbols to represent different components and the belt routing. Here's a breakdown of common symbols:
- Solid Lines: Represent the section of the serpentine belt that is directly contacting the pulley.
- Dotted Lines (or dashed lines): Typically indicate the back side of the belt, where it's not in direct contact with a pulley's grooved surface. Sometimes hidden sections behind other parts will also use this notation.
- Arrows: Show the direction of belt rotation. It's important to follow the arrows to ensure correct belt routing.
- Component Labels: Each pulley is usually labeled with its corresponding component (e.g., ALT for alternator, P/S for power steering, AC for air conditioning compressor).
- Tensioner Symbol: A specialized symbol, often resembling a spring or a pulley with an arrow indicating the direction of tension adjustment, will denote the tensioner assembly. The diagram often shows how to relieve tension for belt removal and installation.
- Pulley Groove Representation: Some diagrams show the grooves on the pulleys, indicating which side of the belt (ribbed or smooth) should contact that pulley.
How It Works
The serpentine belt system operates based on the principle of torque transfer. The engine's crankshaft rotates, turning the crankshaft pulley. The serpentine belt, wrapped around the various accessory pulleys, transmits this rotational force to each component. This power allows the alternator to generate electricity, the power steering pump to provide steering assistance, and the AC compressor to cool the cabin. The tensioner pulley maintains optimal belt tension, preventing slippage and ensuring efficient power transfer.
The correct routing of the belt is crucial. The diagram ensures that the belt engages each pulley in the correct sequence and direction. A misrouted belt can lead to reduced performance of the accessories, overheating, belt slippage, and even damage to the engine or accessories.
Real-World Use: Basic Troubleshooting Tips
Here are some basic troubleshooting tips using the serpentine belt diagram:
- Squealing Noise: A common symptom of a slipping belt. Check the belt for cracks, wear, or glazing. Also, inspect the tensioner to ensure it's maintaining proper tension. Compare the belt's routing with the diagram to confirm it's correctly installed.
- Accessory Malfunction: If an accessory like the alternator or AC compressor stops working, check the serpentine belt first. A broken or slipped belt will prevent the accessory from functioning.
- Belt Wear: Regularly inspect the belt for cracks, fraying, or missing ribs. Replace the belt if you notice any signs of damage. Using the diagram, inspect each pulley for signs of misalignment or damage.
- Belt Alignment: Use a straight edge to check the alignment of the pulleys. Misalignment can cause premature belt wear and squealing noises. Use the diagram as a reference for the correct pulley positions.
Safety Precautions
Working on the serpentine belt system involves inherent risks. Here are some critical safety precautions:
- Disconnect the Battery: Always disconnect the negative battery terminal before working on any electrical components, including the alternator. This prevents accidental shorts and electrical shocks.
- Engine Cooling: Allow the engine to cool completely before working on the serpentine belt system. Components can become extremely hot and cause burns.
- Rotating Parts: Never work on the serpentine belt system while the engine is running. The rotating pulleys and belt can cause serious injury.
- Sharp Edges: Be careful of sharp edges on the pulleys and belt tensioner. Wear gloves to protect your hands.
- Tensioner Spring: The tensioner spring is under considerable pressure. Use the correct tools and procedures to release the tensioner safely. Improper handling can cause injury.
Always consult your vehicle's repair manual for specific instructions and torque specifications. If you're not comfortable performing the work yourself, it's best to consult a qualified mechanic.
To help you with your repair or learning endeavors, we have a high-resolution serpentine belt diagram for the 2011 Subaru Forester available for download. This detailed diagram provides a clear visual representation of the belt routing and component locations, making your task easier and safer.