
2012 6.7 Cummins Serpentine Belt Diagram
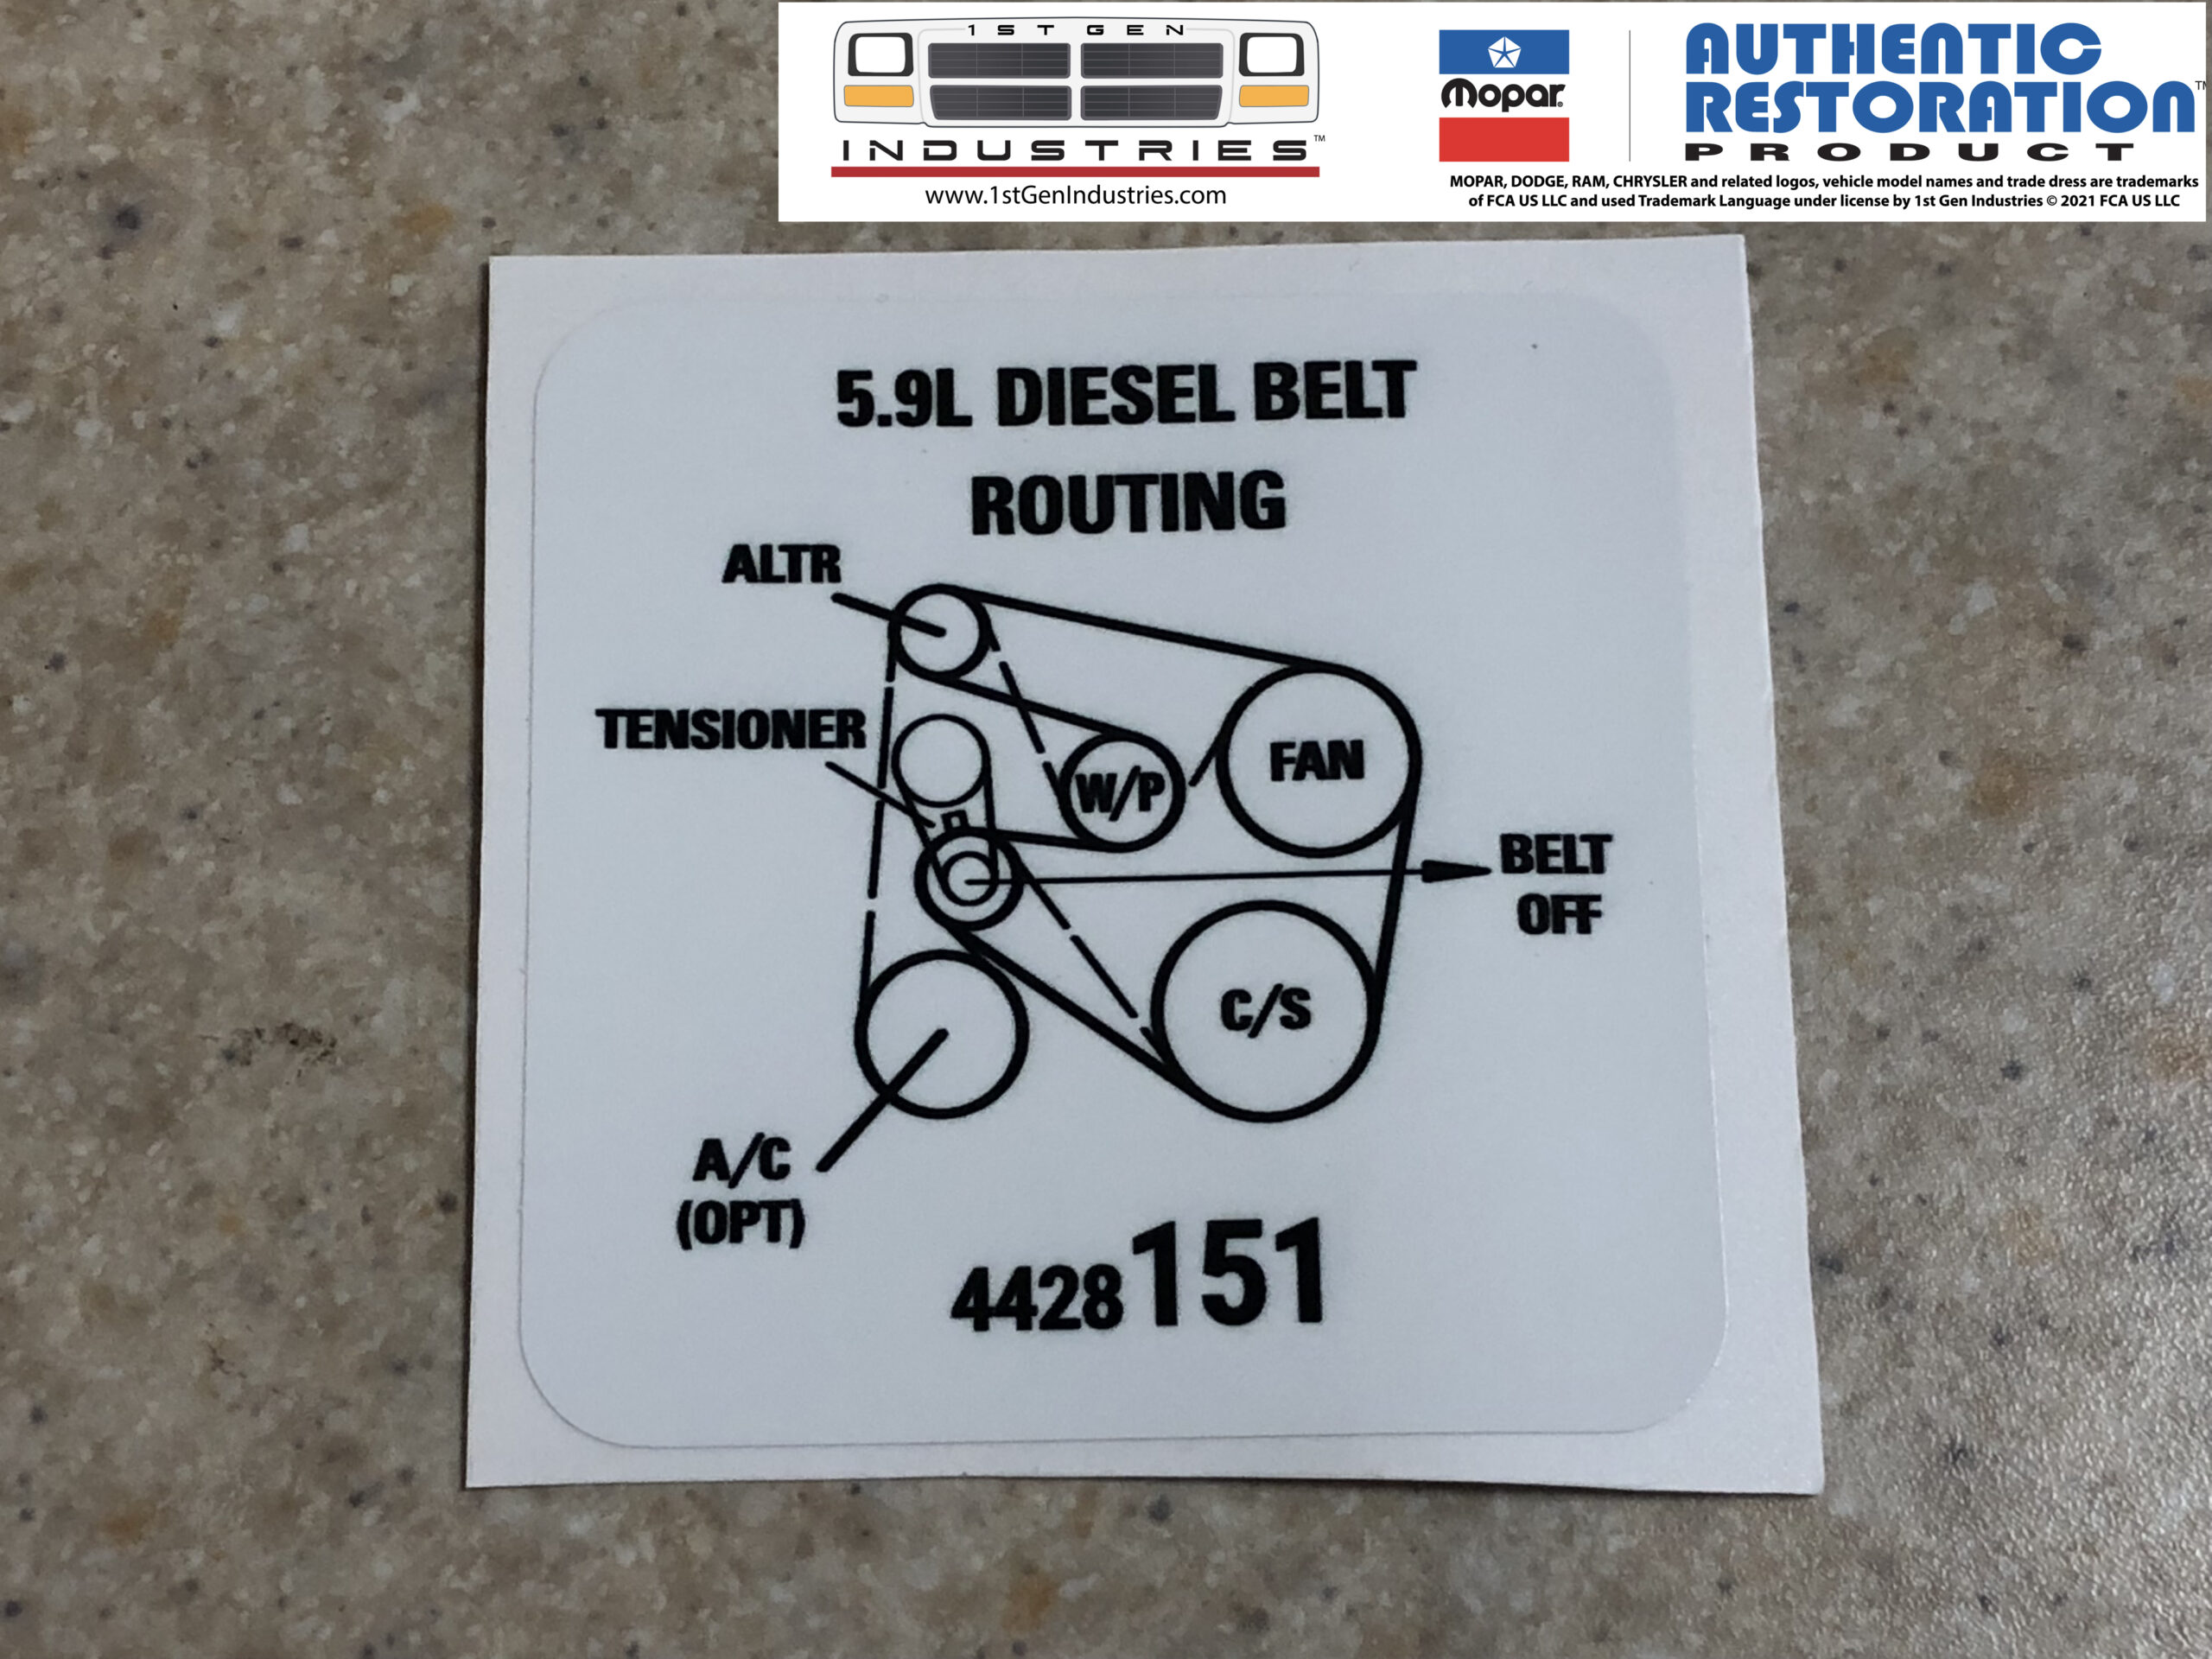
Alright, let's dive into the serpentine belt system on your 2012 6.7L Cummins. This guide is designed to help you, an experienced DIYer, understand the intricacies of this crucial system. We'll cover everything from the diagram itself to troubleshooting common issues. Knowing this system is invaluable whether you're performing routine maintenance, diagnosing a squealing belt, or planning to upgrade components.
Purpose of the Serpentine Belt Diagram
Why bother with a serpentine belt diagram? Simple: it's your roadmap to a properly functioning accessory drive system. The serpentine belt is a single, continuous belt that drives multiple components essential for your truck's operation. Specifically, the diagram is vital for:
- Repair and Replacement: Knowing the exact routing of the belt is crucial for correctly installing a new one. Incorrect routing can lead to component damage or failure.
- Diagnosis: The diagram helps you identify the location of each component in the system. This is essential for pinpointing the source of noises or malfunctions.
- Maintenance: Understanding the system allows you to properly inspect the belt, pulleys, and tensioner for wear and tear.
- Upgrades and Modifications: If you're planning to install a high-output alternator or other performance parts, you'll need to understand how the system works to ensure proper belt alignment and tension.
- Learning: Even if you're not currently facing an issue, studying the diagram helps you familiarize yourself with the engine's accessory layout, making future repairs easier.
Key Specs and Main Parts
The 2012 6.7L Cummins utilizes a multi-rib serpentine belt, typically a poly-v belt. Here are the key components that the belt drives:
- Crankshaft Pulley: This pulley, directly connected to the crankshaft, is the driving force of the entire system.
- Alternator: The alternator generates electricity to power the truck's electrical system and charge the battery.
- Power Steering Pump: This pump provides hydraulic pressure to assist with steering.
- Water Pump: The water pump circulates coolant through the engine to regulate temperature.
- Air Conditioning Compressor: The compressor circulates refrigerant in the A/C system, providing cooling.
- Idler Pulleys: These pulleys provide support and maintain the belt's optimal routing path. They don't drive any accessories.
- Belt Tensioner: The tensioner applies constant pressure to the belt, maintaining proper tension and preventing slippage. This is a spring-loaded or hydraulic mechanism.
The specific length of the belt will vary slightly depending on whether your truck has dual alternators or other options. Consult your owner's manual or a parts catalog for the correct belt size (e.g., typically in the range of 110-120 inches, but verify for your specific application!).
Symbols and Diagram Interpretation
Serpentine belt diagrams use standardized symbols to represent different components and belt routing. Let's decode the typical symbols you'll encounter:
- Solid Lines: Represent the portion of the belt that's in contact with the pulley's grooved surface (driving the component).
- Dashed Lines: Indicate the back side of the belt (smooth side) contacting an idler pulley or the tensioner pulley.
- Arrows: Show the direction of belt rotation. Follow these arrows carefully when routing the belt.
- Component Labels: Each pulley will be labeled with an abbreviation identifying the component (e.g., ALT for alternator, P/S for power steering, A/C for air conditioning, WP for water pump, CRANK for crankshaft).
- Idler Pulleys: Usually indicated by a symbol that distinguishes them from driven components. They will also be labeled as 'IDLER'.
- Tensioner: The tensioner is often depicted with a spring symbol or an arrow indicating the direction of tension.
The diagram is a top-down view of the engine. Understanding the relationship of each component on the diagram to its physical location on the engine is critical. Spend some time familiarizing yourself with the actual layout under the hood and compare it to the diagram.
How It Works
The serpentine belt system is elegantly simple. The crankshaft pulley, powered directly by the engine, drives all other components. The belt wraps around each pulley in a specific order, dictated by the engine design and the need to transfer power efficiently. The tensioner maintains constant pressure on the belt, preventing it from slipping or coming loose, especially under load. Without the tensioner, the belt would quickly lose tension, leading to reduced performance and potential damage to the accessories.
The belt tension is crucial. Too loose, and the belt will slip, causing reduced power to accessories, overheating, and potentially damaging the belt. Too tight, and it will overload the bearings in the accessories and the tensioner, leading to premature failure. This is why a properly functioning tensioner is essential.
Real-World Use and Troubleshooting
Here are some common issues you might encounter and how the diagram can help:
- Squealing Belt: A squealing belt is often caused by slippage. Use the diagram to inspect the belt for cracks, glazing, or wear. Also, check the tensioner to ensure it's applying adequate pressure. A loose tensioner can cause the belt to slip. Inspect the pulleys for debris or misalignment.
- Belt Wear: Premature belt wear can be caused by misaligned pulleys, a faulty tensioner, or contamination (oil or coolant). Use the diagram to visually inspect the pulleys for alignment. A straight edge can help determine if pulleys are properly aligned.
- Accessory Failure: If an accessory (e.g., alternator, power steering pump) fails, the diagram can help you locate the component and understand how it interacts with the rest of the system.
- Belt Jumping Off: If the belt repeatedly jumps off the pulleys, suspect a misaligned pulley, a seized component, or a faulty tensioner. The diagram will help you identify each component and look for points where the belt might be forced off the pulleys.
Basic Troubleshooting Tips:
- Visual Inspection: Regularly inspect the belt for cracks, fraying, or missing ribs.
- Tensioner Check: Make sure the tensioner moves freely and applies adequate pressure.
- Pulley Alignment: Check for misaligned pulleys using a straight edge or laser alignment tool.
- Noise Diagnosis: Use a stethoscope to pinpoint the source of any unusual noises.
Safety Considerations
Working on the serpentine belt system can be dangerous. Here's what to keep in mind:
- Engine Off: Always work with the engine off and the key removed from the ignition.
- Cool Engine: Let the engine cool down completely before working on the system. Exhaust components and the engine block can be very hot.
- Battery Disconnect: Disconnect the negative battery cable to prevent accidental electrical shocks.
- Moving Parts: Be extremely cautious of moving parts when the engine is running. Keep your hands, clothing, and tools away from the belt, pulleys, and fan.
- Tensioner Spring: The belt tensioner is under considerable spring pressure. Use the correct tools to relieve the tension when removing or installing the belt. Releasing the tension incorrectly can cause injury.
- Eye Protection: Wear safety glasses to protect your eyes from debris.
High-Risk Components: The belt tensioner poses a particular risk due to its strong spring. Always use the appropriate tool (usually a serpentine belt tool) to carefully relieve the tension. Never attempt to manually release the tension without the proper tool. Also, a seized accessory (like the A/C compressor) can cause the belt to break, sending debris flying, so keep a safe distance when inspecting a running engine with a questionable belt.
This guide should give you a solid understanding of the 2012 6.7L Cummins serpentine belt system. Understanding this system empowers you to diagnose and fix problems quickly and efficiently.
We have the full resolution diagram file available for download. This will give you the detailed visuals you need for accurate reference during repairs.