
2012 Chevy Cruze Radio Wiring Harness
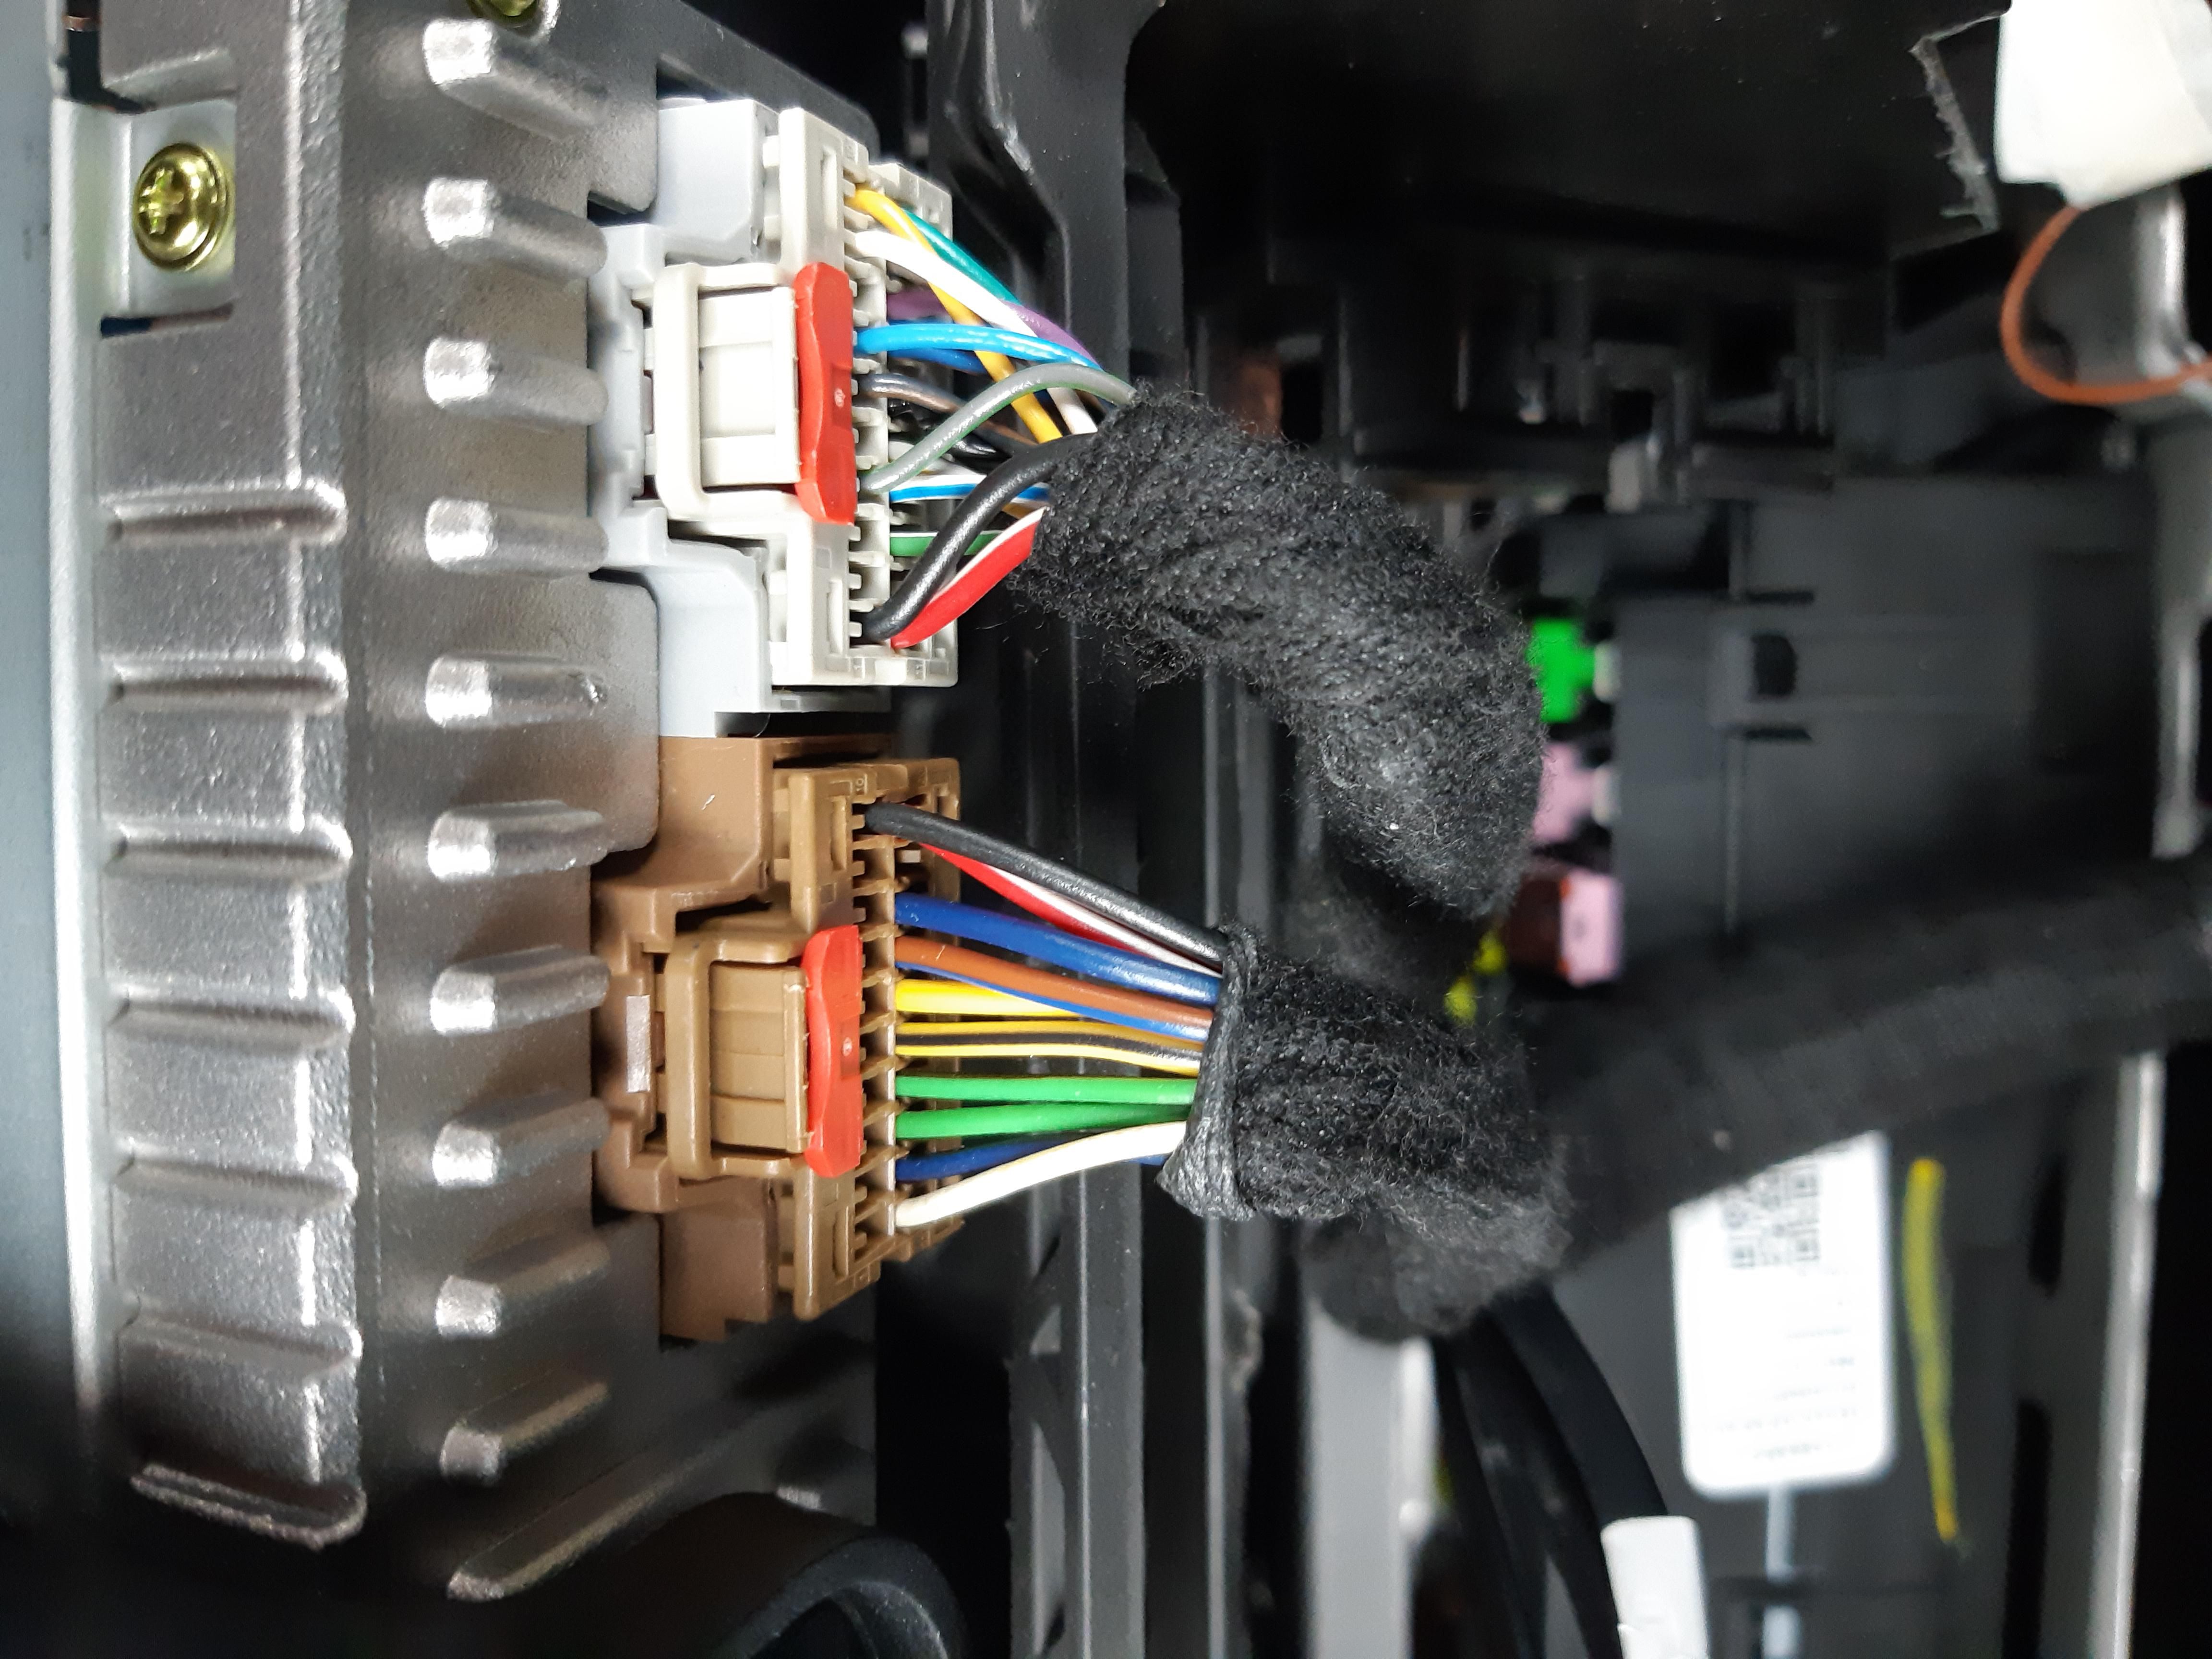
Understanding the 2012 Chevy Cruze radio wiring harness is crucial for a variety of reasons, ranging from simple speaker upgrades to more complex aftermarket system installations and even diagnosing electrical issues within your car's audio system. Whether you're a seasoned DIY mechanic, a passionate car audio enthusiast, or simply trying to save money by tackling a radio replacement yourself, knowing how this harness functions is invaluable. We'll break down the intricacies of the wiring diagram, explain its key components, and provide some practical troubleshooting tips.
Purpose of Understanding the Radio Wiring Harness
The radio wiring harness is the central nervous system of your Cruze's audio system. It's the bridge connecting the factory radio (or aftermarket head unit) to all the other components: speakers, antenna, power source, and potentially external amplifiers or other accessories. Comprehending the wiring allows you to:
- Replace your factory radio: Swap out the old unit with a modern touchscreen or a more powerful system.
- Install aftermarket amplifiers: Add external amplifiers for increased audio output and clarity.
- Upgrade your speakers: Connect new and improved speakers for a better listening experience.
- Diagnose audio problems: Identify and fix issues such as no sound, distorted audio, or a malfunctioning radio.
- Install sound processors: Integrate signal processors for advanced audio tuning.
Key Specs and Main Parts
The 2012 Chevy Cruze radio wiring harness primarily consists of two main connectors: the power/ground connector and the speaker connector. Each wire within these connectors serves a specific purpose, and understanding their functions is critical.
- Power/Ground Connector: This handles the essential power supply and grounding for the radio. It typically includes:
- 12V Constant (Battery): Provides continuous power to retain memory settings, even when the car is off.
- 12V Switched (Ignition): Supplies power only when the ignition is turned on.
- Ground: Completes the electrical circuit and provides a reference point for voltage.
- Remote Turn-On (Amplifier Turn-On): A 12V signal that activates aftermarket amplifiers when the radio is turned on. Not all radios have this.
- Illumination: Connects to the car's lighting system to dim the radio display when the headlights are on.
- Speaker Connector: This handles the audio output to the vehicle's speakers. It includes wires for:
- Front Left (+/-): Positive and negative wires for the front left speaker.
- Front Right (+/-): Positive and negative wires for the front right speaker.
- Rear Left (+/-): Positive and negative wires for the rear left speaker.
- Rear Right (+/-): Positive and negative wires for the rear right speaker.
Important Note: The specific pinout (arrangement of wires within the connector) can sometimes vary slightly depending on the trim level and options of your Cruze. Therefore, referencing the exact wiring diagram for *your* specific vehicle is always recommended. Fortunately, we have the diagram you can download at the end of this article.
Understanding Wiring Diagram Symbols
A wiring diagram is essentially a map of the electrical system. Understanding the symbols used is essential for correctly interpreting it.
- Lines: Represent wires. The thickness of the line doesn't usually indicate wire gauge, but rather emphasizes its importance on the diagram.
- Colors: Each wire is identified by a color code (e.g., RED, BLU, GRN). Understanding these color codes is vital for identifying the correct wire in the harness. The diagram will usually include a color code legend.
- Circles: Represent connection points or splices where wires join together.
- Rectangles: Often represent components like the radio itself, switches, or fuses.
- Ground Symbol: A symbol resembling an inverted triangle, indicating a connection to the vehicle's chassis ground.
- Fuse Symbol: A zig-zag line indicates a fuse in the circuit.
Wire colors are usually abbreviated, e.g., "RD" for red, "BK" for black, "WH" for white, "GN" for green, "BU" for blue, "YL" for yellow, and so on. Combinations like "WH/BU" indicate a white wire with a blue stripe.
How It Works: The Electrical Flow
The wiring harness acts as a conduit for electrical signals. Here's a simplified overview of how it works:
- Power Supply: The battery provides constant 12V power to the radio via the 12V Constant wire. This allows the radio to retain its memory settings (presets, clock, etc.) when the car is off.
- Ignition Activation: When the ignition is turned on, the 12V Switched wire receives power. This tells the radio to power on and begin functioning.
- Ground Connection: The ground wire provides a return path for the electrical current, completing the circuit and allowing the radio to operate.
- Audio Signal Transmission: The radio's internal amplifier sends audio signals through the speaker wires to the vehicle's speakers. Each speaker wire carries a positive (+) and a negative (-) signal. The difference in voltage between these wires creates the sound.
- Amplifier Control (if applicable): The Remote Turn-On wire sends a 12V signal to any aftermarket amplifiers, telling them to power on simultaneously with the radio.
Real-World Use: Basic Troubleshooting Tips
Here are some common problems and how the wiring diagram can help:
- No Power to Radio: Check the 12V Constant and 12V Switched wires with a multimeter. Ensure they are receiving the correct voltage. Also, check the ground connection. A loose or corroded ground can cause a complete failure. Verify the fuses associated with the radio are intact.
- No Sound from Speakers: Verify the speaker wires are correctly connected to the speakers. Use a multimeter to check for continuity (a complete circuit) in the speaker wires. Sometimes, a speaker wire can become disconnected or shorted to ground.
- Distorted Audio: This could indicate a problem with the speaker itself, a faulty radio, or a loose connection. Check the speaker wires for any signs of damage or corrosion.
- Radio Resets When Car Starts: This might be a sign of a weak battery or a poor connection to the 12V Constant wire. The radio is losing power during the voltage drop when the starter motor engages.
Remember to always disconnect the negative terminal of your car's battery before working on any electrical components. This will prevent accidental shorts and potential damage to your car's electrical system.
Safety Considerations
Working with car electrical systems involves inherent risks.
- Battery Disconnect: Always disconnect the negative battery terminal before starting any work.
- Airbag Systems: Be extremely cautious when working near airbag systems. Consult your vehicle's service manual for proper procedures to avoid accidental deployment.
- Short Circuits: Avoid creating short circuits by carefully insulating any exposed wires. Use electrical tape or heat shrink tubing to protect connections.
- Incorrect Wiring: Incorrectly wiring components can damage your radio, your car's electrical system, or even cause a fire. Always double-check your connections against the wiring diagram.
High Current Wires: The 12V Constant wire carries a significant amount of current. Shorting this wire to ground can cause serious damage. Use extreme caution when working with this wire.
Disclaimer: Working on your car's electrical system can be dangerous. If you are not comfortable with electrical work, it's best to consult a qualified mechanic.
We understand the importance of having the right resources when tackling car audio projects. To help you navigate the intricacies of your 2012 Chevy Cruze's audio system, we have the radio wiring diagram available for you to download. This diagram provides a detailed overview of the harness, including wire colors, pin locations, and component connections. It's an invaluable tool for any repair or modification project.
Click here to download the 2012 Chevy Cruze Radio Wiring Diagram (Link to Download Here – Placeholder).