2012 Chrysler 200 2.4 Serpentine Belt Diagram Pdf
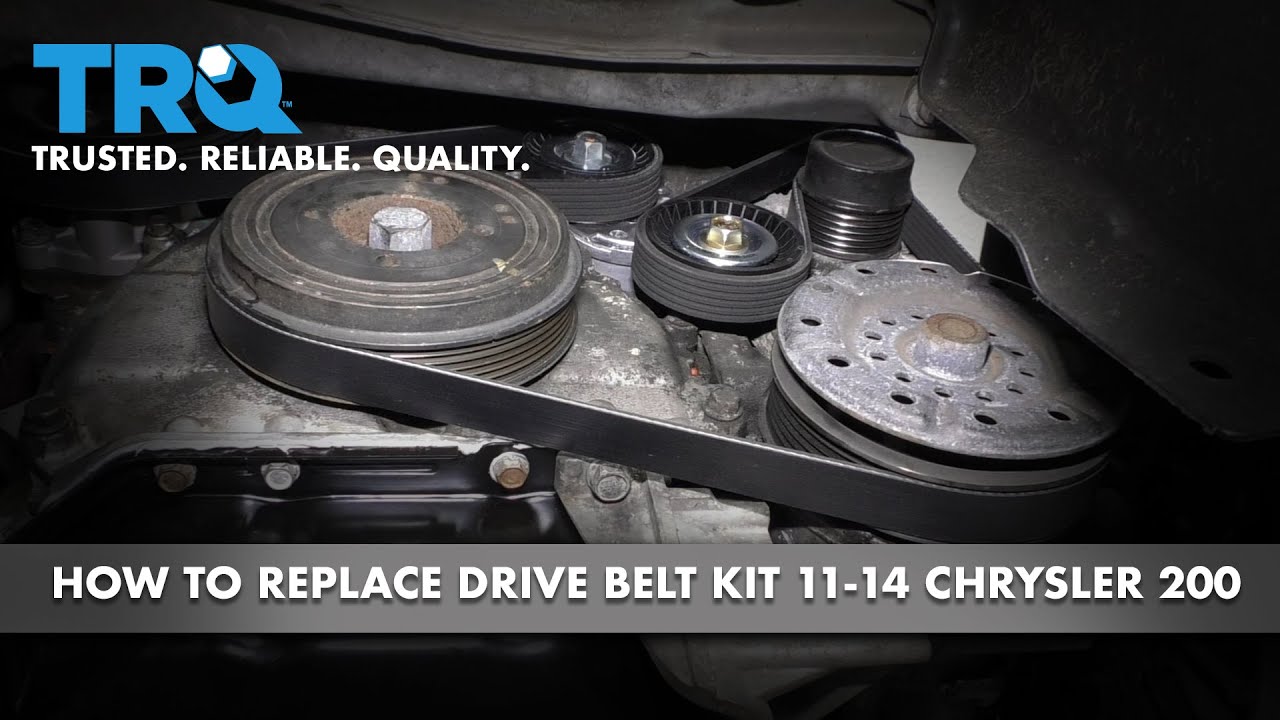
Alright, let's dive into the serpentine belt system on your 2012 Chrysler 200 with the 2.4L engine. Having a clear understanding of the serpentine belt diagram is crucial for any intermediate car owner or DIY mechanic looking to tackle repairs, perform preventative maintenance, or simply gain a deeper understanding of their vehicle. We're going to break down the diagram, explain its components, and show you how to use it for real-world troubleshooting. We even have the PDF of the diagram available for you to download – link will be provided.
Purpose of the Serpentine Belt Diagram
Why bother with a diagram? Well, the serpentine belt is a vital component that drives several engine accessories. It's a single, continuous belt that snakes around various pulleys, powering essential systems like your:
- Alternator: Charges the battery and powers the electrical system.
- Power Steering Pump: Assists in steering.
- Air Conditioning Compressor: Cools the cabin.
- Water Pump: Circulates coolant to regulate engine temperature.
A broken or worn serpentine belt can lead to immediate failures in these systems, potentially leaving you stranded. A diagram helps you:
- Identify the belt's routing: Essential for correct installation after replacement.
- Diagnose issues: Recognizing slippage, wear, or misalignment.
- Plan repairs: Knowing which components are driven by the belt.
- Order correct parts: Matching the correct belt length and specifications.
Without a diagram, replacing the belt correctly becomes a guessing game, and incorrect routing can damage the belt, pulleys, or even the accessories themselves. It's also useful for verifying that the belt is installed correctly after a repair is completed.
Key Specs and Main Parts
Before we get into the diagram itself, let's cover the essential components of the serpentine belt system on your 2012 Chrysler 200 2.4L:
- Serpentine Belt: The long, rubber belt responsible for transferring power. These are typically made of EPDM (Ethylene Propylene Diene Monomer) rubber for durability and resistance to heat and wear.
- Crankshaft Pulley (Crank Pulley): Connected directly to the engine's crankshaft, this pulley provides the driving force for the entire system.
- Alternator Pulley: Driven by the serpentine belt, spins the alternator to generate electricity.
- Power Steering Pump Pulley: Powers the hydraulic assist for steering.
- Air Conditioning Compressor Pulley: Engages and disengages to power the air conditioning compressor.
- Water Pump Pulley: Drives the water pump, which circulates coolant through the engine and radiator.
- Tensioner Pulley: A spring-loaded pulley that maintains the correct tension on the serpentine belt. Proper tension is critical for preventing slippage and premature wear. The tensioner uses a spring and a pivot arm to keep the belt taut.
- Idler Pulley: A smooth pulley that guides the belt around the various components. It doesn't drive any accessories; it simply changes the belt's direction.
The 2012 Chrysler 200 2.4L typically uses a single serpentine belt, but specific routing may vary slightly depending on whether or not the vehicle is equipped with air conditioning. The diagram accounts for these differences.
Understanding the Serpentine Belt Diagram Symbols
Diagrams are visual representations, and understanding their symbols is key to interpreting them correctly. Here’s what you can typically expect to find:
- Solid Lines: Represent the path of the serpentine belt itself. The thickness of the line might indicate the belt's width, though this isn't always the case.
- Circles/Pulleys: Represent the pulleys of the various components (alternator, power steering pump, etc.). They're usually labeled with abbreviations (ALT, P/S, A/C, W/P).
- Arrows: Indicate the direction of rotation of each pulley. This is important because the direction of rotation affects how the accessories function. Pay close attention to the arrows during installation!
- Tensioner Symbol: Usually depicted as a pulley with a spring or arm extending from it. This indicates the location of the tensioner. The diagram might also show the direction in which to rotate the tensioner to relieve tension for belt removal and installation.
- Idler Pulley Symbol: Simply a pulley, often labeled "IDLER."
- Color Coding (Less Common): Some diagrams use color coding to differentiate sections of the belt or components, but this is less frequent on basic diagrams for serpentine belt routing.
- Text Labels: Provide abbreviations and notes about each component (e.g., "A/C COMP" for Air Conditioning Compressor).
The PDF diagram we provide will contain a legend explaining any symbols unique to that specific diagram.
How the Serpentine Belt System Works
The engine's crankshaft spins the crankshaft pulley. This rotation is then transferred to the serpentine belt, which, in turn, drives all the other accessory pulleys. The tensioner pulley maintains the proper tension on the belt, ensuring it doesn't slip. Without sufficient tension, the belt won't effectively transfer power to the accessories, leading to problems like a dimming headlights (alternator not charging properly), poor power steering, or a non-functioning air conditioner.
The specific path of the belt is crucial. The belt needs to wrap around each pulley sufficiently to provide adequate grip. The idler pulley helps to achieve this, guiding the belt along the optimal path. The orientation of the belt around each pulley also ensures that each component rotates in the correct direction. Incorrect routing can cause accessories to spin in reverse, leading to malfunction or damage.
Real-World Use: Basic Troubleshooting Tips
Here’s how you can use the serpentine belt diagram for troubleshooting:
- Squealing Noise: Often indicates a slipping belt. Check the belt's tension and condition. Use the diagram to verify that the belt is routed correctly. A worn or glazed belt may need replacement.
- Accessory Failure: If one accessory isn't working (e.g., air conditioning), check the belt's routing and condition. Make sure the belt is properly engaged with the accessory's pulley. Look for signs of damage on the belt itself, such as cracks, fraying, or missing chunks.
- Belt Wear: Regularly inspect the belt for signs of wear. Cracks, fraying, and glazing indicate that the belt needs replacement. The diagram helps you identify the belt's path so you can thoroughly inspect it.
- Belt Alignment: Use the diagram to ensure all pulleys are aligned correctly. Misalignment can cause premature belt wear and accessory failure. A straight edge can be used to visually check pulley alignment.
- Replacing the Belt: Always refer to the diagram when replacing the serpentine belt. It will guide you in routing the new belt correctly. Take a photo of the old belt's routing before removing it as a backup.
Safety Considerations
Working on the serpentine belt system involves potential hazards. Here are some safety precautions:
- Disconnect the Battery: Always disconnect the negative battery terminal before working on the engine. This prevents accidental starting and electrical shock.
- Hot Engine: Allow the engine to cool completely before working on the serpentine belt. The engine components can get extremely hot.
- Moving Parts: The serpentine belt system involves moving parts. Keep your hands, hair, and clothing away from the belt and pulleys while the engine is running.
- Tensioner Spring: The tensioner pulley is spring-loaded and can snap back forcefully when released. Use the appropriate tools to relieve the tension carefully. Consult a repair manual or online resource for the correct procedure.
- Eye Protection: Wear safety glasses to protect your eyes from debris.
The tensioner pulley stores a significant amount of spring energy. Use extreme caution when releasing it. Improper handling can cause injury.
With the proper knowledge and precautions, you can confidently use the 2012 Chrysler 200 2.4L serpentine belt diagram to maintain and repair your vehicle. Remember to consult a qualified mechanic if you're unsure about any procedure. You can download the serpentine belt diagram PDF here.