2012 Chrysler 200 2.4l Serpentine Belt Diagram
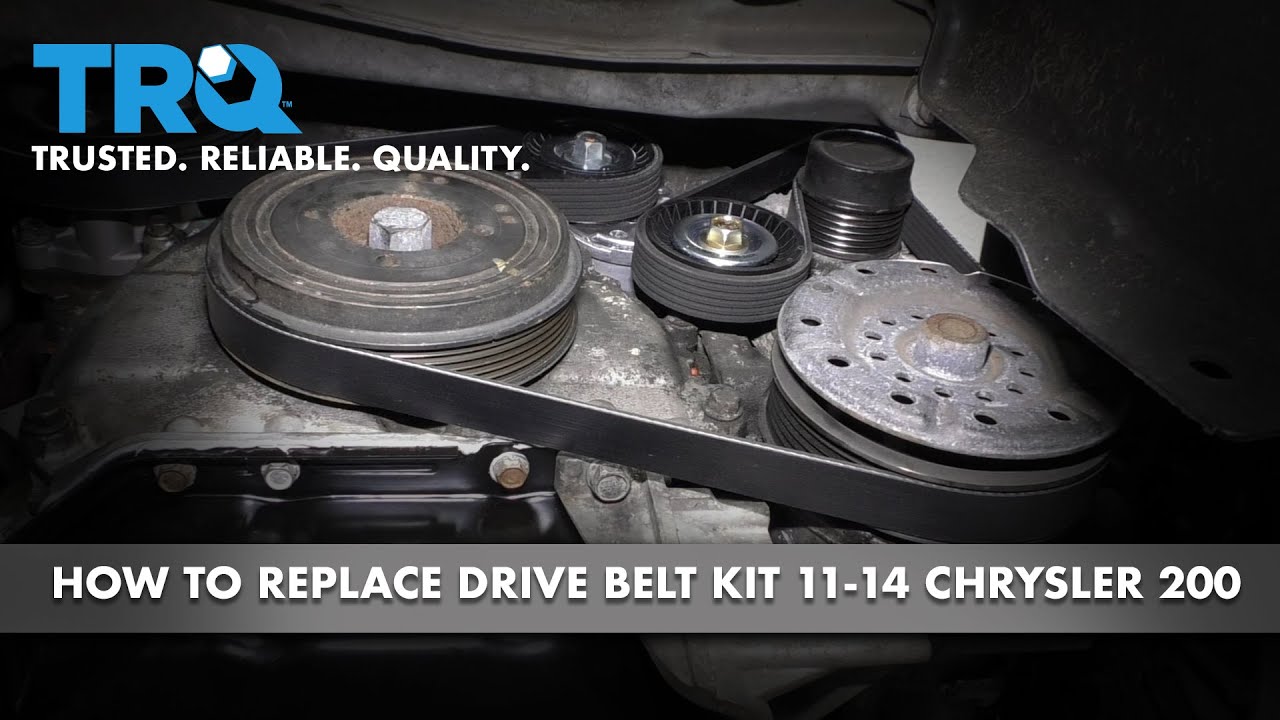
Alright, let's dive into the serpentine belt system for your 2012 Chrysler 200 with the 2.4L engine. Understanding this system is crucial for routine maintenance, troubleshooting annoying squeals, or even tackling a full-blown component replacement. This guide will walk you through the serpentine belt diagram, its components, function, and some real-world troubleshooting tips.
Why Bother with the Serpentine Belt Diagram?
The serpentine belt diagram is your roadmap to understanding the layout and function of the accessory drive system. Why is this important? Several reasons:
- Repair and Maintenance: When replacing the belt, idler pulley, tensioner, or any other component, the diagram shows you the correct belt routing. Incorrect routing can lead to component damage, improper function, or even belt failure.
- Troubleshooting: A squealing belt can indicate a worn belt, a misaligned pulley, or a failing component. The diagram helps you pinpoint the source of the problem.
- Learning: Understanding the system allows you to perform your own maintenance, saving you money and increasing your knowledge of your vehicle.
Key Specs and Main Parts of the 2.4L Serpentine Belt System
Before we get into the diagram itself, let's familiarize ourselves with the key components and some relevant specs. Keep in mind that slight variations may exist based on specific vehicle options (like AC or no AC), but the core principles remain the same.
Main Components:
- Crankshaft Pulley (Damper): Located at the bottom of the engine, this pulley receives power from the engine and drives the serpentine belt.
- Alternator: This component generates electrical power for the vehicle. It's driven by the serpentine belt.
- Power Steering Pump: Provides hydraulic pressure to assist with steering. It's also driven by the serpentine belt.
- Air Conditioning Compressor: Compresses refrigerant to provide cooling. Again, belt-driven.
- Idler Pulley(s): These smooth pulleys guide the belt along its path and maintain proper tension.
- Tensioner Pulley: This spring-loaded pulley automatically maintains the correct tension on the serpentine belt. This is a critical component for proper system operation.
- Serpentine Belt: The rubber belt itself, responsible for transferring power from the crankshaft to all the accessories.
Key Specs:
- Belt Length: The correct belt length is crucial for proper tension and function. Refer to your vehicle's service manual for the exact length specification. This varies based on vehicle options.
- Belt Material: Typically made from EPDM (Ethylene Propylene Diene Monomer) rubber, chosen for its durability and resistance to heat and cracking.
- Tensioner Range: The tensioner has a specified range of motion. If the tensioner arm is near the end of its travel, it indicates that the belt is either stretched or the wrong length.
Decoding the Serpentine Belt Diagram: Symbols and Markings
The serpentine belt diagram isn't just a picture; it's a symbolic representation of the system. Understanding these symbols is key to interpreting the diagram correctly.
- Solid Lines: Represent the path of the serpentine belt.
- Circles: Indicate pulleys. The size of the circle doesn't typically represent the actual size of the pulley, but rather its position in the system.
- Text Labels: Each pulley is labeled with its function (e.g., "Alternator," "Power Steering," "Tensioner").
- Direction Arrows: Indicate the direction of rotation for each pulley. This is important for understanding how the belt should be routed.
- Tensioner Symbol: The tensioner pulley is often represented with a spring symbol to indicate its spring-loaded mechanism.
- Ribbed/Smooth Surfaces: While not always explicitly shown, some diagrams may indicate which side of the belt (ribbed or smooth) contacts each pulley. Typically, ribbed surfaces contact ribbed pulleys, and smooth surfaces contact smooth pulleys.
How the Serpentine Belt System Works
The crankshaft pulley, driven by the engine, initiates the entire process. As the crankshaft rotates, it turns the serpentine belt, which in turn drives all the accessory pulleys (alternator, power steering pump, AC compressor). The idler pulley(s) guide the belt, ensuring proper contact with each pulley. The tensioner pulley, through its spring-loaded mechanism, maintains constant tension on the belt. This tension is critical for preventing slippage and ensuring that each accessory is driven at the correct speed. If the belt slips, accessories won't function properly (e.g., weak power steering, poor AC performance, low battery charging).
The routing of the serpentine belt is extremely important. The belt must follow the diagram precisely to ensure proper accessory function and belt lifespan. An incorrectly routed belt can rub against other components, leading to premature wear or even catastrophic failure.
Real-World Troubleshooting Tips
Here's how you can use the serpentine belt diagram to troubleshoot common problems:
- Squealing Noise: A squealing noise often indicates a slipping belt. Use the diagram to check for proper belt routing and tension. Inspect the belt for cracks, glazing, or missing ribs. A worn or damaged belt needs replacement. Also check for glazed (shiny) pulleys, which indicate belt slippage.
- Component Failure: If an accessory stops working (e.g., the AC compressor doesn't engage), use the diagram to trace the belt path and identify potential issues. Is the belt properly engaging the pulley? Is the pulley spinning freely? A seized pulley can cause the belt to shred or break.
- Belt Alignment: Use a straight edge or laser alignment tool to check the alignment of all pulleys. Misaligned pulleys can cause premature belt wear and noise.
- Tensioner Issues: Check the tensioner pulley for smooth operation. A worn or seized tensioner can cause excessive belt wear or noise. Inspect the tensioner arm for excessive movement, which indicates a stretched belt or a failing tensioner.
Safety First! Highlighting Risky Components
Working on the serpentine belt system involves several safety concerns:
- Engine Must Be Off: Never work on the serpentine belt system while the engine is running. This can lead to serious injury or death. Disconnect the negative battery terminal before beginning any work.
- Moving Parts: Be aware of moving parts, especially the crankshaft pulley. Keep your hands and tools clear of the pulley when rotating the engine manually to check belt routing.
- Hot Components: The engine and exhaust components can be extremely hot. Allow the engine to cool completely before working on the serpentine belt system.
- Eye Protection: Wear safety glasses to protect your eyes from debris.
- Belt Tensioner: The belt tensioner is spring-loaded and can release suddenly if not handled properly. Use the correct tool to relieve tension on the belt before removing it. Follow the manufacturer's instructions carefully.
Remember, working on your car can be rewarding, but it's essential to prioritize safety. If you're not comfortable performing any of these tasks, consult a qualified mechanic.
That covers the basics of the 2012 Chrysler 200 2.4L serpentine belt diagram. By understanding the components, function, and troubleshooting tips, you can confidently maintain and repair your vehicle's accessory drive system.
You can download a detailed serpentine belt diagram for your specific 2012 Chrysler 200 2.4L model below. Make sure to verify that the diagram matches your vehicle's options (AC or no AC) before using it.