2012 Dodge Journey Blend Door Actuator Diagram
Alright, let's dive into the 2012 Dodge Journey blend door actuator diagram. Whether you're battling inconsistent temperatures, hearing clicking noises behind the dash, or just want a better understanding of your vehicle's HVAC system, this diagram is your key to diagnosing and potentially fixing the issue yourself. We're going to break down the diagram in detail, covering its purpose, key components, how it functions, and even some real-world troubleshooting tips.
Purpose of the Blend Door Actuator Diagram
Why bother with a blend door actuator diagram? Well, it serves several crucial purposes:
- Repair & Diagnosis: The primary reason is to diagnose issues within your HVAC (Heating, Ventilation, and Air Conditioning) system. When you're experiencing temperature control problems – hot air when you want cold, or vice versa – the blend door actuator is a prime suspect. The diagram helps you locate the actuator, trace its wiring, and understand its connections to other components.
- Part Identification: The diagram clearly identifies the blend door actuator, its associated wiring harness, and surrounding components. This is essential when ordering replacement parts, ensuring you get the correct item for your 2012 Dodge Journey.
- System Understanding: Even if you don't have an immediate problem, studying the diagram gives you a solid understanding of how the HVAC system regulates temperature. This knowledge is invaluable for preventative maintenance and addressing future issues.
- Electrical Troubleshooting: The diagram displays the wiring connections, voltage levels, and circuit paths. This is crucial when troubleshooting electrical faults that may be preventing the blend door actuator from functioning correctly.
Having this diagram is like having a roadmap to your HVAC system's inner workings. It's a vital tool for any DIY mechanic or experienced car owner looking to tackle these repairs themselves.
Key Specs and Main Parts
Let's identify the key components typically shown in a 2012 Dodge Journey blend door actuator diagram:
Main Components:
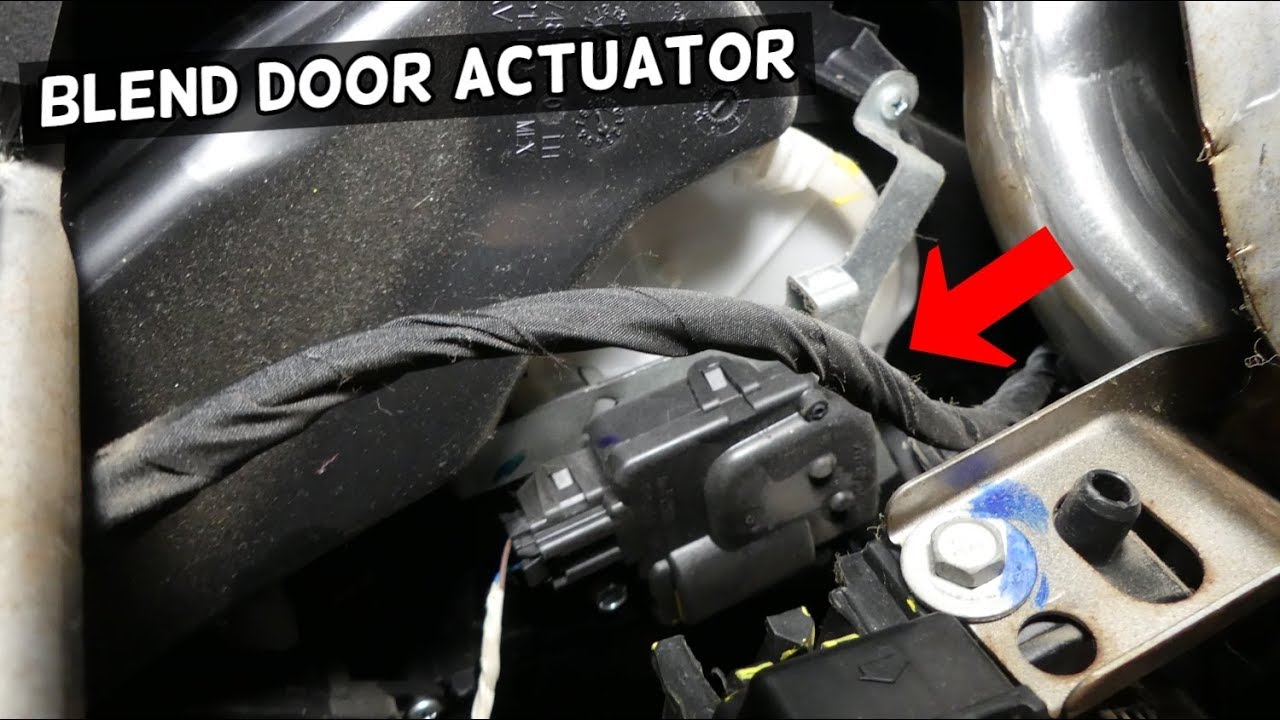
- Blend Door Actuator: This is the star of the show. It's a small electric motor that controls the position of the blend door inside the HVAC unit. The blend door regulates the mix of hot and cold air flowing into the cabin.
- Blend Door: A physical flap inside the HVAC housing. The actuator moves this door to direct airflow either through the heater core (for hot air) or around it (for cold air).
- HVAC Control Module: Also known as the climate control module. This is the brain of the system, receiving input from the temperature settings and sending signals to the blend door actuator.
- Wiring Harness: Connects the blend door actuator to the HVAC control module and the vehicle's electrical system.
- Connectors: These are the plugs that physically connect the wiring harness to the actuator and other components.
- Power Source: Typically, the battery and relevant fuses that provide power to the system.
Key Specs (Dependent on Trim and Model):
Voltage: Typically 12V DC.
Resistance: This varies based on the actuator's internal motor and potentiometer (if equipped). A multimeter can be used to test the resistance, comparing to expected values found in the service manual (not the blend door diagram directly).
Pin Configuration: Actuators commonly have 4-6 pins, each with a specific function (power, ground, signal from the HVAC control module, feedback signal to the HVAC control module).
Understanding the Symbols
Reading a wiring diagram can seem daunting at first, but once you understand the symbols, it becomes much easier. Here's a breakdown of common symbols:
- Solid Lines: Represent wires. The thicker the line, the higher the current capacity of the wire.
- Dashed Lines: Indicate shielded wires or ground connections.
- Circles: Represent connection points or terminals.
- Rectangles: Often represent components like relays, switches, or the HVAC control module.
- Zig-zag Lines: Typically represent resistors.
- Ground Symbol: A series of horizontal lines decreasing in size, indicating a connection to the vehicle's chassis ground.
- Colors: Wires are often color-coded. Common colors include red (power), black (ground), and various other colors for signal wires. The diagram should include a legend explaining the color codes.
- Abbreviations: You'll likely see abbreviations for wire colors (e.g., RD for red, BK for black, GN for green) and component names.
Pay close attention to the legend or key provided with the diagram. This will decode the abbreviations, color codes, and any unique symbols specific to the 2012 Dodge Journey's electrical system.
How It Works: The Blend Door Actuator in Action
Here's a simplified explanation of how the blend door actuator system works:
- User Input: You adjust the temperature control knob or buttons on the HVAC control panel.
- Signal Processing: The HVAC control module receives this input and determines the desired blend of hot and cold air.
- Actuator Activation: The HVAC control module sends a signal (usually a PWM - Pulse Width Modulation - signal) to the blend door actuator. This signal dictates the position the actuator needs to move the blend door to.
- Blend Door Movement: The actuator's electric motor rotates, moving the blend door to the appropriate position. If equipped with a potentiometer, this provides feedback to the HVAC control module about the door's actual position.
- Airflow Regulation: The blend door directs airflow through or around the heater core, mixing hot and cold air to achieve the desired temperature.
- Feedback Loop: If the actuator has a potentiometer, it sends a signal back to the HVAC control module confirming the blend door's position. This allows the module to make adjustments if necessary.
A faulty blend door actuator can disrupt this process, leading to temperature inconsistencies. It might fail to move the blend door at all, move it erratically, or get stuck in a particular position.
Real-World Use: Basic Troubleshooting Tips
Here's how you can use the diagram for basic troubleshooting:
- Symptom: No heat or no cold air.
- Check the fuse: Use the diagram to locate the fuse related to the HVAC system. A blown fuse could be the culprit.
- Listen for the actuator: Turn the ignition on (engine off) and adjust the temperature setting. Listen for the blend door actuator to move. If you hear clicking or grinding noises, the actuator is likely failing.
- Visual Inspection: Locate the blend door actuator (the diagram will help). Check the wiring and connectors for damage, corrosion, or loose connections.
- Test the Actuator: With the diagram, you can identify the power and ground wires. Use a multimeter to check if the actuator is receiving power and ground.
- Symptom: Clicking noises behind the dashboard.
- This is a classic sign of a failing blend door actuator. The actuator's gears are likely stripped or damaged. Replacement is usually necessary.
- Symptom: Temperature inconsistencies.
- The blend door actuator might be getting stuck or moving intermittently. Use the diagram to trace the wiring and check for loose connections or shorts.
Important Note: Before attempting any electrical troubleshooting, disconnect the negative battery terminal to prevent accidental shorts or electrical shock.
Safety Considerations
Working with automotive electrical systems involves some inherent risks:
- Electrical Shock: Always disconnect the negative battery terminal before working on any electrical components.
- Airbag Deployment: Be extremely cautious when working near the dashboard, as accidental airbag deployment can cause serious injury. Consult your vehicle's service manual for proper airbag disabling procedures.
- Sharp Edges: Be mindful of sharp edges under the dashboard when reaching for components.
- Proper Tools: Use appropriate tools for the job, such as insulated screwdrivers and multimeters.
The blend door actuator itself is a low-voltage component, but the wiring harness may be connected to higher voltage circuits. Always exercise caution and double-check your work.
Remember, while this guide offers a good foundation, it's not a substitute for a factory service manual or professional advice. If you're not comfortable performing these repairs yourself, consult a qualified mechanic.
And finally, you're in luck! We have the complete 2012 Dodge Journey Blend Door Actuator Diagram file ready for you. You can download it [link to download]. This diagram will provide you with a detailed visual representation of the system, making your troubleshooting and repair process much easier.