2012 Ford Transit Connect Coolant Hose Diagram
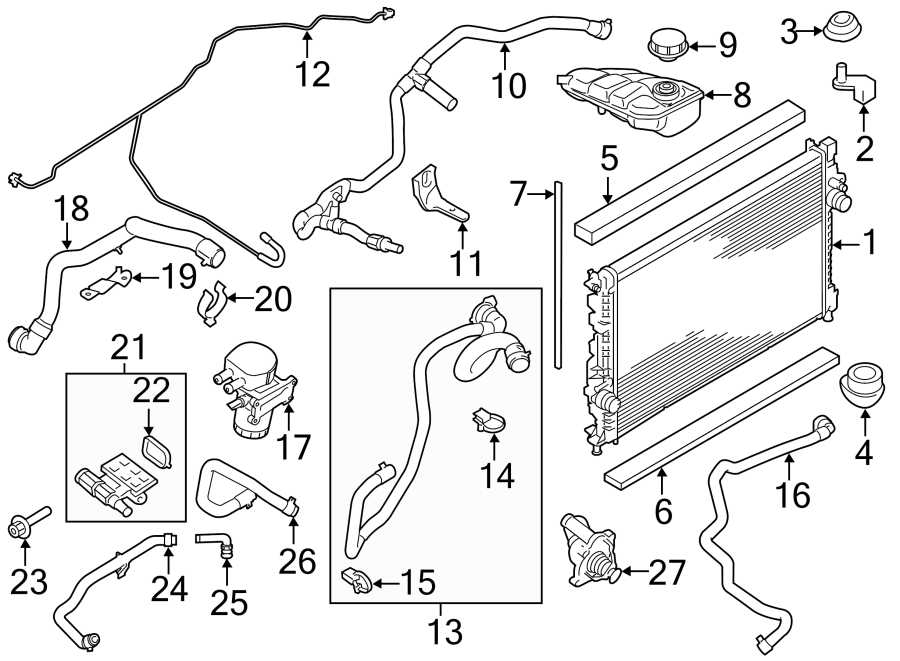
Alright, let's dive into the coolant hose diagram for the 2012 Ford Transit Connect. Whether you're tackling a leaky hose, flushing your cooling system, or just want a better understanding of how your van keeps its cool, having this diagram is crucial. This isn't just a pretty picture; it's your roadmap to preventing overheating and potential engine damage.
Purpose of the Coolant Hose Diagram
Think of the coolant hose diagram as the circulatory system chart for your Transit Connect's cooling system. It shows you exactly where each hose runs, how they connect, and the components they interact with. This is invaluable when:
- Troubleshooting Leaks: Pinpointing the source of a coolant leak becomes much easier when you can visually trace the hose paths.
- Replacing Hoses: Ensuring you get the correct replacement hose and install it in the right location is paramount. A misplaced hose can lead to catastrophic engine failure.
- Performing Maintenance: Understanding the system's layout is essential for tasks like coolant flushes and thermostat replacements.
- Learning Vehicle Systems: For the aspiring DIY mechanic, this diagram provides a clear overview of how the cooling system functions as a whole.
- Modifying/Upgrading: If you're considering any modifications to your engine or cooling system, understanding the existing hose routing is a must.
Key Specs and Main Parts
The 2012 Ford Transit Connect typically uses a 2.0L Duratec inline-4 engine. The cooling system components are designed to work specifically with this engine. Let's break down the main parts you'll see on the diagram:
- Radiator: The primary heat exchanger, where coolant dissipates heat into the atmosphere. Look for the inlet and outlet ports on the diagram.
- Engine Block: The core of the engine, housing the cylinders. Coolant jackets within the block circulate coolant to absorb heat generated by combustion.
- Water Pump: A mechanically driven pump that circulates coolant throughout the system. Its location is critical, usually near the crankshaft.
- Thermostat: A temperature-sensitive valve that regulates coolant flow to maintain optimal engine temperature. Its position is often indicated near the upper radiator hose. A stuck thermostat can cause overheating or underheating.
- Heater Core: A small radiator located inside the passenger compartment that provides heat. Hoses connect the heater core to the engine's cooling system.
- Expansion Tank (Coolant Reservoir): A container that holds excess coolant and allows for expansion and contraction as the coolant temperature changes.
- Coolant Hoses: Flexible tubes that connect all the cooling system components. These come in various shapes and sizes, and the diagram will show their specific routes.
- Hose Clamps: These secure the hoses to the fittings on the components.
- Cooling Fan: Pulls air through the radiator, particularly when the vehicle is stationary or moving slowly.
The diagram will usually specify the internal diameter of the hoses, as well as the material (usually EPDM rubber or silicone). Correct hose diameter and material are important for proper flow and durability.
Understanding Symbols
Coolant hose diagrams use specific conventions to represent different components and connections. Here's a breakdown of common symbols:
- Solid Lines: Typically represent coolant hoses. The thickness of the line might indicate the hose diameter.
- Dotted Lines: Often used to indicate vacuum lines or auxiliary lines related to the cooling system (e.g., overflow tubes).
- Arrows: Show the direction of coolant flow. This is crucial for understanding how the system operates.
- Colors: While not always present, color-coding can be helpful. For example, blue might represent coolant flowing towards the engine, and red might represent coolant flowing away from the engine.
- Component Symbols: Radiators are usually represented by a rectangular shape with fins. Water pumps might be depicted as a circle with a pump symbol. Thermostats are often shown as a valve symbol.
- "T" Junctions and Connectors: These show where hoses branch off or connect to other components.
Pay close attention to the legends or keys provided with the diagram. These will explain any unique symbols or abbreviations used.
How It Works: A Simplified Overview
The cooling system works by circulating coolant (usually a mixture of water and antifreeze) through the engine block to absorb heat. The heated coolant then flows to the radiator, where it dissipates heat into the atmosphere. The cooled coolant returns to the engine to repeat the cycle.
The thermostat regulates the coolant temperature. When the engine is cold, the thermostat remains closed, restricting coolant flow to the radiator. This allows the engine to warm up quickly. Once the engine reaches its operating temperature, the thermostat opens, allowing coolant to flow to the radiator to prevent overheating.
The water pump is the heart of the system, continuously circulating coolant. The expansion tank accommodates changes in coolant volume due to temperature fluctuations. The heater core provides heat to the passenger compartment by circulating hot coolant through a small radiator.
Real-World Use: Basic Troubleshooting Tips
Here are a few troubleshooting tips based on common coolant hose issues:
- Coolant Leaks: Check all hose connections for signs of leakage (wetness, coolant stains). Tighten hose clamps if necessary, but be careful not to overtighten and damage the hose. Replace any hoses that are cracked, swollen, or brittle.
- Overheating: If your engine is overheating, check the coolant level in the expansion tank. Also, inspect the radiator hoses for any blockages or kinks. A collapsed lower radiator hose can restrict coolant flow. A malfunctioning thermostat is a common cause of overheating.
- Heater Not Working: If your heater isn't producing heat, check the coolant level and inspect the heater core hoses for any blockages. A clogged heater core can prevent coolant from flowing through it.
- Hose Bursts: Burst hoses are often a sign of excessive pressure in the cooling system. This could be caused by a faulty radiator cap, a clogged radiator, or a blown head gasket.
Before working on the cooling system, always allow the engine to cool completely. Hot coolant can cause severe burns.
Safety Considerations
The cooling system operates under pressure and contains hot coolant. Exercise caution when working on it:
- Never open the radiator cap or expansion tank cap when the engine is hot. This can result in a dangerous eruption of hot coolant. Wait for the engine to cool completely before opening any caps.
- Be careful when handling coolant. It is toxic and can be harmful if swallowed. Wear gloves and eye protection when working with coolant.
- Dispose of used coolant properly. Do not pour it down drains or onto the ground. Take it to a recycling center or auto parts store.
- The radiator fan can turn on automatically, even when the engine is off. Disconnect the battery before working near the fan to prevent injury.
- Over tightening hose clamps can cause damage to the hose and lead to premature failure.
Specifically, the radiator cap is a high-pressure component. Ensure it's in good condition and seals properly. A faulty cap can cause pressure loss and affect cooling system performance. Hoses near the exhaust manifold are exposed to higher temperatures and should be inspected regularly for signs of wear.
With this knowledge, you're well-equipped to understand and work on your 2012 Ford Transit Connect's cooling system. This diagram is your best friend for repairs, maintenance, and understanding how this vital system functions.
We have a detailed, high-resolution coolant hose diagram available for download. It includes all the component locations, hose routings, and specifications you'll need. Contact us for the file, and happy wrenching!