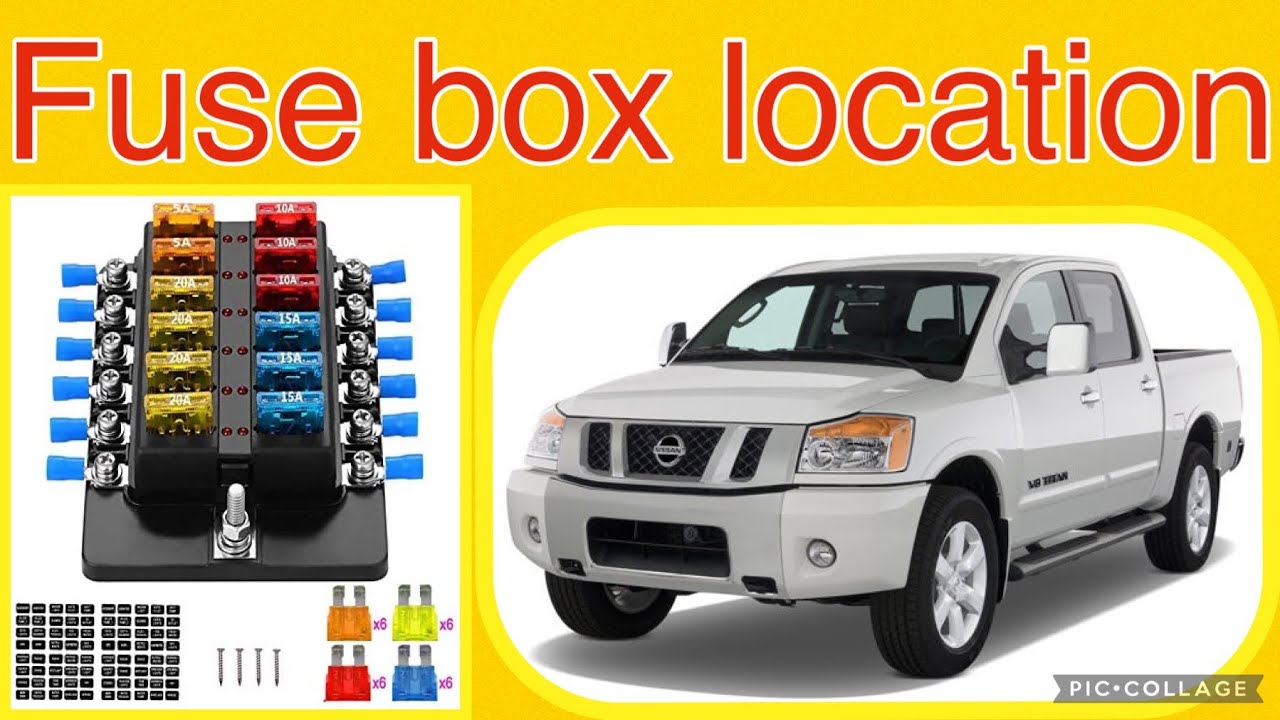
2012 Nissan Titan Fuse Box Diagram
For the intermediate car owner, the ability to understand and interpret a fuse box diagram is invaluable. Whether you're diagnosing electrical issues, planning modifications, or simply trying to learn more about your vehicle, knowing how your 2012 Nissan Titan's electrical system is organized is a significant advantage. This article dives deep into the 2012 Nissan Titan fuse box diagram, explaining its purpose, key components, symbols, and how to use it effectively. We have the full diagram available for you to download; this guide will help you make the most of it.
Purpose of the Fuse Box Diagram
The fuse box diagram serves as a roadmap to your vehicle's electrical system. It shows you exactly which fuse and relay protects which circuit. This is crucial for:
- Troubleshooting Electrical Problems: When a component stops working (e.g., headlights, radio, power windows), the diagram helps you pinpoint the corresponding fuse.
- Preventing Damage: Replacing a blown fuse with the correct amperage fuse prevents further damage to the circuit. Using a fuse with a higher amperage than specified can overload the wiring and potentially cause a fire.
- Performing Modifications: If you're adding aftermarket accessories (e.g., aftermarket lighting, sound systems), the diagram helps you find suitable circuits to tap into, ensuring you're not overloading existing circuits.
- General Understanding: Simply understanding the diagram provides a deeper understanding of how your vehicle's electrical system is structured and protected.
Key Specs and Main Parts
The 2012 Nissan Titan typically has multiple fuse boxes:
- Interior Fuse Box: Usually located under the dashboard, often near the driver's side. This box typically houses fuses and relays for interior components like the radio, interior lights, power windows, and climate control system.
- Engine Compartment Fuse Box: Situated under the hood, this box contains fuses and relays for vital engine and drivetrain components such as the fuel pump, ignition system, engine control module (ECM), and cooling fan.
Each fuse box contains:
- Fuses: These are the sacrificial components that protect the electrical circuits. Fuses contain a thin wire that melts and breaks the circuit when excessive current flows through it. Fuses are rated in amperes (amps), which indicates the amount of current they can handle before blowing.
- Relays: Relays are electrically operated switches. They allow a low-current circuit to control a high-current circuit. For example, the headlight switch might use a relay to turn on the headlights, which draw a significant amount of current.
- Fuse Puller: A small plastic tool used to safely remove and install fuses.
- Diagram Label: A label, usually affixed to the inside of the fuse box cover, that provides a diagram of the fuse and relay locations and their corresponding circuits. This is the diagram we're discussing in this article.
Understanding the Symbols
The fuse box diagram uses a combination of lines, colors, and icons to represent different components and their functions. Here's a breakdown of common symbols:
- Fuses: Typically represented by a rectangle with a wavy line inside. The amperage rating is usually printed next to the symbol (e.g., 10A, 15A, 20A).
- Relays: Often depicted as a square or rectangle with internal symbols representing the coil and contacts.
- Lines: Indicate electrical circuits. Thicker lines may represent circuits carrying higher current.
- Colors: While not always present on the diagram itself, the wiring harnesses connected to the fuse box use different colored wires. A separate wiring diagram (not the fuse box diagram) will provide the color codes for each wire, which can be helpful for tracing circuits.
- Icons: Small icons represent the component that a particular fuse or relay protects. Common icons include a lightbulb (headlights), a radio (audio system), a fan (cooling fan), a steering wheel (power steering), and a window (power windows). The specific icons used can vary, so always refer to the legend on the diagram itself.
How It Works
The fuse box acts as a central distribution point for electrical power. Power from the battery flows through the main power cables to the fuse box. From there, the power is distributed to various components through individual circuits, each protected by a fuse or relay. If a short circuit or overload occurs in a particular circuit, the corresponding fuse blows, interrupting the flow of current and preventing damage to the wiring and components. The diagram shows exactly which fuse is associated with each circuit, making it easy to identify and replace the blown fuse.
Relays operate differently. When a control circuit (e.g., the headlight switch) is activated, it energizes the relay's coil. This creates a magnetic field that pulls the relay's contacts together, completing a separate, high-current circuit (e.g., the headlights). The fuse box diagram shows which relay controls which component.
Real-World Use: Basic Troubleshooting Tips
Here's how to use the fuse box diagram for basic troubleshooting:
- Identify the Problem: Determine which component is not working.
- Consult the Diagram: Locate the fuse box diagram (usually on the inside of the fuse box cover).
- Find the Corresponding Fuse: Using the diagram, find the fuse that protects the malfunctioning component. For instance, if your tail lights aren't working, find the fuse labeled "Tail Lights" or a similar designation.
- Inspect the Fuse: Remove the fuse using the fuse puller and visually inspect it. A blown fuse will have a broken filament inside.
- Replace the Fuse: Replace the blown fuse with a new fuse of the exact same amperage rating. Never use a fuse with a higher amperage rating.
- Test the Component: Turn on the component to see if it now works. If the fuse blows again immediately, there's likely a short circuit in the wiring or the component itself. Further diagnosis is needed, potentially involving a multimeter to check for voltage drops or continuity issues.
If a component that is controlled by a relay is not functioning: Check the diagram to identify the correct relay. Relays can sometimes be swapped with identical relays (e.g., horn relay with a rear defrost relay) to test if the relay is the issue. If swapping the relays fixes the problem then the old relay is faulty.
Safety Considerations
Working with electrical systems can be dangerous. Here are some safety precautions:
- Disconnect the Battery: Before working on any electrical system, disconnect the negative (-) battery cable to prevent accidental shorts.
- Use Proper Tools: Use insulated tools to prevent electric shock.
- Never Replace a Fuse with a Higher Amperage Fuse: This can overload the wiring and cause a fire. Always use the correct amperage fuse as specified in the diagram.
- Be Aware of High-Current Components: Certain components, such as the starter motor and alternator, draw very high currents. Be extremely cautious when working around these components.
- Avoid Working in Wet Conditions: Water conducts electricity, increasing the risk of electric shock.
- If unsure, seek Professional Help: If you're not comfortable working on electrical systems, it's best to consult a qualified mechanic. Certain components, especially those related to the airbag system or ABS, should only be handled by trained professionals. Airbag systems can be particularly dangerous and should never be tampered with unless you are fully qualified.
By understanding and utilizing the 2012 Nissan Titan fuse box diagram, you can effectively diagnose and repair many electrical problems. Remember to always prioritize safety and consult a professional if you're unsure about any procedure. Now that you've learned about the diagram, download our copy and keep it on hand for any future issues. It will be an invaluable tool in understanding your Nissan Titan's electrical system.