2013 Chevy Cruze Thermostat Housing Diagram
Alright, let's dive into the 2013 Chevy Cruze thermostat housing diagram. If you're tackling a cooling system issue, replacing the thermostat, or just trying to understand your Cruze a little better, having a clear understanding of this setup is crucial. This article will break down the diagram, explain how it all works, and offer some troubleshooting tips.
Purpose of the Diagram
Why bother with a diagram in the first place? Well, the cooling system is essential for keeping your engine from overheating. The thermostat housing, in particular, plays a vital role in regulating engine temperature. A diagram like this is invaluable for several reasons:
- Repair and Replacement: When replacing the thermostat, thermostat housing, or any associated components, the diagram provides a visual guide to ensure correct placement and connections.
- Troubleshooting: If you're experiencing overheating, coolant leaks, or other cooling system problems, the diagram helps you trace the flow of coolant and identify potential problem areas.
- Understanding the System: Even if you're not currently experiencing problems, studying the diagram gives you a better understanding of how the cooling system functions, which can be helpful for preventative maintenance.
Key Specs and Main Parts
The 2013 Chevy Cruze typically uses a 1.8L or a 1.4L turbocharged engine. While there might be slight variations based on the specific engine, the core components and layout of the thermostat housing remain largely the same. Here are the main parts you'll encounter in the diagram:
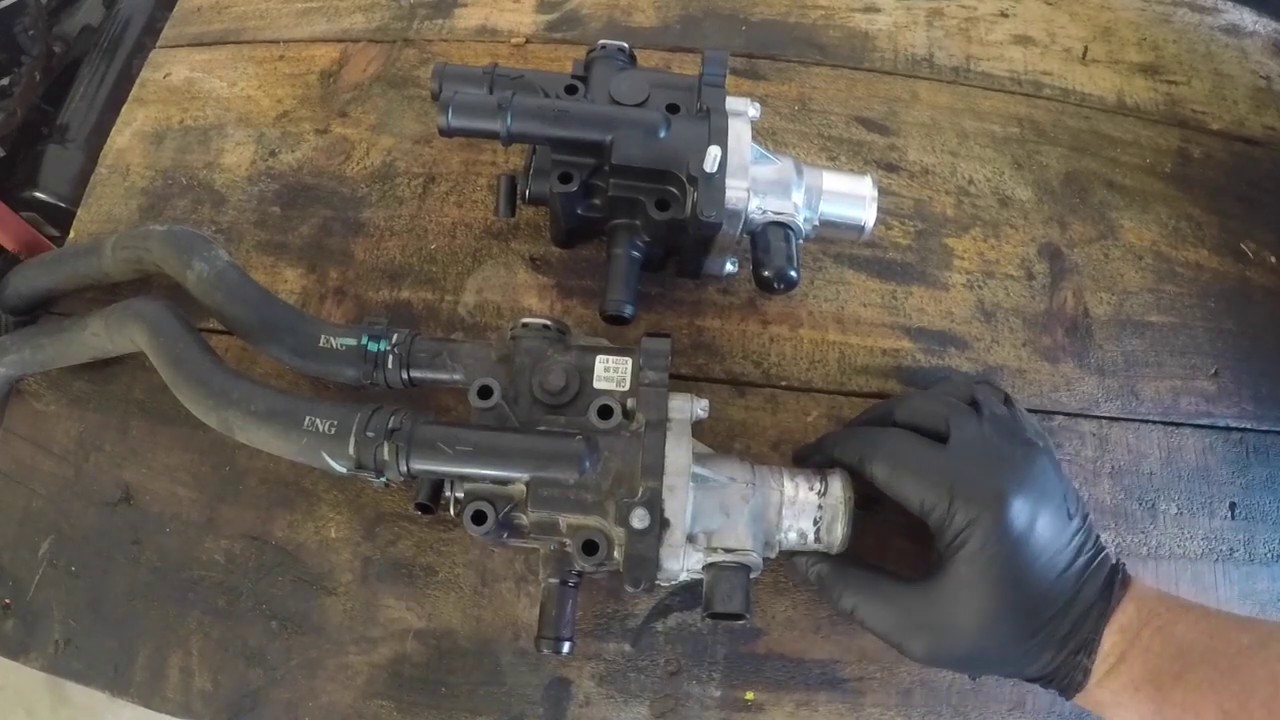
- Thermostat Housing: This is the main body that houses the thermostat. It's typically made of plastic or aluminum and is bolted to the engine block.
- Thermostat: This is the temperature-sensitive valve that regulates coolant flow. It opens and closes based on the engine temperature, allowing coolant to circulate through the radiator when needed. The Cruze thermostat typically starts to open around 180-195°F (82-90°C).
- Coolant Temperature Sensor (CTS): This sensor measures the temperature of the coolant and sends a signal to the engine control unit (ECU) or computer. This information is used for various engine management functions, including fuel injection and ignition timing.
- Hoses: Various hoses connect to the thermostat housing, including the upper radiator hose, lower radiator hose, and heater hoses. These hoses carry coolant to and from the radiator, heater core, and engine.
- Gaskets and O-rings: These seals prevent coolant leaks between the thermostat housing and the engine block, as well as between other connected components. These are very important and should always be replaced when the thermostat is replaced.
- Bleeder Valve/Screw: Some thermostat housings have a bleeder valve or screw that allows you to release trapped air from the cooling system. This is crucial after refilling the system with coolant.
Diagram Symbols
Understanding the symbols used in the diagram is essential for interpreting it correctly. Here's a breakdown of common symbols you might encounter:
- Solid Lines: Typically represent coolant hoses or pipes. The thickness of the line may indicate the diameter of the hose.
- Dashed Lines: May represent vacuum lines, electrical wiring, or hidden components.
- Arrows: Indicate the direction of coolant flow.
- Colors: While not always present, colors can be used to distinguish different types of lines or components. For example, blue might represent coolant lines, while red represents high-temperature lines.
- Icons: Small icons may represent specific components, such as the thermostat, coolant temperature sensor, or bleeder valve. These icons are usually accompanied by a label.
- Numbers/Letters: Numbers and letters often reference parts lists or specific connection points. These are critical when referencing the vehicle's service manual.
How It Works
Here's a simplified explanation of how the thermostat housing and thermostat work within the cooling system:
- Cold Engine: When the engine is cold, the thermostat is closed. This prevents coolant from circulating through the radiator, allowing the engine to warm up quickly. Coolant is instead circulated only within the engine block.
- Warm-up Phase: As the engine warms up, the thermostat gradually opens. This allows a small amount of coolant to flow through the radiator, helping to regulate the engine temperature.
- Operating Temperature: Once the engine reaches its normal operating temperature (around 195-210°F), the thermostat is fully open. This allows coolant to circulate freely through the radiator, dissipating heat and preventing overheating.
- Coolant Temperature Sensor: The coolant temperature sensor monitors the coolant temperature and sends a signal to the ECU. The ECU uses this information to adjust engine parameters, such as fuel injection and ignition timing, to optimize performance and efficiency.
Real-World Use & Basic Troubleshooting
Knowing the thermostat housing and its diagram allows you to approach several common problems systematically:
- Overheating: If your Cruze is overheating, the thermostat might be stuck closed, preventing coolant from circulating through the radiator. Check hoses for collapsing, as this could restrict coolant flow, as well.
- Coolant Leaks: Coolant leaks around the thermostat housing are often caused by a faulty gasket or O-ring. Carefully inspect the housing for cracks or damage.
- Engine Running Cold: If your engine is running colder than normal, the thermostat might be stuck open, causing excessive cooling. This will drastically reduce fuel economy.
- Erratic Temperature Gauge: A faulty coolant temperature sensor can cause the temperature gauge to fluctuate erratically. Check the sensor's wiring and connections.
- "Check Engine" Light: A faulty CTS or thermostat can trigger the check engine light and set related diagnostic trouble codes (DTCs). Use an OBD-II scanner to read the codes and diagnose the problem.
When troubleshooting, remember to always let the engine cool down completely before working on the cooling system. Hot coolant can cause severe burns.
Safety Considerations
Working on the cooling system involves potential hazards. Here are some key safety precautions:
- Hot Coolant: As mentioned before, hot coolant can cause severe burns. Always allow the engine to cool down completely before opening the cooling system.
- Pressure: The cooling system is pressurized when the engine is running. Never remove the radiator cap or any coolant lines while the engine is hot. Slowly release pressure from the system before starting work.
- Electrical Components: The coolant temperature sensor is an electrical component. Disconnect the negative battery cable before working on it to avoid electrical shock.
- Sharp Edges: Be careful when handling metal parts, as they may have sharp edges. Wear gloves to protect your hands.
- Proper Disposal: Coolant is toxic and should be disposed of properly. Do not pour it down the drain or into the environment. Take it to a recycling center or auto parts store for proper disposal.
- Eye Protection: Always wear eye protection when working on any part of the vehicle, but especially when dealing with pressurized fluids.
Important Note: Turbocharged engines, particularly the 1.4L, are very sensitive to proper coolant levels. Low coolant can lead to overheating and potential turbocharger damage.
This article provides a general overview of the 2013 Chevy Cruze thermostat housing and its diagram. For specific details and procedures, always refer to the official Chevy Cruze service manual for your specific engine and model year.
We have a high-resolution diagram available for download to help you with your repairs. Contact us with your specific vehicle's VIN and engine type, and we'll provide the appropriate file.