2013 Ford Explorer 2.0 Ecoboost Belt Diagram
For the experienced DIY mechanic tackling repairs or simply wanting to understand their vehicle better, knowing the belt routing of the 2013 Ford Explorer 2.0L EcoBoost engine is crucial. This article provides a comprehensive guide to the belt diagram, enabling you to diagnose issues, replace worn belts, or even perform more involved engine maintenance with confidence.
Purpose of the Belt Diagram
The belt diagram for the 2013 Ford Explorer 2.0L EcoBoost serves several important purposes:
- Repair and Replacement: When replacing a serpentine belt (also known as a drive belt), the diagram ensures you route the new belt correctly. Incorrect routing can lead to component failure or belt slippage.
- Troubleshooting: A visual reference aids in identifying potential problems, such as misaligned pulleys or a worn tensioner.
- General Understanding: Familiarizing yourself with the belt path enhances your overall knowledge of the engine's accessory drive system.
- Preventative Maintenance: Knowing the belt path helps you inspect the belt for wear and tear, allowing for timely replacement and preventing breakdowns.
Key Specs and Main Parts of the 2.0L EcoBoost Belt System
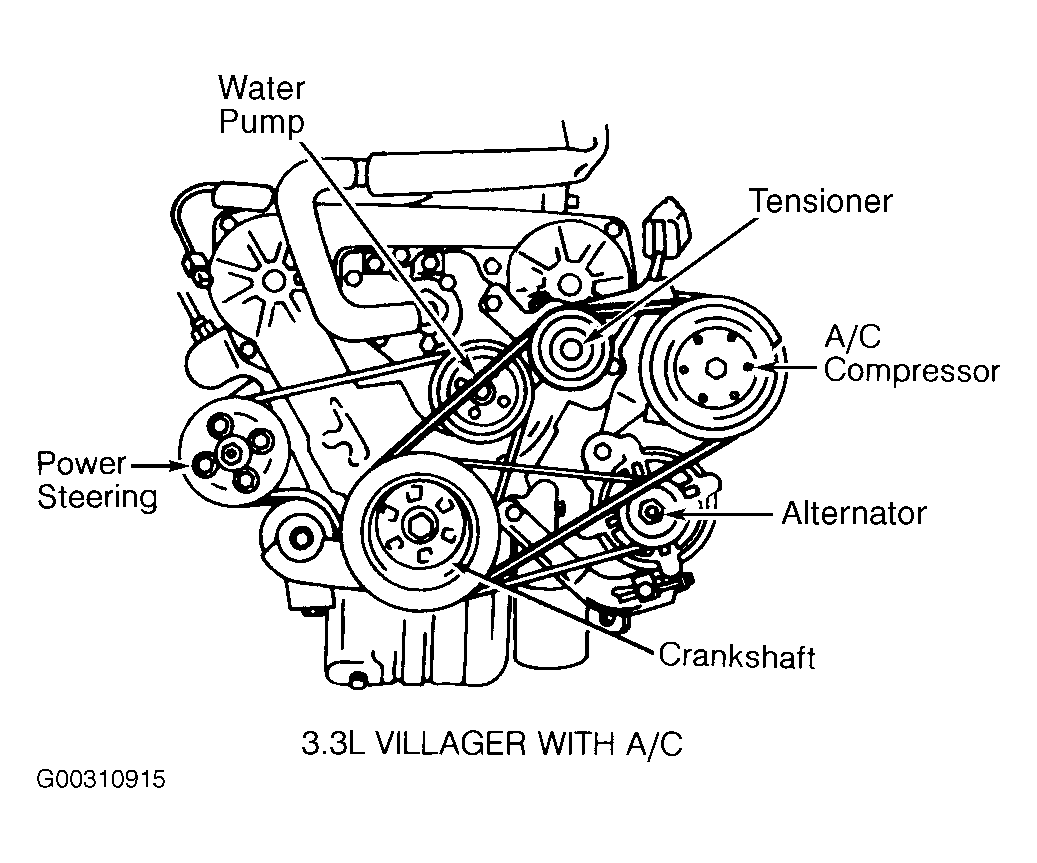
The 2013 Ford Explorer 2.0L EcoBoost uses a single serpentine belt to drive various engine accessories. The main components involved are:
- Crankshaft Pulley: This is the driving pulley, powered directly by the engine's crankshaft. It's located at the bottom of the engine.
- Alternator: The alternator generates electrical power to charge the battery and run the vehicle's electrical system.
- Water Pump: Circulates coolant throughout the engine to regulate temperature.
- Power Steering Pump: Provides hydraulic pressure to assist steering.
- Air Conditioning (A/C) Compressor: Compresses refrigerant for the air conditioning system.
- Idler Pulley(s): Smooth, non-driven pulleys that guide the belt and maintain proper tension. The 2.0L EcoBoost usually has one or more idler pulleys to optimize belt wrap around other pulleys.
- Tensioner Pulley: A spring-loaded pulley that automatically adjusts to maintain the correct belt tension. This is critical for proper operation and preventing belt slippage. A faulty tensioner is a common cause of squealing belts.
- Serpentine Belt: A long, continuous belt made of reinforced rubber that transmits power from the crankshaft pulley to the other accessory pulleys. The material used on the belt provides good flexibility and resistance to heat.
Decoding Belt Diagram Symbols
Understanding the symbols used in the belt diagram is crucial for proper interpretation:
- Solid Lines: Indicate the path of the *outer* surface of the serpentine belt.
- Dashed Lines: Indicate the path of the *inner* (grooved) surface of the belt. This is crucial for knowing which pulleys the belt engages directly.
- Arrows: Show the direction of rotation for each pulley. This helps visualize how the belt transmits power.
- Component Icons: Represent each accessory component (alternator, water pump, etc.). These are often labeled with abbreviations (ALT, WP, PSP, AC).
- Tensioner Indicator: Shows the location of the tensioner pulley and the direction in which it moves to apply tension.
Many diagrams also use color-coding to differentiate sections of the belt path, or to highlight specific components. However, color is not always present, so rely primarily on the line types and component icons.
How the Serpentine Belt System Works
The serpentine belt system is a relatively simple but critical part of the engine. The crankshaft pulley, driven by the engine, provides the rotational force that powers all other accessories. The serpentine belt wraps around each pulley, transferring this rotational force to drive the alternator, water pump, power steering pump, and A/C compressor.
The tensioner pulley is vital for maintaining optimal belt tension. As the belt stretches over time, the tensioner automatically adjusts to compensate. Without a properly functioning tensioner, the belt can slip, leading to reduced performance from the accessories. For instance, a slipping alternator belt can cause a low battery voltage, or a slipping water pump belt can lead to overheating.
Real-World Use and Troubleshooting Tips
Here are some practical troubleshooting tips using the belt diagram:
- Squealing Noise: A common symptom of a worn or loose belt. Visually inspect the belt for cracks, fraying, or glazing (a shiny appearance). Also check the tensioner for proper movement and tension. Refer to the diagram to ensure the belt is routed correctly.
- Reduced Power Steering Assist: Could indicate a slipping belt affecting the power steering pump. Inspect the belt and tensioner.
- Overheating: A slipping water pump belt can cause overheating. Check the belt and tensioner immediately.
- Battery Not Charging: A slipping alternator belt will prevent the alternator from charging the battery. Check belt tension and condition.
- Visual Inspection: Using the diagram, carefully inspect the belt path. Ensure the belt is correctly seated in each pulley groove. Look for signs of wear or damage.
- Tensioner Movement: Observe the tensioner pulley while the engine is running. Excessive movement can indicate a worn tensioner or a stretched belt.
Before replacing the belt, take a picture of the existing belt routing. This can be invaluable if you encounter any difficulties during reinstallation.
Safety Precautions
Working on the serpentine belt system involves inherent risks. Always disconnect the negative battery cable before starting any work to prevent accidental electrical shock.
Warning: The engine can become extremely hot. Allow the engine to cool completely before working on the belt system to avoid burns.
Be especially cautious around the crankshaft pulley, as it is directly connected to the engine and can rotate unexpectedly if the engine is cranked. Keep hands and loose clothing away from moving parts.
Always wear safety glasses to protect your eyes from debris. When tensioning or releasing the belt tensioner, use the correct tools and follow the manufacturer's instructions. Improper use of tools can cause injury.
Acquiring the Diagram
Understanding the layout of the serpentine belt is paramount for effectively performing any maintenance tasks on your 2013 Ford Explorer with the 2.0L EcoBoost engine. We have a detailed belt diagram file available for you to download. This diagram provides a clear visual reference to aid you in your repairs and maintenance. Having the diagram on hand will save you time and ensure the correct installation every time.