2013 Ford Fusion 1.6 Serpentine Belt Diagram
Alright, let's talk serpentine belts on the 2013 Ford Fusion with the 1.6L EcoBoost engine. This isn't just about slapping a new belt on; it's about understanding the system. Having a solid serpentine belt diagram is crucial for everything from routine maintenance to diagnosing some pretty weird noises under the hood. Whether you're replacing a worn belt, trying to trace down a squeal, or just want a better understanding of your car's mechanics, knowing the belt path is essential. We've got the diagram available for download; more on that later. Consider this your comprehensive guide.
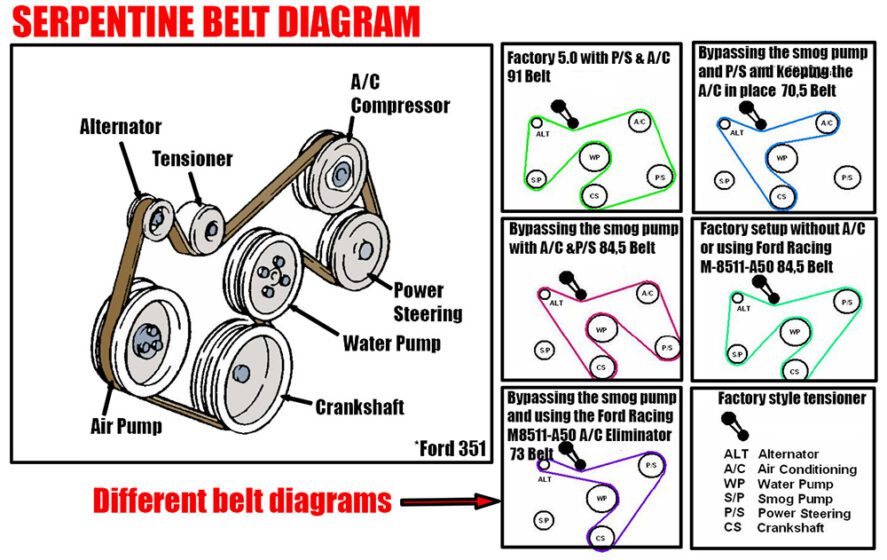
Purpose of the Serpentine Belt Diagram
The serpentine belt diagram isn't just a pretty picture; it's a roadmap for your engine's accessory drive system. Here’s why it’s vital:
- Proper Installation: The most obvious reason. A misrouted serpentine belt will cause accessories to fail, potentially damaging them and leaving you stranded. The diagram ensures the belt follows the correct path around all pulleys.
- Troubleshooting: Identifying which components are driven by the belt helps you diagnose problems. For instance, if your power steering fails, the diagram tells you if the power steering pump is on the serpentine belt circuit.
- Component Identification: Even if you’re not working on the belt itself, the diagram helps you identify the various pulleys and components driven by it.
- Preventative Maintenance: Understanding the belt's path allows you to inspect each pulley for wear, wobble, or misalignment. Catching these problems early can prevent catastrophic belt failure.
Key Specs and Main Parts
Let's get down to the nitty-gritty. The 2013 Ford Fusion 1.6L EcoBoost utilizes a specific serpentine belt designed to handle the load of multiple accessories. While belt lengths can vary *slightly* between manufacturers, a typical replacement belt will be around 82 inches long. Always verify the part number specified for your vehicle using your VIN to ensure correct fitment.
The main components of the serpentine belt system are:
- Crankshaft Pulley (Damper): Located at the bottom of the engine, it's driven directly by the engine's crankshaft and powers the entire serpentine system.
- Alternator Pulley: Powers the alternator, which charges the battery and provides electrical power to the vehicle.
- Air Conditioning (A/C) Compressor Pulley: Powers the A/C compressor, responsible for cooling the cabin.
- Water Pump Pulley: Driven by the belt, the water pump circulates coolant throughout the engine to prevent overheating.
- Power Steering Pump Pulley: Powers the power steering pump, providing hydraulic assistance for steering.
- Tensioner Pulley: Spring-loaded pulley that maintains the correct tension on the serpentine belt. This is critical for proper operation and belt longevity.
- Idler Pulley(s): Smooth pulleys that guide the belt and provide the necessary wrap around other pulleys. Not all configurations have idler pulleys, but this engine might.
Symbols and Diagram Conventions
Understanding the symbols used in the serpentine belt diagram is just as crucial as seeing the path itself. Here’s a breakdown of common conventions:
- Solid Lines: Typically represent the serpentine belt itself. The thickness of the line doesn't usually indicate anything specific, but it helps with visibility.
- Arrows: Indicate the direction of belt travel. Follow the arrows to trace the belt's path from one pulley to the next.
- Pulley Symbols: Each pulley is represented by a circle. The diameter of the circle doesn't usually correspond to the actual size of the pulley.
- Component Labels: Each pulley will be labeled with its corresponding component (e.g., ALT for alternator, A/C for A/C compressor, WP for water pump).
- Tensioner Symbol: The tensioner pulley is often depicted with a symbol indicating its spring-loaded action. This may look like a small spring or a curved arrow.
- Ribbed vs. Smooth Pulleys: Diagrams don't usually show whether a pulley is ribbed or smooth. However, remember that the ribbed side of the belt always contacts ribbed pulleys.
How It Works
The serpentine belt system is a masterpiece of efficient power transfer. The crankshaft pulley, driven by the engine, acts as the primary driver. As the crankshaft spins, it turns the serpentine belt, which in turn rotates all the other pulleys connected to it. Each pulley drives its respective accessory – alternator, A/C compressor, water pump, and power steering pump.
The tensioner pulley is the unsung hero of the system. It maintains constant tension on the belt, preventing slippage and ensuring optimal performance of all accessories. Without proper tension, the belt can slip, leading to reduced accessory output (e.g., weak A/C, poor battery charging) and, eventually, belt damage or failure.
The belt follows a precise path, maximizing contact with each pulley to prevent slippage. The idler pulleys, if present, guide the belt and ensure sufficient "wrap" around the driven pulleys. Sufficient wrap means the belt has enough contact area to effectively transfer power.
Real-World Use: Basic Troubleshooting
Here's where the serpentine belt diagram becomes your best friend when something goes wrong:
- Squealing Noise: A squealing noise, especially when the engine is first started or under load (e.g., turning on the A/C), is a classic sign of a slipping serpentine belt. Check the belt tensioner – is it moving excessively or making noise? Inspect the belt itself for cracks, glazing (a shiny, hardened surface), or missing ribs. The diagram helps you identify which accessories might be contributing to the noise based on when the squeal occurs (e.g., only when the A/C is on implicates the A/C compressor).
- Accessory Failure: If an accessory stops working (e.g., no power steering), use the diagram to confirm that it's driven by the serpentine belt. If it is, check the belt for breaks or slippage. Also, inspect the pulley on the failing accessory for signs of damage or seizure. A seized pulley will prevent the belt from moving, causing it to squeal, smoke, or even break.
- Belt Wear: Regularly inspect the serpentine belt for signs of wear, such as cracks, fraying, or missing ribs. The diagram helps you systematically inspect the entire length of the belt. Pay close attention to areas where the belt bends sharply around pulleys.
- Misalignment: If you notice the belt wearing unevenly or walking off a pulley, suspect misalignment. Use a straightedge to check the alignment of the pulleys. The diagram helps you identify the specific pulleys to check based on the belt's path.
Safety Considerations
Working on the serpentine belt system involves potential hazards. Here are some key safety precautions:
- Disconnect the Battery: Always disconnect the negative battery terminal before working on any electrical components, including the alternator. This prevents accidental shorts and potential electrocution.
- Hot Engine: Never work on the serpentine belt system when the engine is hot. Allow the engine to cool completely before starting any repairs. Exhaust components can cause severe burns.
- Moving Parts: The serpentine belt system contains rapidly moving parts. Keep your hands, clothing, and tools clear of the belt and pulleys when the engine is running. Even a momentarily loose wrench can cause serious damage.
- Tensioner Spring: The tensioner pulley is spring-loaded and can snap back forcefully when released. Use the correct tool to relieve tension and avoid injury. The tensioner can cause injury to fingers and hands if not released properly.
Finally, remember that diagnosing accessory drive problems can be complex. If you're not comfortable working on the serpentine belt system, it's best to consult a qualified mechanic. Better safe than sorry.
Okay, you've got the basics. Now, about that diagram we mentioned. We have a high-resolution, printable version of the 2013 Ford Fusion 1.6L EcoBoost Serpentine Belt Diagram ready for you. It's a valuable resource to keep handy in your garage. We will provide it upon request.