
2014 Ford Fusion Serpentine Belt Diagram
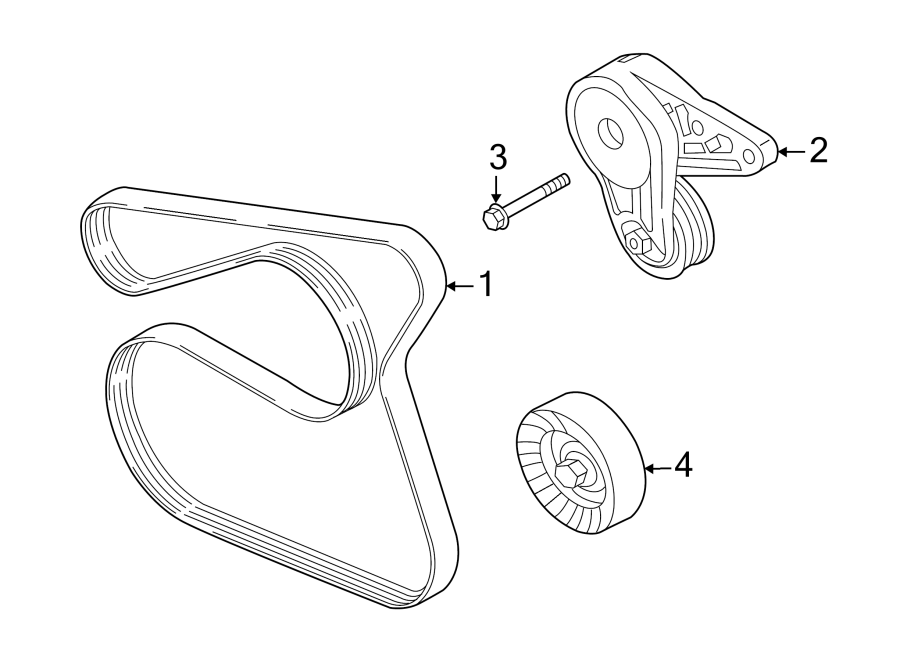
Alright folks, let's dive into the serpentine belt system on a 2014 Ford Fusion. Whether you're tackling some routine maintenance, diagnosing a squealing noise, or just want to understand how your engine's accessories are driven, this guide, and the downloadable diagram we'll mention later, will be your best friend. Knowing this system inside and out can save you serious cash and keep your Fusion running smoothly.
Purpose of the Serpentine Belt Diagram
Why is having a diagram of the serpentine belt routing so crucial? Think of it as the roadmap for your engine's accessory drive system. It's essential for several reasons:
- Replacing the Belt: The most obvious use case. If your belt is cracked, worn, or broken, a diagram is absolutely necessary to ensure you route the new belt correctly. A misrouted belt will lead to immediate problems, potentially damaging your accessories or causing complete engine failure if it snags something important.
- Troubleshooting: A squealing or slipping belt often points to a problem with one of the driven components. The diagram helps you identify each component quickly, allowing you to isolate the source of the issue.
- General Maintenance: Understanding the layout helps you inspect the belt and pulleys for wear and tear. Catching problems early prevents breakdowns.
- Education: Sometimes, you just want to learn how things work! Understanding the serpentine belt system is a great step towards understanding your engine as a whole.
Key Specs and Main Parts of the 2014 Ford Fusion Serpentine Belt System
The 2014 Ford Fusion's serpentine belt system, like most modern vehicles, is designed to drive several crucial engine accessories. The exact configuration may vary slightly depending on the engine (primarily the 2.5L, 1.5L EcoBoost, 1.6L EcoBoost, and 2.0L EcoBoost), but the basic principles remain the same. Here's a rundown of the key components:
- Crankshaft Pulley (Harmonic Balancer): This pulley is directly connected to the crankshaft and is the driving force behind the entire system. It's designed to dampen vibrations from the engine, which can be crucial for engine longevity.
- Serpentine Belt: The heart of the system. This long, single belt wraps around all the pulleys, transmitting power from the crankshaft to the accessories. It is typically made from a reinforced rubber compound to withstand high temperatures and friction.
- Alternator: This component generates electricity to power the car's electrical system and charge the battery. A faulty alternator can cause a multitude of electrical issues, from dimming lights to a dead battery.
- Power Steering Pump: This pump provides hydraulic pressure to assist with steering. If it fails, the steering wheel will become significantly harder to turn.
- Air Conditioning Compressor: This component compresses the refrigerant used in the air conditioning system. A failing compressor will result in a lack of cold air.
- Water Pump: This pump circulates coolant through the engine to prevent overheating. A malfunctioning water pump can lead to severe engine damage.
- Tensioner Pulley: This spring-loaded pulley maintains the proper tension on the serpentine belt. A worn or failing tensioner can cause belt slippage, noise, and premature belt wear.
- Idler Pulley(s): These smooth pulleys guide the belt around the various components. They don't drive any accessories themselves, but they help to maintain the correct belt path.
Decoding the Serpentine Belt Diagram: Symbols and Conventions
A good serpentine belt diagram isn't just a picture; it's a visual language. Here's what the common symbols and conventions represent:
- Solid Lines: These represent the path of the serpentine belt itself. The thickness of the line doesn't usually represent the actual belt thickness.
- Arrows: These indicate the direction of rotation of each pulley. Pay close attention to these, as they are crucial for correct belt routing.
- Component Labels: Each pulley will be labeled with a short abbreviation, such as ALT (alternator), P/S (power steering), A/C (air conditioning), WP (water pump), CRANK (crankshaft), TENS (tensioner), and IDLER.
- Surface Texture Representation: The diagram might try to differentiate between the smooth surface of idler pulleys and the grooved surface of other pulleys (e.g., the alternator or water pump). The side that is grooved is the grooved side and that is what the inside of the belt touches. The smooth side is for smooth pulleys.
- Routing Notes: Some diagrams may include notes indicating the routing around specific components, especially when there's a tight or unusual configuration.
How the Serpentine Belt System Works
The serpentine belt system operates on a simple principle: power transfer through friction. The crankshaft pulley, driven by the engine's combustion process, rotates. This rotation is then transferred to the serpentine belt, which is wrapped tightly around the other pulleys. The friction between the belt and the pulleys causes them to rotate, driving the accessories connected to those pulleys.
The tensioner pulley is critical to this process. It maintains the proper tension on the belt, ensuring that it doesn't slip. Too little tension, and the belt will slip, causing noise and reducing the effectiveness of the accessories. Too much tension, and the belt, pulleys, and accessory bearings can be damaged.
Real-World Use: Basic Troubleshooting Tips
Here are some common problems you might encounter and how the diagram can help:
- Squealing Noise: A squealing noise, especially when the engine is first started or under heavy load, is often a sign of a slipping belt. Use the diagram to check the belt tensioner for proper operation. Also, inspect the belt itself for signs of wear, cracks, or glazing. A diagram will help you identify which accessory might be causing the additional strain on the belt.
- Accessory Failure: If you notice that one of your accessories isn't working (e.g., the air conditioning isn't cold, the power steering is stiff, or the battery isn't charging), use the diagram to identify the pulley associated with that accessory. Check if the belt is properly engaged on that pulley and if the pulley is rotating when the engine is running.
- Belt Breakage: A broken belt is a serious problem. It can leave you stranded and potentially cause damage to other engine components. Before replacing the belt, use the diagram to carefully inspect all the pulleys for damage or misalignment. A misaligned pulley can cause premature belt wear and breakage. Consider using a belt alignment tool.
Safety Considerations
Working on the serpentine belt system involves some inherent risks. Always disconnect the negative battery cable before starting any work. This prevents accidental starting of the engine. Be extremely careful when working near the rotating crankshaft pulley. Never put your hands or tools near the belt while the engine is running. This could result in severe injury.
Specifically, the crankshaft pulley and the alternator are dangerous components. A wrench slipping on the crankshaft nut can cause serious injury if the engine is accidentally bumped. The alternator has a lot of electrical power going to it. And the air conditioning compressor, though not electrically dangerous on the outside, requires special skills and equipment to properly discharge and recharge the refrigerant. If the refrigerant is released, it is dangerous both for the environment and for your health.
It's also a good idea to wear safety glasses to protect your eyes from debris. And wear gloves to prevent skin irritation from the belt and pulleys.
We have the detailed serpentine belt diagram for the 2014 Ford Fusion readily available for you to download and use. You can [Provide a link to the diagram download]. Use it wisely and remember to prioritize safety!