2014 Nissan Titan Fuse Box Diagram
Alright, let's dive into the fuse box diagram for a 2014 Nissan Titan. This isn't just a pretty picture; it's your roadmap to electrical troubleshooting, customization, and potentially saving a ton of money on repairs. Think of it as the Rosetta Stone for your truck's electrical system. We'll break down the diagram, its symbols, and how to use it effectively.
Why You Need This Diagram
The primary reason to understand your Titan's fuse box diagram is for diagnostic and repair. When something electrical fails – a headlight goes out, the power windows stop working, the radio dies – the fuse box is the first place you should look. A blown fuse is a designed weak point in the circuit, protecting more expensive components from damage due to overcurrent. Replacing a fuse is significantly cheaper and easier than replacing a wiring harness, a control module, or even just a headlight assembly.
Beyond repairs, understanding the fuse box opens the door to modifications and upgrades. Adding auxiliary lights, installing a new sound system, or wiring in a trailer brake controller all require tapping into the electrical system. Knowing which fuse controls which circuit is crucial for safe and effective modifications. You don't want to accidentally overload a circuit or, worse, damage sensitive electronic components.
Finally, even just understanding the basic layout of your truck's electrical system can be incredibly empowering. It demystifies what can seem like a complex system and allows you to take a more active role in maintaining your vehicle. No more blindly trusting a mechanic; you can now understand what's going on under the hood (or, in this case, under the dash).
Key Specs and Main Parts
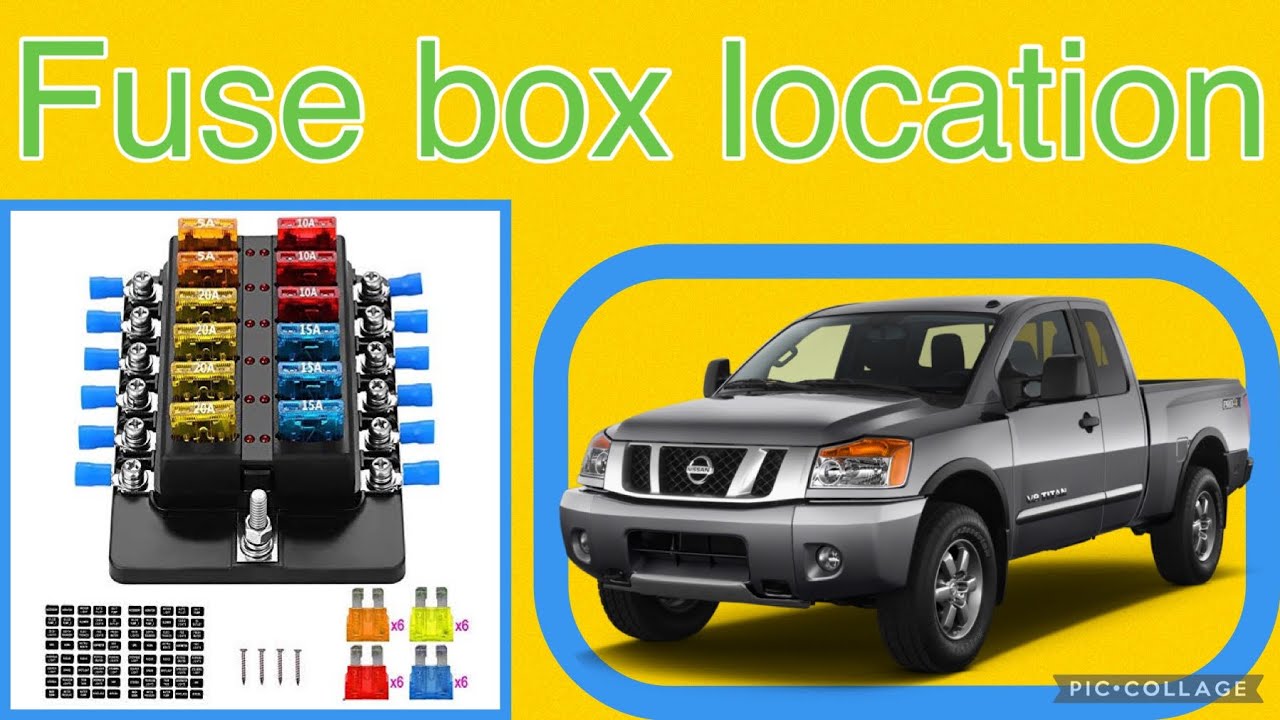
The 2014 Nissan Titan typically has two fuse box locations:
- Interior Fuse Box: Located inside the cabin, usually under the dashboard on the driver's side or behind a small access panel. This fuse box generally houses fuses for interior accessories like the radio, power windows, climate control, and interior lighting.
- Engine Compartment Fuse Box: Located under the hood, near the engine. This fuse box contains fuses for critical engine and drivetrain components, such as the fuel pump, ignition system, headlights, and starting system. It may be more than one box in the engine bay.
The diagram itself will list the following key information:
- Fuse Number: A numerical designation for each fuse (e.g., Fuse #1, Fuse #15).
- Ampere Rating (Amps): The amount of electrical current (measured in Amperes, or Amps) the fuse can handle before it blows. Common ratings are 5A, 7.5A, 10A, 15A, 20A, 25A, 30A, and higher. Never replace a fuse with one of a higher amperage rating. This can bypass the circuit protection and lead to overheating and potentially a fire.
- Circuit Designation: A brief description of the circuit the fuse protects (e.g., "Headlights," "Fuel Pump," "Radio").
- Relay Locations: Relays are electromechanical switches that control high-current circuits using a low-current signal. The diagram will identify the location and function of various relays within the fuse box (e.g., "Headlight Relay," "Fuel Pump Relay").
Understanding the Symbols and Layout
Fuse box diagrams aren't exactly works of art, but they use a standardized set of symbols and conventions to convey information efficiently. Here's a breakdown:
- Fuses: Fuses are typically represented by a small rectangular box with the ampere rating printed inside or nearby.
- Relays: Relays are usually depicted as a square or rectangular shape, often with a simplified schematic diagram inside showing the coil and switch contacts.
- Lines: Lines represent the electrical wiring connecting components. Different colors may be used to indicate different voltage levels or signal types, but this isn't always consistent across diagrams. Solid lines typically indicate a direct connection, while dashed or dotted lines may indicate a ground connection or a shared circuit.
- Colors: Fuse bodies themselves are color-coded to indicate their amperage rating. While the color-coding isn't universally standardized, a common convention is:
- Gray/Clear: 2A
- Violet: 3A
- Pink: 4A
- Orange: 5A
- Brown: 7.5A
- Red: 10A
- Blue: 15A
- Yellow: 20A
- Clear: 25A
- Green: 30A
- Icons: Some diagrams use icons to represent specific circuits or components, such as a headlight icon for the headlight circuit or a fuel pump icon for the fuel pump circuit. These icons are usually self-explanatory.
How It Works: The Electrical Flow
To effectively use the fuse box diagram, you need to understand the basic principles of electrical circuits. Electricity flows from the battery (the power source), through the wiring, to the various components in your truck (lights, motor, etc.). A fuse is placed in this circuit as a safety device. It contains a thin wire or strip of metal that is designed to melt and break the circuit if the current exceeds a certain level. This prevents excessive current from flowing through the circuit and potentially damaging the components or causing a fire.
The fuse box acts as a central distribution point for electrical power. Each fuse protects a specific circuit, ensuring that a fault in one circuit doesn't affect the entire electrical system. When a fuse blows, it's usually an indication of a problem in the circuit it protects. The problem could be a short circuit (a direct connection between the power and ground wires), an overloaded circuit (too many devices drawing current from the same circuit), or a faulty component.
Real-World Use: Basic Troubleshooting
Here's how you can use the fuse box diagram to troubleshoot common electrical problems:
- Identify the Problem: Determine which component is not working. For example, the right headlight is out.
- Consult the Diagram: Locate the fuse box diagram (usually in your owner's manual or available online - which is where you can download the file we mentioned). Find the fuse that corresponds to the right headlight circuit.
- Inspect the Fuse: Remove the fuse using a fuse puller (a small plastic tool designed for this purpose - needle nose pliers work in a pinch, but be careful not to damage anything). Visually inspect the fuse. If the thin wire inside the fuse is broken or blackened, the fuse is blown.
- Test the Fuse (Optional but Recommended): Use a multimeter set to continuity mode to test the fuse. If the multimeter shows no continuity (no beep or a reading of "OL" or "open circuit"), the fuse is blown.
- Replace the Fuse: Replace the blown fuse with a new fuse of the exact same amperage rating.
- Test the Circuit: Turn on the component to see if it now works. If the fuse blows again immediately, there's a persistent problem in the circuit that needs further investigation. This likely requires professional help.
Safety First: Handling Electrical Components
Working with electrical systems can be dangerous if you don't take the proper precautions. Here are some essential safety tips:
- Disconnect the Battery: Before working on any electrical components, disconnect the negative (-) battery cable. This will prevent accidental short circuits and electrical shocks.
- Use the Right Tools: Use insulated tools designed for working with electrical systems.
- Never Exceed the Fuse Rating: As mentioned earlier, never replace a fuse with one of a higher amperage rating. This can bypass the circuit protection and lead to overheating and potentially a fire.
- Avoid Water: Never work on electrical systems in wet or damp conditions. Water is a conductor of electricity and can increase the risk of electrical shock.
- High-Risk Components: Be particularly careful when working with components like the airbag system, anti-lock braking system (ABS), and engine control unit (ECU). These systems are sensitive and can be damaged by improper handling. If you're not comfortable working on these systems, it's best to leave it to a qualified mechanic. The airbag system, in particular, is something to leave to the professionals due to the risk of accidental deployment.
Armed with the 2014 Nissan Titan fuse box diagram and a basic understanding of electrical principles, you're well-equipped to tackle a wide range of electrical troubleshooting and modification projects. Remember to prioritize safety and consult a qualified mechanic if you encounter any problems you're not comfortable handling.
We have the 2014 Nissan Titan fuse box diagram file ready for you to download. Just look for the download link provided near this article.