2015 Honda Odyssey Serpentine Belt Diagram
For the intermediate car owner tackling maintenance or repairs on their 2015 Honda Odyssey, understanding the serpentine belt system is crucial. This isn't just about replacing a worn belt; it's about diagnosing issues, ensuring optimal accessory function, and preventing costly breakdowns. This article provides a comprehensive guide to the 2015 Honda Odyssey serpentine belt diagram, empowering you to work confidently and effectively on your vehicle.
Purpose of the Serpentine Belt Diagram
The serpentine belt diagram is your roadmap to understanding the layout and function of the serpentine belt system. It serves several key purposes:
- Repair Guidance: Provides a visual reference during belt replacement, ensuring correct routing. Incorrect routing can lead to accessory malfunction or belt failure.
- Diagnostic Tool: Helps identify potential issues within the system. For example, squealing noises can often be traced back to a misaligned pulley or failing component, which the diagram helps you locate.
- Preventative Maintenance: Allows you to visually inspect components for wear, damage, or misalignment, enabling proactive maintenance and preventing breakdowns.
- Learning Resource: Offers a clear understanding of how the engine drives various accessories and their relative positions.
Key Specs and Main Parts
The 2015 Honda Odyssey's serpentine belt system is designed to efficiently transfer power from the engine's crankshaft to several crucial accessories. Understanding the key specs and components is vital:
Main Components:
- Crankshaft Pulley: The driving force of the system, connected directly to the engine's crankshaft. Its rotation drives the serpentine belt.
- Alternator Pulley: Powered by the serpentine belt, the alternator generates electricity to charge the battery and power electrical systems.
- Power Steering Pump Pulley: This pulley drives the power steering pump, providing hydraulic assistance for steering.
- Air Conditioning Compressor Pulley: Engages and disengages to drive the A/C compressor, which cools the cabin.
- Idler Pulleys: Smooth, unpowered pulleys that guide the belt and maintain proper tension and routing, preventing excessive wear.
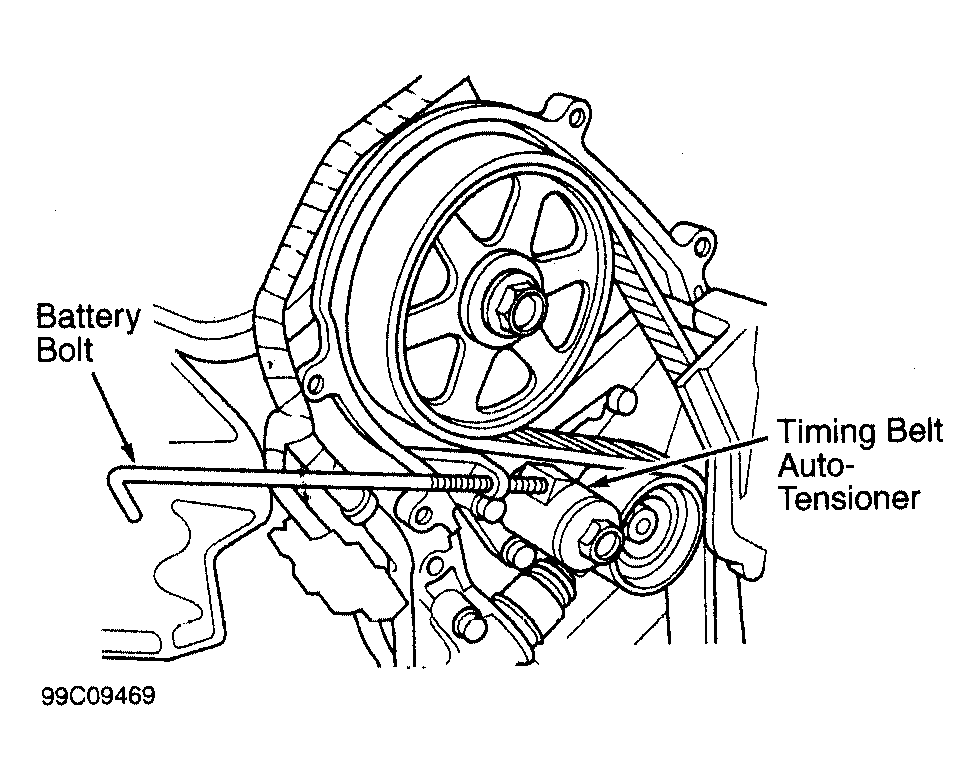
- Tensioner Pulley: This is a spring-loaded pulley (or hydraulic, although usually spring-loaded in this application) designed to maintain constant tension on the serpentine belt as it stretches with use. It's critical for optimal system performance and belt longevity.
Key Specs (Typical):
While specific belt lengths may vary slightly based on manufacturing tolerances, the 2015 Honda Odyssey typically uses a serpentine belt with the following characteristics:
Length: Approximately 90-92 inches (this varies, ALWAYS consult your vehicle's specific service manual or VIN lookup for the correct part).
Width: Approximately 0.8 inches.
Number of Ribs: Typically 6 (also needs to be verified against your vehicle's specifications).
Important Note: Always verify the specific belt length and rib count for your vehicle using a reputable parts catalog or the vehicle's VIN. Using the wrong belt can cause performance issues or damage to the accessories.
Symbols and Diagram Interpretation
Serpentine belt diagrams use a standard set of symbols and conventions to represent the system's components and belt routing. Understanding these symbols is crucial for accurate interpretation.
- Solid Lines: Represent the serpentine belt itself, showing its path around the various pulleys.
- Arrows: Indicate the direction of belt rotation around each pulley. Pay close attention to these arrows as they define the correct routing.
- Component Icons: Simplified drawings of the pulleys and accessories, often labeled with abbreviations (ALT for alternator, P/S for power steering, A/C for air conditioning).
- Text Labels: Provide additional information about each component, such as its name or function.
- Dotted Lines: May be used to indicate the path of the belt on the back side of pulleys (where you can't directly see it).
The most crucial aspect of interpreting the diagram is understanding the belt routing. The belt *must* follow the exact path depicted to ensure proper operation of all accessories. Pay particular attention to the direction of rotation arrows and the order in which the belt wraps around each pulley.
How It Works
The serpentine belt system's operation is relatively straightforward:
- The engine's crankshaft rotates, driving the crankshaft pulley.
- The crankshaft pulley, in turn, drives the serpentine belt.
- The serpentine belt wraps around the various accessory pulleys (alternator, power steering pump, A/C compressor), causing them to rotate.
- Each accessory then performs its intended function (generating electricity, providing power steering assist, cooling the cabin).
- The tensioner pulley maintains constant tension on the belt, preventing slippage and ensuring optimal accessory performance.
The tensioner is especially important. If the tensioner fails, the belt can slip, leading to reduced accessory performance (e.g., dim headlights, weak power steering, poor A/C cooling). A slipping belt can also overheat and fail prematurely.
Real-World Use and Troubleshooting
Here are some practical tips for using the serpentine belt diagram in real-world troubleshooting scenarios:
- Squealing Noises: A common symptom of a slipping belt. Use the diagram to visually inspect the belt for cracks, glazing, or wear. Check the tensioner for proper function. Also, check the alignment of all pulleys. Misalignment can cause premature wear and noise.
- Accessory Malfunction: If an accessory is not functioning properly (e.g., alternator not charging, power steering not working), use the diagram to verify that the belt is properly routed around the corresponding pulley. Check the belt tension and inspect the pulley for damage.
- Belt Replacement: When replacing the belt, carefully follow the diagram to ensure correct routing. It's a good practice to take pictures of the old belt's routing before removal for reference.
- Tensioner Inspection: When replacing the belt, inspect the tensioner for smooth operation and proper spring tension. A weak tensioner should be replaced along with the belt.
Safety Considerations
Working on the serpentine belt system involves potential hazards. Here are some safety precautions to keep in mind:
- Disconnect the Battery: Always disconnect the negative battery terminal before working on the system to prevent electrical shorts.
- Engine Off and Cool: Ensure the engine is completely off and cool before working near the belt. A running engine can cause serious injury.
- Keep Hands and Clothing Clear: Keep your hands, clothing, and tools clear of the belt and pulleys when the engine is running.
- Beware of the Tensioner: The tensioner is under spring tension. Use the appropriate tool to relieve the tension when removing or installing the belt. Improperly releasing the tensioner can cause injury.
- Eye Protection: Wear safety glasses to protect your eyes from debris.
The alternator can store a significant amount of electricity even after the battery is disconnected. Exercise caution when working near the alternator's terminals.
By understanding the 2015 Honda Odyssey serpentine belt diagram and following proper safety procedures, you can confidently tackle maintenance and repairs on your vehicle's serpentine belt system. This knowledge will save you money, prevent breakdowns, and enhance your understanding of automotive mechanics.
We have a high-resolution, printable version of the 2015 Honda Odyssey serpentine belt diagram available for download. This resource will be a valuable addition to your toolbox!