2016 Chevy Traverse Serpentine Belt Diagram
The serpentine belt in your 2016 Chevy Traverse is a critical component, responsible for powering several essential systems. A clear understanding of its routing, as depicted in the serpentine belt diagram, is vital for maintenance, troubleshooting, and repairs. This guide will provide a detailed breakdown of the diagram, equipping you with the knowledge to confidently tackle related tasks.
Purpose of the Serpentine Belt Diagram
The serpentine belt diagram serves as a visual roadmap for the belt's routing around various engine components. Its primary purpose is to ensure correct installation following removal for maintenance, repair, or replacement of the belt itself or any of the components it drives. Without this guide, re-installing the belt correctly becomes a guessing game, potentially leading to incorrect routing, premature wear, and damage to your vehicle.
More specifically, the diagram allows you to:
- Accurately reinstall the belt after component replacement (water pump, alternator, power steering pump, AC compressor, etc.).
- Identify potential issues such as misaligned pulleys or incorrect belt tension.
- Verify correct belt routing following work performed by others.
- Gain a better understanding of the engine's accessory drive system.
Key Specs and Main Parts in the 2016 Traverse Serpentine Belt System
The 2016 Chevy Traverse, depending on the specific trim and engine configuration, generally utilizes a single serpentine belt to drive the following components:
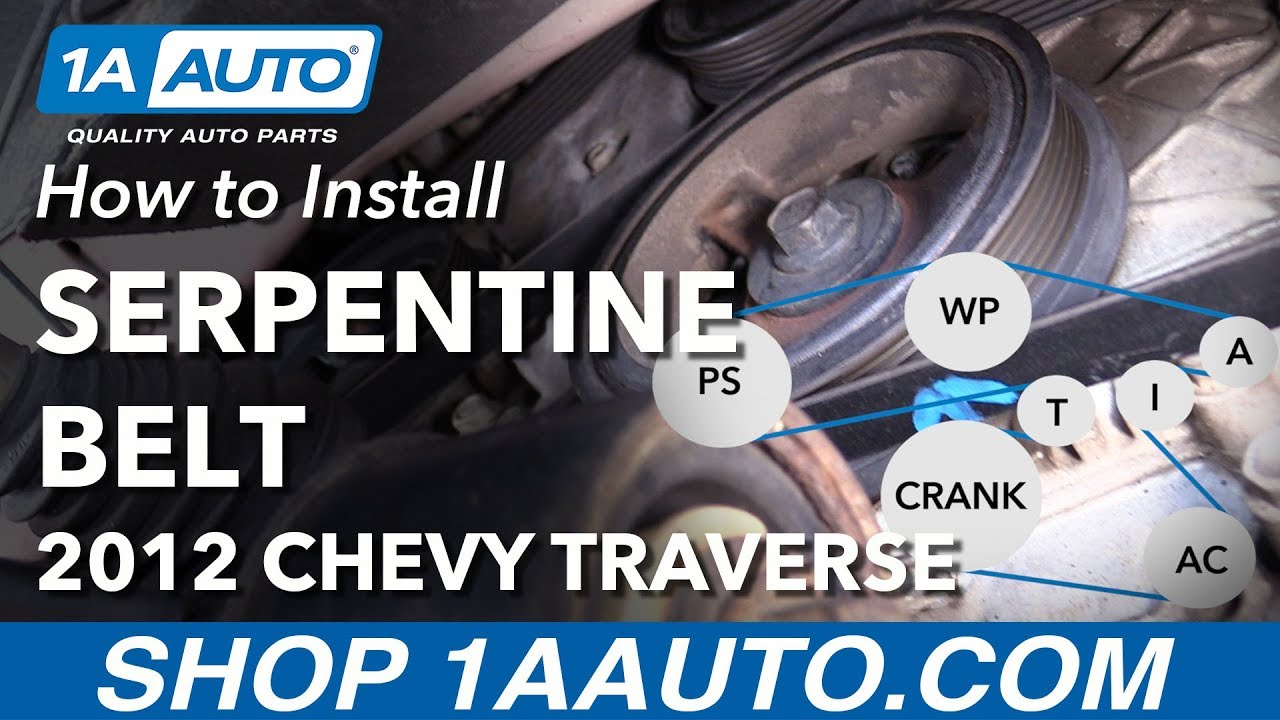
- Crankshaft Pulley: This is the driving pulley, connected directly to the engine's crankshaft. It provides the rotational force that powers the entire serpentine belt system.
- Alternator: The alternator is responsible for generating electrical power to charge the battery and run the vehicle's electrical systems.
- Power Steering Pump: This pump provides hydraulic pressure to assist with steering.
- Air Conditioning (A/C) Compressor: The compressor circulates refrigerant through the A/C system, providing cool air.
- Water Pump: The water pump circulates coolant throughout the engine, preventing overheating.
- Tensioner Pulley: The tensioner maintains proper belt tension. It is spring-loaded and often has a pulley that contacts the belt. It is critical for preventing slippage and ensuring optimal performance. The tensioner applies force to the belt, keeping it taut.
- Idler Pulley(s): These pulleys are used to guide the belt and maintain proper wrap angle around the driven components. They simply spin freely and don't drive any accessories.
Key Specs: While belt length varies slightly depending on options, it's critical to use the exact belt specified for your vehicle. Consult your owner's manual or a reputable parts supplier to identify the correct belt Part Number for your specific 2016 Chevy Traverse configuration. Using an incorrect belt length will either be too loose (causing slippage) or too tight (causing premature bearing failure and potential damage to driven components). Belt width is typically a standardized dimension, but verifying compatibility is always recommended.
Symbols and Diagram Interpretation
Serpentine belt diagrams typically use a consistent set of symbols. Understanding these symbols is crucial for interpreting the diagram correctly:
- Solid Lines: Represent the serpentine belt itself. The line traces the path of the belt around each pulley.
- Arrows: Indicate the direction of belt travel. Follow the arrows to ensure the belt is routed in the correct direction around each pulley.
- Circles: Represent pulleys. The size of the circle doesn't necessarily indicate the actual pulley size but rather distinguishes them on the diagram.
- Text Labels: Identify each pulley, such as "Crankshaft," "Alternator," "Power Steering," "A/C Compressor," "Tensioner," and "Idler."
- Tensioner Symbol: The tensioner pulley is often depicted with a spring symbol or a small arrow indicating the direction of tension applied to the belt. Sometimes the tensioner pulley will have a small drawing showing the belt around it that is dotted to indicate that this is the slack portion of the belt that allows the tensioner to adjust.
Many diagrams also incorporate subtle visual cues to differentiate between grooved and smooth pulleys. Grooved pulleys typically drive components (alternator, power steering pump, etc.), while smooth pulleys are often idler pulleys. The lines on a pulley representing the grooves will be very small and parallel to each other, but are very easily identifiable. The absence of these lines indicate the smooth pulleys. Carefully review the diagram to understand the belt's path around each pulley.
How It Works: The Serpentine Belt in Action
The serpentine belt system works by transferring rotational energy from the engine's crankshaft to various accessories. The crankshaft pulley drives the serpentine belt, which, in turn, spins the pulleys of the alternator, power steering pump, A/C compressor, and water pump. The tensioner pulley maintains constant tension on the belt, preventing slippage and ensuring efficient power transfer.
Proper belt tension is crucial. Too loose, and the belt will slip, leading to reduced performance of the driven components (e.g., weak A/C, poor power steering). Too tight, and the belt will put excessive stress on the bearings of the driven components, leading to premature failure. The tensioner is designed to compensate for slight variations in belt length due to wear and temperature changes.
Real-World Use and Basic Troubleshooting
The serpentine belt diagram is invaluable during troubleshooting. Here are some common issues and how the diagram can help:
- Squealing Noise: A squealing noise often indicates a slipping serpentine belt. Check the belt's tension and condition. Use the diagram to visually inspect the belt's routing and ensure it's properly seated on all pulleys. If the belt is glazed, cracked, or worn, replace it. Also, inspect the pulleys themselves for damage or contamination.
- Accessory Malfunction: If an accessory stops working (e.g., alternator not charging, A/C not cooling), check the serpentine belt. A broken or severely damaged belt will prevent the accessory from functioning. Use the diagram to verify the belt's routing and condition.
- Belt Off Pulley: Use the diagram to make sure your belt is seated on the pulleys the correct way. Follow the belt's correct path on the diagram to ensure all pulleys have the belt on the correct part of them (e.g., ribbed side of the belt on the grooved pulley).
- Incorrect Routing After Repair: If you or someone else has recently worked on the engine, double-check the serpentine belt routing using the diagram. Incorrect routing can lead to serious engine damage.
When replacing the serpentine belt, always note the existing belt's routing before removing it. Take a photo or make a sketch to ensure you can reinstall the new belt correctly. After installation, double-check the routing against the diagram to confirm its accuracy.
Safety Considerations
Working with the serpentine belt system involves potential hazards. Always disconnect the negative battery cable before working on the system to prevent electrical shock. Never put your hands or tools near the serpentine belt while the engine is running. The rotating belt and pulleys can cause serious injury. Exercise caution when working around the tensioner, as it is spring-loaded and can snap back unexpectedly. Wear safety glasses to protect your eyes from debris.
The cooling fan is also a significant hazard. Even with the engine off, the fan can sometimes spin freely. Be mindful of its location and avoid contact. High heat components like the exhaust manifold are also nearby and should be avoided as contact will cause severe burns.
Remember, if you're uncomfortable performing any of these tasks, consult a qualified mechanic.
For your convenience, we have a high-resolution serpentine belt diagram file available for download. This will provide you with a clear and detailed visual aid for all your maintenance and repair needs.