2016 Hyundai Sonata Serpentine Belt Diagram
Alright, let's talk about the serpentine belt diagram for a 2016 Hyundai Sonata. If you're tackling a repair, preventative maintenance, or simply trying to understand your engine bay a little better, this diagram is absolutely crucial. We're going to break it down in a way that makes sense, even if you’re not a professional mechanic, but have some experience under the hood.
Purpose of the Serpentine Belt Diagram
Why is a serpentine belt diagram so important? Simple: it's your roadmap for the engine's accessory drive system. Without it, replacing the belt, diagnosing squeals, or identifying failing components becomes a guessing game. The diagram shows the precise routing of the belt around the various pulleys, ensuring proper tension and operation of essential components like the:
- Alternator: Charges the battery and powers electrical systems.
- Power Steering Pump: Provides hydraulic assistance for steering.
- Air Conditioning Compressor: Cools the cabin air.
- Water Pump: Circulates coolant to regulate engine temperature.
Using the diagram allows for accurate belt replacement, which prevents potential damage to these vital accessories. A misrouted belt can slip, causing accessories to malfunction, overheat, or even fail completely. Beyond replacement, the diagram assists in diagnosing problems. A squealing belt, for instance, might indicate a worn belt, a misaligned pulley, or a failing bearing on one of the accessories. The diagram helps pinpoint the location of the squeal and therefore the potential problem area.
Key Specs and Main Parts
The 2016 Hyundai Sonata came with a few different engine options. Therefore, it's vital to confirm you're using the correct diagram for your specific engine. The most common engine is the 2.4L GDI (Gasoline Direct Injection) inline-4, but there's also a 2.0L Turbo and a Hybrid model, each with a potentially different belt routing.
The main parts indicated on the diagram are:
- Crankshaft Pulley (or Harmonic Balancer): The driven pulley connected directly to the engine's crankshaft. This is the source of the rotational power for the entire accessory drive.
- Alternator Pulley: Powers the alternator.
- Power Steering Pump Pulley: Powers the power steering pump.
- Air Conditioning Compressor Pulley: Powers the AC compressor.
- Water Pump Pulley: Powers the water pump.
- Tensioner Pulley: A spring-loaded pulley that maintains the correct tension on the belt. This is often the culprit when a belt squeals.
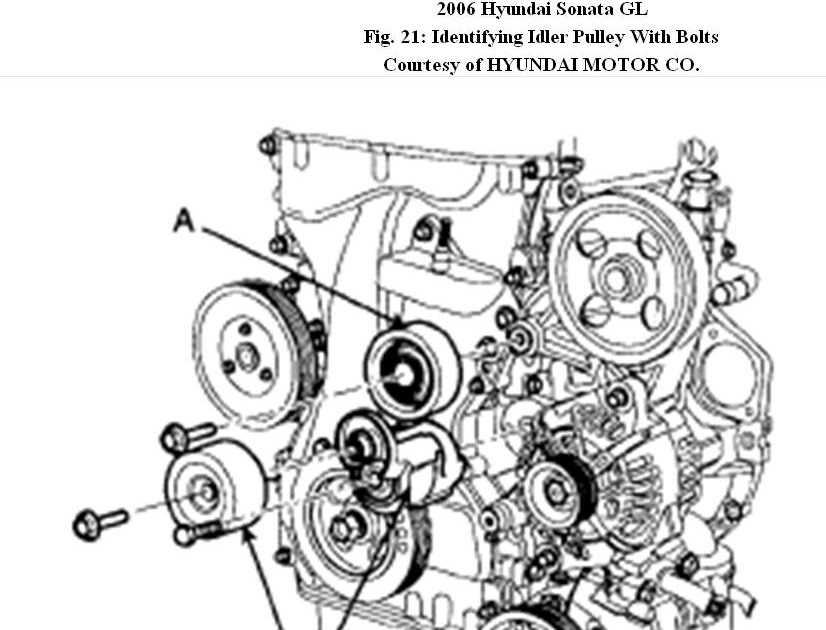
- Idler Pulley (if equipped): A smooth pulley used to guide the belt around components and optimize belt wrap (the amount of contact the belt has with each pulley).
- Serpentine Belt: The heart of the system, a single, continuous belt that snakes around all the pulleys.
Important specifications to keep in mind are the belt length and width. Always consult your owner's manual or a reputable parts supplier to ensure you get the correct replacement belt. Using the wrong size can lead to improper tension, premature wear, and accessory failure.
Symbols and Conventions
Serpentine belt diagrams use a few standard conventions to represent the components and belt path. Understanding these symbols will make the diagram much easier to interpret:
- Solid Lines: Typically represent the portion of the belt that is visible from the front of the engine.
- Dashed Lines: Usually indicate the portion of the belt that is hidden behind other components.
- Arrows: Show the direction of belt travel around each pulley. Follow the arrows to trace the entire belt path.
- Pulleys: Represented by circles. Some diagrams might differentiate between grooved pulleys (which drive the belt) and smooth pulleys (idler pulleys).
- Tensioner: The tensioner pulley is often indicated with a special symbol, sometimes resembling a spring or lever.
Color-coding isn't universally used in serpentine belt diagrams, but some diagrams may use different colors to highlight specific sections of the belt path or to differentiate between different engine configurations. Always refer to the diagram's legend if colors are used.
How It Works
The serpentine belt system is relatively simple in principle. The crankshaft pulley, driven by the engine's rotation, transfers power to all the other accessories through the serpentine belt. As the crankshaft rotates, it spins the belt, which in turn spins the pulleys attached to the alternator, power steering pump, AC compressor, and water pump. The tensioner pulley is crucial for maintaining the correct amount of tension on the belt. Too little tension will cause the belt to slip, while too much tension can damage the belt, pulleys, or accessory bearings.
The belt routing is carefully designed to maximize belt wrap around each pulley. Belt wrap refers to the amount of contact the belt has with the pulley's surface. Greater belt wrap provides more grip and reduces the chance of slippage. Idler pulleys are often used to increase belt wrap and optimize the belt's path.
Real-World Use and Troubleshooting
Let's look at some common issues and how the diagram can help:
- Squealing Belt: A squealing belt is often a sign of slippage. Check the belt tensioner. If the tensioner arm is moving excessively or the belt looks glazed, the belt might be worn and need replacing. Use the diagram to ensure the new belt is routed correctly. Also, inspect all pulleys for any signs of damage or misalignment.
- Accessory Failure: If an accessory stops working (e.g., the AC blowing warm air), first check the belt to ensure it's still intact and properly routed. Then, verify that the accessory pulley is actually spinning when the engine is running. If the pulley isn't spinning, the belt might be broken or the pulley's bearing might be seized.
- Belt Wear: Inspect the belt regularly for cracks, fraying, or missing chunks. These are signs of wear and indicate that the belt needs to be replaced. Compare the routing of your existing belt to the diagram before replacing it to prevent errors.
When replacing the serpentine belt, always release the tension on the tensioner pulley before removing the old belt. Many tensioners have a square hole or a bolt head that can be used to rotate the tensioner arm and relieve the tension. After installing the new belt, double-check the routing against the diagram to ensure it's correct.
Safety Precautions
Working around the engine bay can be dangerous if proper precautions aren't taken:
- Disconnect the Battery: Always disconnect the negative battery terminal before working on any electrical components.
- Engine Temperature: Never work on the engine while it's hot. Allow it to cool down completely to prevent burns.
- Moving Parts: Be extremely careful when working around the serpentine belt while the engine is running. Keep your hands, clothing, and tools clear of the belt and pulleys. A running serpentine belt can cause serious injury.
- Tensioner Spring: The tensioner pulley spring is under significant tension. Use caution when releasing the tension and be prepared for the tensioner arm to snap back.
The alternator is a particularly risky component. Even after the engine is off, the capacitors inside the alternator can retain a charge. Disconnecting the battery minimizes this risk, but it's still a good idea to avoid touching the alternator terminals unnecessarily.
By understanding the serpentine belt system and following the diagram carefully, you can confidently diagnose problems, perform routine maintenance, and keep your 2016 Hyundai Sonata running smoothly. Remember to double-check your work, and if you're ever unsure about something, consult a qualified mechanic.
We have access to detailed serpentine belt diagrams for all 2016 Hyundai Sonata engine variants, including the 2.4L GDI, 2.0L Turbo, and Hybrid models. Please reach out to us to download the correct diagram for your specific vehicle.