2017 Dodge Journey Serpentine Belt Diagram
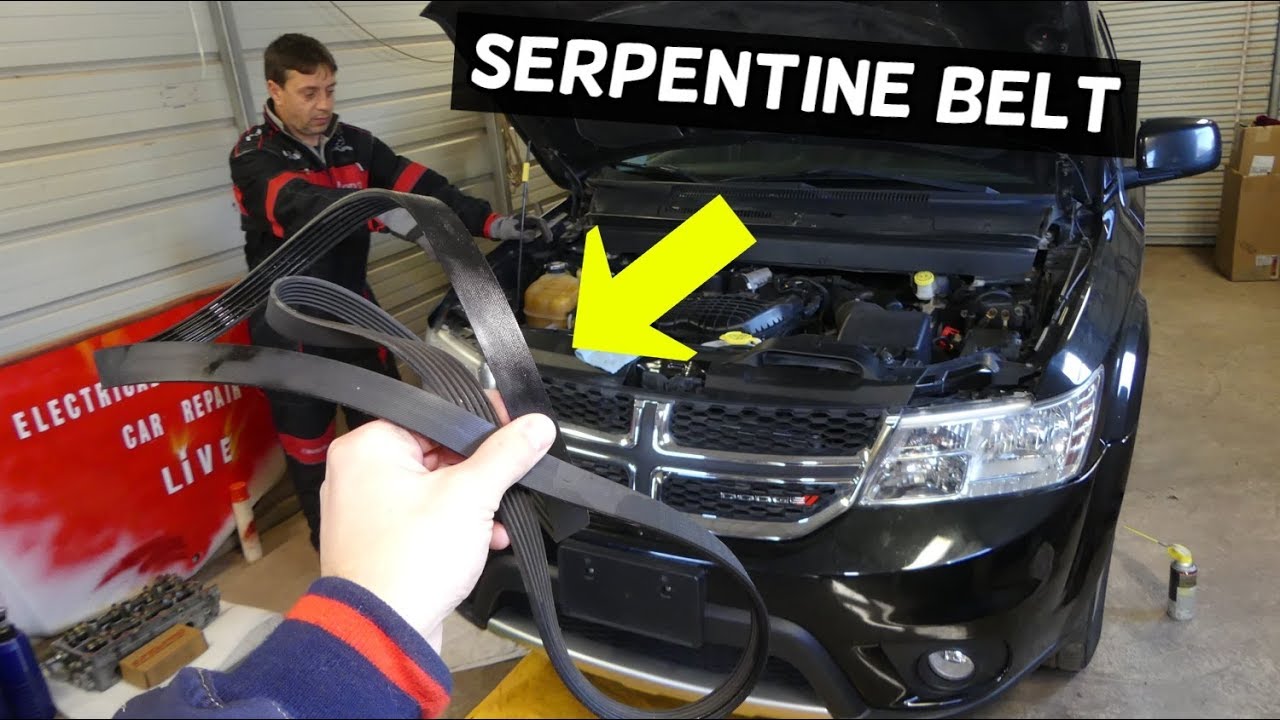
Let's talk about the serpentine belt diagram for your 2017 Dodge Journey. Whether you're tackling a repair, planning some preventative maintenance, or just trying to better understand your vehicle, having a clear understanding of the serpentine belt system is crucial. This isn’t just a simple rubber band; it’s the lifeline powering essential accessories and knowing its layout can save you time, money, and potential headaches.
Purpose of the Serpentine Belt Diagram
Why bother with a serpentine belt diagram? Several reasons jump to mind:
- Replacement and Installation: The most common use. When replacing a worn or broken belt, the diagram shows you the correct routing. A misrouted belt can lead to accessory failure and even engine damage.
- Troubleshooting: A squealing or slipping belt can indicate a problem with one of the accessories or the belt tensioner. The diagram allows you to inspect each component in the system.
- Maintenance and Inspection: Regular inspection of the belt and pulleys is part of preventative maintenance. The diagram helps you identify each pulley and check for wear, damage, or misalignment.
- General Knowledge: Understanding how your engine accessories are driven can improve your overall understanding of your vehicle.
Key Specs and Main Parts
The 2017 Dodge Journey typically uses either a 2.4L inline-4 engine or a 3.6L V6 engine. The serpentine belt routing differs slightly between these two engines, so it’s critical to use the correct diagram for your specific engine. The diagram will show the belt path around the following components:
- Crankshaft Pulley (Crank Pulley): The driving force behind the entire system. It’s connected directly to the engine's crankshaft.
- Alternator Pulley: Powers the vehicle's electrical system and charges the battery.
- Power Steering Pump Pulley: Provides hydraulic pressure to assist steering.
- Air Conditioning Compressor Pulley: Engages to compress refrigerant and cool the cabin.
- Idler Pulley(s): Smooth, unpowered pulleys that guide the belt and maintain the correct wrap angle on other pulleys.
- Tensioner Pulley: A spring-loaded pulley that maintains the correct tension on the belt, preventing slippage and premature wear. This is a critical component; a failing tensioner can cause belt failure and damage other accessories. The tensioner pulley can be manually adjusted or use an automatic tensioner which requires a wrench to relieve tension when removing or installing the belt.
Beyond these components, the belt itself is a critical spec. Ensure you use the correct belt length and width specified for your 2017 Dodge Journey engine. Refer to your owner’s manual or a reputable auto parts store for the correct part number.
Symbols and Diagram Interpretation
Serpentine belt diagrams are usually simple, but it's crucial to understand the symbols used:
- Solid Lines: Represent the belt itself. The thicker the line, sometimes, indicates the side of the belt that has the ribs.
- Arrows: Indicate the direction of belt travel. Follow these carefully when routing the belt.
- Circles: Represent pulleys. These are usually labeled with abbreviations indicating their function (e.g., ALT for alternator, P/S for power steering).
- Rough texture on pulley icon: Indicates that the pulley is ribbed and has contact with the ribbed side of the belt. Smooth pulleys engage the smooth side of the belt.
- Text Labels: Identify each component and often include torque specifications for bolts.
Pay close attention to the direction of the belt as it wraps around each pulley. Some pulleys use the ribbed side of the belt, while others use the smooth side. Routing the belt incorrectly can cause immediate failure and damage components.
How It Works
The serpentine belt system is elegantly simple. The engine's crankshaft rotates the crankshaft pulley, which in turn drives the serpentine belt. The belt then transfers this rotational energy to all the other pulleys connected to the accessories. The tensioner pulley maintains the correct tension on the belt, ensuring adequate grip and preventing slippage. Proper belt tension is essential for efficient operation of all the accessories. The air-conditioning compressor will only engage when cooling is requested from the user. When engaged a magnetic clutch will activate pulling the pulley into the compressor.
Think of it as a series of gears, but instead of interlocking teeth, it's a flexible belt providing the connection. If the belt is too loose, it will slip, leading to reduced performance of the accessories. If it's too tight, it can put excessive strain on the pulleys and bearings, leading to premature failure.
Real-World Use and Troubleshooting
Here are some common serpentine belt issues and how to troubleshoot them using the diagram:
- Squealing Belt: Often caused by a loose belt. Check the tensioner pulley to ensure it's functioning correctly. The squealing could also be caused by a glazed or worn belt. Replacing the belt often resolves this issue. Also, inspect the pulleys to verify that they are properly aligned.
- Slipping Belt: Can occur in wet conditions or if the belt is worn. Inspect the belt for cracks, fraying, or glazing. Replace the belt if necessary.
- Accessory Failure: If an accessory isn't working (e.g., the alternator isn't charging the battery), check the belt to ensure it's properly routed and tensioned. Also check the pulley to verify that it can spin freely.
- Belt Shredding or Breaking: This is often a sign of a more serious problem, such as a seized pulley or a misaligned component. Inspect all the pulleys for damage or binding. A failing tensioner can also cause belt shredding. Never ignore this issue.
When troubleshooting, use the diagram to systematically inspect each component. Look for signs of wear, damage, or misalignment. If you're unsure about any component, consult a qualified mechanic.
Safety Considerations
Working on the serpentine belt system can be dangerous if you're not careful. Here are some key safety points:
- Disconnect the Battery: Before working on any electrical components, disconnect the negative battery terminal to prevent accidental shorts.
- Engine Off and Cool: Never work on the serpentine belt system while the engine is running or hot.
- Moving Parts: Be extremely cautious around the moving belt and pulleys. Keep your hands, hair, and clothing clear.
- Spring Tension: The tensioner pulley is spring-loaded and can snap back with considerable force. Use the correct tools to relieve the tension.
- Eye Protection: Wear safety glasses to protect your eyes from debris.
The alternator is a high-voltage component even with the car turned off. Power steering pumps are another potentially messy item to work on. If you're not comfortable working on these components, seek professional assistance.
In conclusion, the serpentine belt diagram is an invaluable tool for maintaining and repairing your 2017 Dodge Journey. By understanding its purpose, key components, symbols, and how it works, you can confidently tackle many common issues. Remember to prioritize safety and consult a professional when needed. We have access to a detailed, high-resolution diagram specifically for your 2017 Dodge Journey and can make it available to you. This diagram includes all the necessary routing information, torque specifications, and component details you'll need for successful repairs. Happy wrenching!