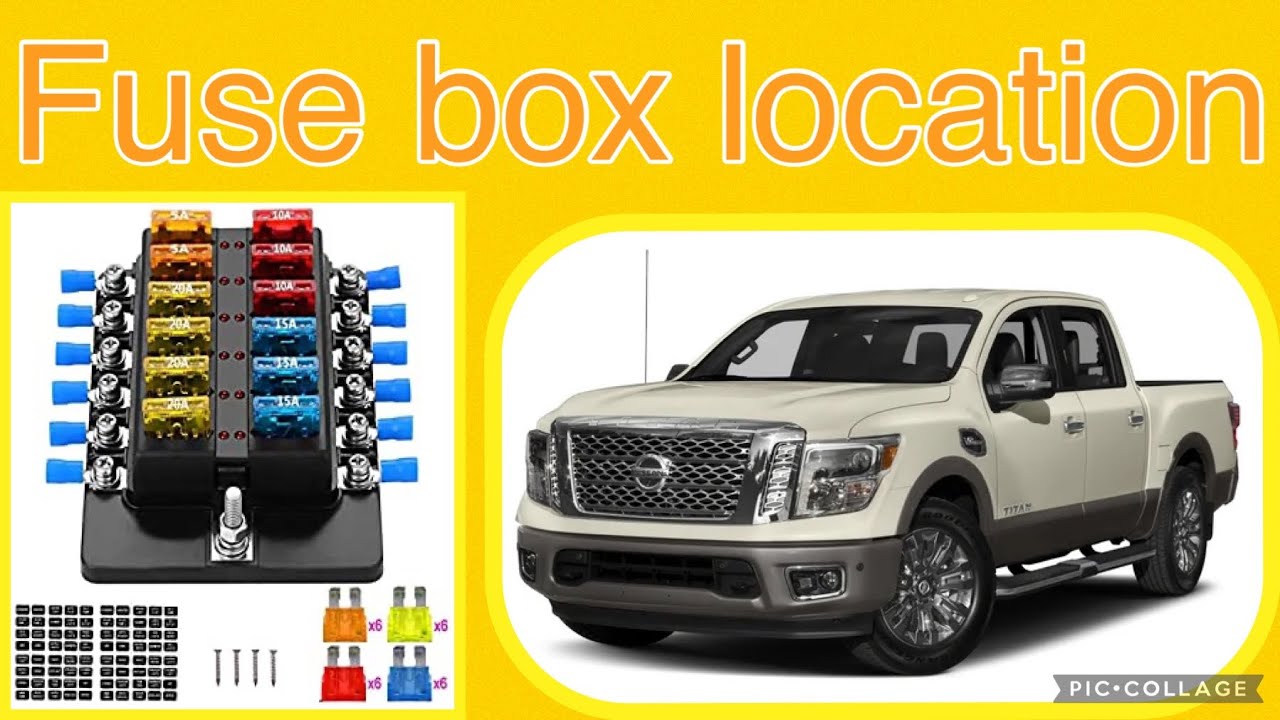
2017 Nissan Titan Fuse Box Diagram
Understanding your vehicle's electrical system is crucial for both routine maintenance and tackling more complex repairs. The 2017 Nissan Titan's fuse box diagram is your roadmap to navigating this system, enabling you to diagnose and resolve electrical issues efficiently. This guide provides an in-depth look at the diagram, its key components, and how to use it effectively. We will also cover safety considerations and provide troubleshooting tips to help you confidently work on your Titan's electrical system.
Purpose of the 2017 Nissan Titan Fuse Box Diagram
The primary purpose of the fuse box diagram is to provide a clear and organized representation of the fuses and relays within your 2017 Nissan Titan's electrical system. This diagram is essential for several reasons:
- Troubleshooting Electrical Problems: When an electrical component malfunctions, the diagram helps you quickly identify the corresponding fuse or relay.
- Performing Repairs: Locating and replacing a blown fuse becomes a simple task, saving you time and money.
- Adding Aftermarket Accessories: If you're planning to install accessories like lights, sound systems, or a trailer brake controller, understanding the fuse box layout is vital for safely tapping into the electrical system.
- General Understanding: Even if you don't plan on performing any repairs, having a basic understanding of the electrical system can give you greater insight into your vehicle's operation.
Key Specs and Main Parts
The 2017 Nissan Titan typically has multiple fuse boxes, each serving different circuits and functions. The locations and content will depend on the trim level and options the vehicle came with. The main fuse box locations are:
- Interior Fuse Box: Located inside the cabin, often under the dashboard on the driver's side. This box typically controls interior components like lights, radio, power windows, and the instrument cluster.
- Engine Compartment Fuse Box: Located under the hood, usually near the battery. This box handles critical engine and vehicle functions like the fuel pump, ignition system, headlights, and ABS. There may be multiple boxes under the hood depending on the trim.
Key Components within each fuse box include:
- Fuses: These are sacrificial devices designed to protect electrical circuits from overcurrent. They contain a thin wire that melts and breaks the circuit if the current exceeds a specified amperage rating.
- Relays: These are electromechanical switches that control high-current circuits using a low-current signal. They allow a small electrical signal to control a larger power circuit, often used for headlights, starter motors, and other high-demand components.
- Circuit Breakers: Similar to fuses, but resettable. They interrupt the circuit when an overload occurs, but instead of melting, they trip open and can be reset manually or automatically once the fault is cleared. While not as common as fuses in these systems, they may be present.
Symbols and Their Meanings
The fuse box diagram uses a variety of symbols to represent different components and their functions. Understanding these symbols is key to interpreting the diagram correctly. Here's a breakdown of common symbols:
- Lines: Lines represent electrical wires and connections. A solid line indicates a direct connection, while a dashed line may indicate a less direct connection or a connection through a switch or relay.
- Fuse Symbols: Fuses are typically represented by a rectangle with a wavy line inside or a simple line broken in the middle. The amperage rating is usually indicated next to the symbol (e.g., 10A, 15A).
- Relay Symbols: Relays are generally shown as a square with a coil symbol inside, representing the electromagnetic coil that activates the switch. They will typically show the contact points that switch when the relay is activated.
- Component Icons: Small icons may be used to represent the specific component protected by a fuse or relay, such as a headlight, windshield wiper, or fuel pump. Consult the legend or key accompanying the diagram for specific meanings.
- Color Coding: While not always present on the diagram itself, knowing the general color coding of wires in your Titan's electrical system can be helpful. Common colors include red for power, black for ground, and various other colors for specific circuits. However, never rely solely on wire color; always verify using the diagram.
How It Works
The fuse box acts as a central distribution point for electrical power throughout the vehicle. Power from the battery is routed through the fuse box, where it's divided into individual circuits, each protected by a fuse or relay. When an electrical fault occurs, such as a short circuit, the current in the affected circuit increases dramatically. This excessive current causes the fuse to blow, interrupting the circuit and preventing damage to the wiring and components.
Relays work differently. A small current is sent to the relay coil, creating an electromagnetic field. This field pulls a switch closed, allowing a larger current to flow through a separate circuit. For example, when you turn on your headlights, a low-current signal from the headlight switch activates a relay, which then allows high-current power from the battery to flow to the headlights.
Real-World Use: Basic Troubleshooting Tips
Here are some practical troubleshooting tips for using the fuse box diagram:
- Identify the Problem: Determine which electrical component is not working correctly. For example, if your headlights are not turning on, start there.
- Consult the Diagram: Locate the fuse box diagram (usually inside the fuse box cover or in the owner's manual) and identify the fuse or relay associated with the malfunctioning component.
- Inspect the Fuse: Visually inspect the fuse. A blown fuse will have a broken wire inside. You can also use a multimeter set to continuity mode to test the fuse. If the multimeter shows no continuity, the fuse is blown.
- Replace the Fuse: Replace the blown fuse with a new fuse of the same amperage rating. Never use a fuse with a higher amperage rating, as this could overload the circuit and cause a fire.
- Test the Component: After replacing the fuse, test the component to see if it's working. If the fuse blows again immediately, there is likely a more serious problem in the circuit, such as a short circuit or a faulty component.
- Check the Relay: If a relay is suspected, try swapping it with a known good relay of the same type. If the component starts working, the relay is faulty. Relays can also be tested with a multimeter.
Safety Considerations
Working with automotive electrical systems can be dangerous if proper precautions are not taken. Here are some safety tips:
- Disconnect the Battery: Before working on the fuse box, always disconnect the negative (-) terminal of the battery to prevent accidental shorts and electrical shocks.
- Use the Right Tools: Use insulated tools to avoid accidental shorts and electrical shocks.
- Never Bypass Fuses: Never bypass a fuse by using a wire or other conductive material. This can overload the circuit and cause a fire.
- Identify High-Risk Components: Pay special attention to circuits involving the airbag system, ABS, and fuel pump. These systems can be dangerous if not handled properly. If you are uncomfortable working on these systems, consult a qualified mechanic.
- Read the Diagram Carefully: Always refer to the fuse box diagram and owner's manual for accurate information. Don't guess or assume anything.
Working on your car's electrical system can be a rewarding experience. By understanding the fuse box diagram and following proper safety precautions, you can confidently diagnose and resolve many common electrical issues, saving yourself time and money.
We have a detailed 2017 Nissan Titan Fuse Box Diagram file available for download. This file provides a comprehensive view of all fuse box locations, fuse and relay assignments, and circuit information. Use it as your definitive resource for electrical troubleshooting and repairs.