2018 Nissan Murano Fuse Box Diagram
If you're a DIY mechanic, car enthusiast, or simply a responsible 2018 Nissan Murano owner, understanding your vehicle's fuse box diagram is crucial. It's your roadmap to electrical troubleshooting, modifications, and even basic repairs. This article breaks down the 2018 Murano fuse box diagram, making it accessible and useful for experienced DIYers like yourself.
Purpose: Why Bother with a Fuse Box Diagram?
Let's face it, electrical issues can be frustrating. Knowing the fuse box layout allows you to:
- Diagnose electrical problems: Identify blown fuses, the most common cause of electrical malfunctions.
- Perform basic repairs: Replace faulty fuses quickly and correctly.
- Safely add aftermarket accessories: Tap into appropriate circuits for modifications like adding a dashcam or auxiliary lights.
- Understand your vehicle's electrical system: Gain a deeper understanding of how different components are powered and protected.
- Avoid costly mechanic bills: Potentially resolve minor electrical issues yourself.
Without the diagram, you're essentially flying blind, risking incorrect repairs or even causing further damage. Having it handy is a smart move for any owner serious about car maintenance.
Key Specs and Main Parts of the 2018 Murano Fuse Boxes
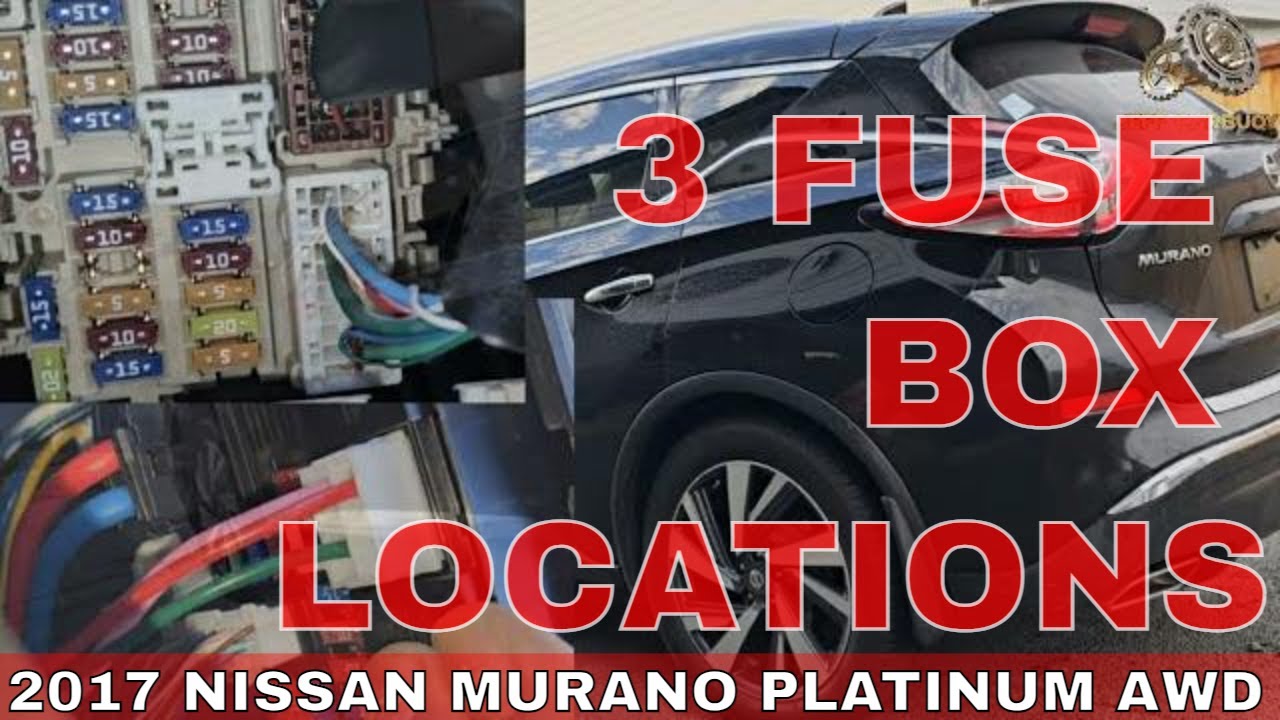
The 2018 Nissan Murano typically has at least two fuse box locations:
- Interior Fuse Box: Located inside the cabin, usually under the dashboard on the driver's side. This box primarily houses fuses for interior components like the radio, lights, power windows, and various control modules.
- Engine Compartment Fuse Box: Situated in the engine bay, often near the battery. This box contains fuses for critical engine components, including the fuel pump, ignition system, cooling fan, and ABS.
Key Specs: It’s important to know the fuse ratings (measured in Amperes or Amps) of each fuse in the box. Using a fuse with the wrong amperage can cause circuit overload or component damage. Nissan uses blade-type fuses, which come in different sizes and colors, each indicating a specific amperage rating. Commonly used ratings include 5A, 7.5A, 10A, 15A, 20A, 25A, 30A, and higher, up to larger amperage cartridges for main power feeds.
Main Components You'll Find:
- Fuses: The sacrificial links that protect circuits from overcurrent. When the current exceeds the fuse's rating, the internal filament melts, breaking the circuit.
- Relays: Electrically operated switches that control high-current circuits using a low-current signal. Relays are often used for components like headlights, fuel pumps, and starter motors.
- Circuit Breakers: Similar to fuses, but they can be reset after tripping due to an overcurrent. These are less common in modern vehicles but may be found in some circuits.
- Fuse Puller: A small plastic tool for safely removing fuses without damaging them or the fuse box terminals. Usually located in one of the fuse boxes.
- Fuse Box Cover: Contains a simplified diagram of the fuse layout. Referencing the more detailed diagram will provide the best view.
Understanding the Symbols: Lines, Colors, and Icons
Fuse box diagrams aren't always straightforward. They use symbols and abbreviations to represent different components and circuits. Here's a breakdown:
- Lines: Represent electrical wires and circuits. Thicker lines often indicate heavier gauge wires capable of handling higher currents.
- Colors: Can indicate the function of the circuit. While not always consistent across all manufacturers, certain colors are commonly associated with specific systems. For example, red often indicates a direct battery feed, while black is typically used for ground.
- Icons: Represent different electrical components. Common icons include:
- Light Bulb: Represents lights (headlights, taillights, interior lights).
- Fan: Represents cooling fans, blower motors, etc.
- Motor: Represents electric motors (power windows, door locks, etc.).
- Coil: Represents relays or solenoids.
- Rectangle with a diagonal line: Commonly represents a fuse.
- Numbers: Are critical. Each fuse and relay location is numbered in the diagram and corresponds to a specific fuse or relay in the box itself.
- Abbreviations: You'll encounter many abbreviations. Some common ones include:
- ECU: Engine Control Unit
- ABS: Anti-lock Braking System
- SRS: Supplemental Restraint System (Airbags)
- A/C: Air Conditioning
- IGN: Ignition
Always cross-reference the diagram with the legend or key provided. This will help you accurately interpret the symbols and abbreviations.
How It Works: A Simplified Explanation
The fuse box is essentially a central distribution point for electrical power. The battery provides the main power source, and the fuse box distributes this power to various circuits throughout the vehicle. Each circuit is protected by a fuse or circuit breaker. If a short circuit or overcurrent occurs in a particular circuit, the fuse blows, interrupting the flow of electricity and preventing damage to the components on that circuit. Relays, as mentioned earlier, allow low-current circuits to control high-current circuits, such as those powering headlights or the fuel pump.
Think of it like a miniature electrical grid for your car. The fuse box is the substation, and the fuses are the circuit breakers protecting individual neighborhoods.
Real-World Use: Basic Troubleshooting Tips
Here's how to use the fuse box diagram for basic troubleshooting:
- Identify the problem: What electrical component isn't working? (e.g., headlights, radio, power windows).
- Consult the diagram: Locate the fuse that corresponds to the affected component.
- Inspect the fuse: Visually inspect the fuse. If the filament inside is broken, the fuse is blown. You can also use a multimeter to check for continuity across the fuse terminals. A blown fuse will show no continuity.
- Replace the fuse: Use a fuse puller to remove the blown fuse and replace it with a new fuse of the same amperage rating. Never use a fuse with a higher amperage rating, as this can damage the circuit.
- Test the component: After replacing the fuse, test the component to see if it's working correctly.
- If the fuse blows again: This indicates a more serious problem, such as a short circuit in the wiring or a faulty component. Further diagnosis is needed.
Safety: Identifying Risky Components
Working with electrical systems can be dangerous. Here are some safety precautions:
- Disconnect the battery: Before working on any electrical system, disconnect the negative battery cable to prevent accidental shorts or shocks.
- Avoid working with SRS components: The airbag system (SRS) contains potentially explosive components. Improper handling can cause serious injury. If you need to work near airbag components, consult a qualified technician.
- Be cautious with high-current circuits: Circuits with high amperage ratings (e.g., starter motor, alternator) can deliver a significant electrical shock. Avoid touching exposed terminals or wires.
- Never bypass a fuse: Bypassing a fuse with a wire or metal object can create a dangerous short circuit and potentially start a fire.
- Use insulated tools: Always use tools with insulated handles when working with electrical systems.
Remember: If you're not comfortable working with electrical systems, it's best to consult a qualified mechanic.
We have a detailed 2018 Nissan Murano fuse box diagram file that you can download to have as a handy reference when working on your vehicle. This diagram will provide you with the exact fuse and relay locations, amperage ratings, and circuit descriptions for your specific model year. This will be very useful in your vehicle maintenance and troubleshooting.