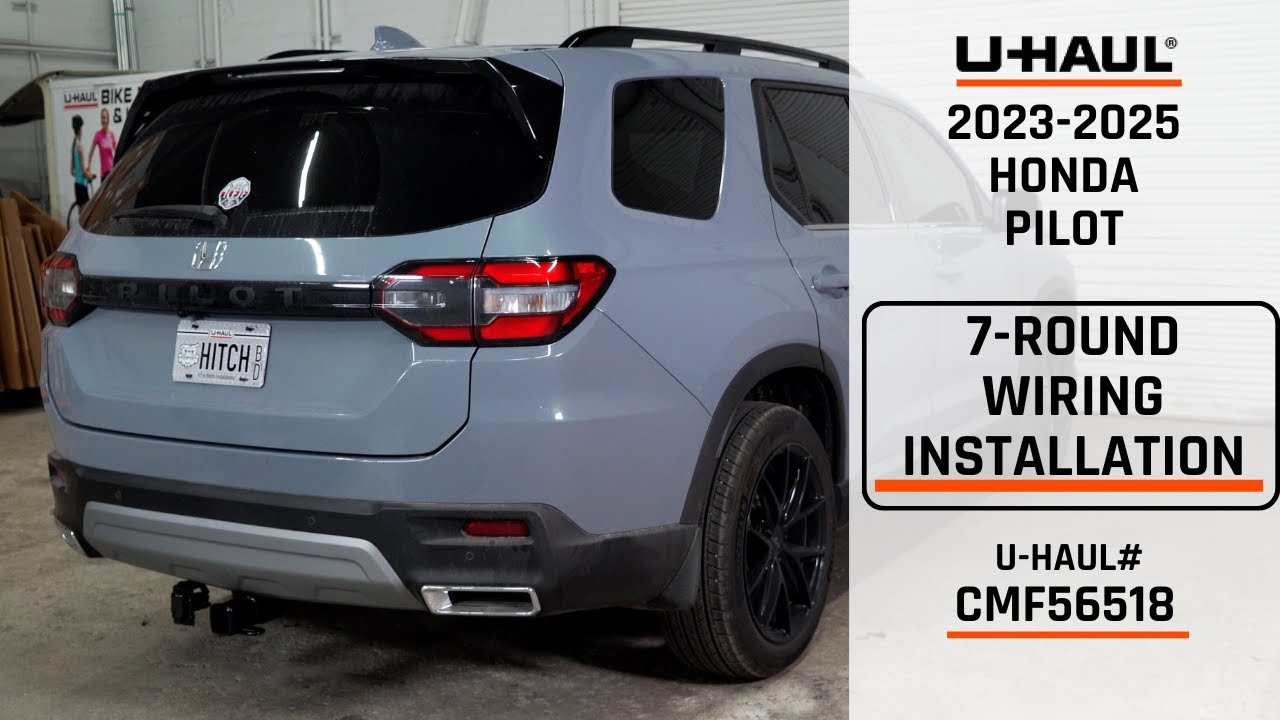
2025 Honda Pilot Trailsport Trailer Wiring Harness
So, you're looking to dive into the trailer wiring harness on your 2025 Honda Pilot Trailsport? Excellent choice! Whether you're troubleshooting a faulty connection, upgrading your towing setup, or just want to understand how it all ticks, knowing the ins and outs of the wiring diagram is crucial. This guide will break down the 2025 Pilot Trailsport trailer wiring harness diagram, making it understandable even if you're not a seasoned electrical engineer. And hey, if you need the diagram itself, we've got you covered – you can download it after reading this article.
Purpose of Understanding the Wiring Diagram
Why bother with a wiring diagram? Well, there are several good reasons. First and foremost, it's essential for troubleshooting. If your trailer lights aren't working correctly (brake lights, turn signals, running lights), the diagram is your roadmap to identifying the problem. It helps you trace the circuit, locate faulty connections, and pinpoint damaged wires. Secondly, if you're planning any modifications to your towing setup, such as adding auxiliary lights or a brake controller, the diagram will guide you on where to tap into the existing wiring harness safely and effectively. Finally, understanding the diagram provides a deeper understanding of your vehicle's electrical system, allowing you to perform basic maintenance and repairs yourself, saving time and money.
Key Specs and Main Parts of the Trailer Wiring Harness
Let's look at the anatomy of the 2025 Honda Pilot Trailsport trailer wiring harness. This system isn't just a single wire; it's a collection of components designed to integrate seamlessly with the vehicle's electrical system and provide the necessary connections for trailer lights and brakes.
- Trailer Hitch Connector (Typically 7-Pin Round): This is the physical connection point where the trailer plugs into the Pilot. The 7-pin connector is standard on the Trailsport and provides circuits for running lights, brake lights (left and right), turn signals (left and right), electric brakes, reverse lights, and a 12V power supply.
- Trailer Harness Module: This module is the brain of the trailer wiring system. It interfaces with the Pilot's electrical system, taking signals from the vehicle's lights and brakes and converting them into signals suitable for the trailer. The module also protects the Pilot's electrical system from overloads or short circuits in the trailer wiring.
- Wiring: The harness consists of various wires, each with a specific color code and gauge (thickness) for carrying different electrical signals. These wires connect the trailer hitch connector to the trailer harness module and the vehicle's electrical system. Wire gauge is important as it dictates how much current the wire can safely handle. Lower gauge number means a thicker wire capable of handling more current.
- Fuses and Relays: These components protect the wiring harness and the vehicle's electrical system from damage. Fuses are designed to blow (break the circuit) if there's an overload, while relays are used to switch circuits on and off, allowing low-current signals to control high-current circuits (like the trailer brake power).
Understanding the Wiring Diagram Symbols
The wiring diagram uses a set of standard symbols to represent different electrical components and connections. Let's decipher some of the most common ones:
- Solid Lines: These represent wires. A thicker line usually indicates a larger gauge wire capable of carrying more current.
- Dashed Lines: These often indicate shielded wires or wires that are part of a data communication bus, such as a CAN (Controller Area Network) bus.
- Color Codes: Each wire is identified by a specific color code (e.g., BLK for black, RED for red, YEL for yellow, GRN for green, BLU for blue, WHT for white, BRN for brown). These colors help you identify the correct wire when troubleshooting.
- Circles: These typically represent connectors or terminals. They may be labeled with numbers or letters to indicate which wire goes to which pin.
- Rectangles: These often represent electrical components like relays, fuses, or the trailer harness module.
- Ground Symbol (Usually three descending horizontal lines): Indicates a connection to the vehicle's chassis ground. Grounding is crucial for completing the electrical circuit.
- Fuse Symbol (A squiggly line inside a rectangle): Represents a fuse. The diagram will usually indicate the fuse's amperage rating (e.g., 10A, 20A).
- Relay Symbol (A coil and a switch): Represents a relay. The diagram shows the coil that activates the relay and the switch that the relay controls.
How It Works: A Simplified Explanation
The trailer wiring harness essentially takes signals from your Pilot's existing lighting and braking systems and transmits them to the trailer. When you turn on your headlights, the Pilot's headlight circuit sends a signal to the trailer harness module. The module then activates the trailer's running lights. Similarly, when you hit the brakes, the brake light circuit sends a signal to the module, which activates the trailer's brake lights. The turn signals work in the same way. If your trailer has electric brakes, the brake controller (which may be factory-installed or aftermarket) sends a signal to the trailer's brakes, applying them proportionally to the braking force of the Pilot. The 12V power supply provides a constant power source for charging the trailer's battery or powering other accessories.
Real-World Use: Basic Troubleshooting Tips
Here are some basic troubleshooting tips when using the wiring diagram:
- No Lights at All: Check the main fuse for the trailer wiring harness. Consult the diagram to find its location.
- One Light Not Working (e.g., left turn signal): Use the diagram to trace the circuit for that specific light. Check the wiring and connections along the way. Look for loose connections, corroded terminals, or damaged wires. A multimeter can be invaluable here. Use it to check for voltage at various points in the circuit.
- Brake Lights Not Working: First, check the brake light switch on the Pilot. Then, check the fuse for the brake light circuit in the trailer wiring harness. If both are good, use the diagram to trace the wiring from the brake light switch to the trailer connector.
- Trailer Brakes Not Working: If you have electric trailer brakes, ensure the brake controller is properly connected and functioning. Check the wiring between the brake controller and the trailer connector. Also, check the ground connection for the trailer brakes. A poor ground can cause intermittent or weak braking.
- Continuity Testing: A multimeter can be used to test the *continuity* of a wire. This means checking if the wire is intact and has a continuous electrical path from one end to the other. If there's no continuity, the wire is broken somewhere along its length.
Safety: Handling Risky Components
Working with electrical systems always involves some risk. Here are a few key safety precautions to keep in mind:
- Disconnect the Battery: Before working on any electrical components, disconnect the negative terminal of the battery. This will prevent accidental short circuits and electrical shocks.
- Use Proper Tools: Use insulated tools designed for working with electrical systems. This will help protect you from electrical shocks.
- Don't Work in Wet Conditions: Water and electricity don't mix. Avoid working on the wiring harness in wet or damp conditions.
- Be Aware of Airbags: Avoid disturbing any airbag wiring or components. Airbags are explosive devices and can be dangerous if mishandled.
- Fuses are Protective Devices: Always replace fuses with the correct amperage rating. Using a higher amperage fuse can overload the circuit and cause a fire.
- Proper Grounding is Critical: Ensure all ground connections are clean, tight, and free of corrosion. Poor grounding can cause electrical problems and even be a fire hazard.
We understand that tackling trailer wiring can seem daunting, but with a clear understanding of the wiring diagram and these troubleshooting tips, you can confidently diagnose and repair issues on your 2025 Honda Pilot Trailsport. Remember, safety first! If you're ever unsure about something, it's always best to consult a qualified mechanic.
Ready to dive in? We have the 2025 Honda Pilot Trailsport trailer wiring harness diagram available for download. This detailed diagram will be an invaluable resource as you work on your vehicle. Good luck!