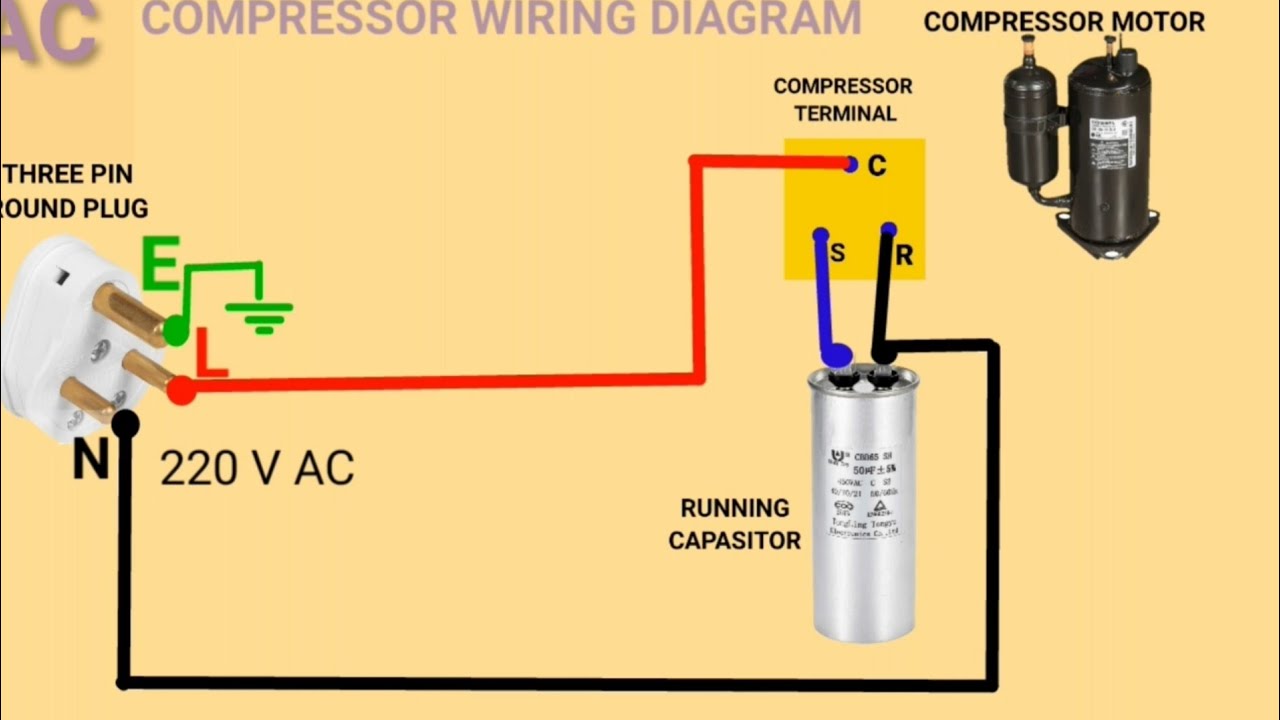
3 Wire Ac Compressor Wiring Diagram
Understanding the 3-wire AC compressor wiring diagram is crucial for anyone diving into automotive AC system repairs, upgrades, or even just basic troubleshooting. This knowledge empowers you to diagnose issues, replace components correctly, and potentially save a significant amount of money by avoiding unnecessary trips to the mechanic. Whether you're a seasoned DIYer, a budding mechanic, or simply curious about how your car's AC system works, this guide will break down the intricacies of a 3-wire AC compressor circuit.
Purpose of the 3-Wire AC Compressor Wiring Diagram
The diagram serves as a roadmap for understanding the electrical connections within the AC compressor system. It allows you to:
- Diagnose electrical faults: Identify broken wires, faulty relays, or short circuits preventing the compressor from engaging.
- Verify wiring integrity: Ensure all connections are properly made and that the wiring is in good condition.
- Replace components correctly: Connect new components, like the compressor clutch relay or pressure switch, in the correct orientation.
- Understand system operation: Learn how the various components interact to engage and disengage the AC compressor.
- Perform modifications: Safely modify the system for custom installations or upgrades.
Key Specs and Main Parts
A typical 3-wire AC compressor circuit includes these essential components:
- AC Compressor: The heart of the system, responsible for compressing refrigerant. It has a clutch that engages and disengages the compressor pulley from the engine belt.
- Compressor Clutch: An electromagnetic device that, when energized, engages the AC compressor pulley, allowing it to be driven by the engine. The clutch is what you hear "click" when the AC is turned on.
- AC Compressor Clutch Relay: A remotely controlled switch that provides power to the compressor clutch. It's used because the current draw of the clutch is too high to be directly controlled by the AC request switch.
- Pressure Switch (High/Low): Safety devices that monitor refrigerant pressure. They prevent the compressor from engaging if the pressure is too low (indicating a leak) or too high (indicating a blockage or overcharge), thus protecting the compressor from damage. There may be one or two switches.
- AC Request Switch: Located inside the car, this switch is activated when you press the AC button. It sends a signal to the car's computer or directly to the relay.
- Engine Control Unit (ECU) / Powertrain Control Module (PCM): In modern vehicles, the ECU/PCM often manages the AC system, controlling the compressor based on various inputs, including engine temperature, throttle position, and AC request.
- Wiring Harness: A bundle of wires that connect all the components in the AC compressor circuit.
- Fuses: Protect the circuit from overcurrent.
Symbols and Diagram Explanation
Understanding the symbols used in a wiring diagram is essential for proper interpretation:
- Lines: Represent wires. Thicker lines may indicate wires carrying higher current. Dashed lines often represent wires that are part of a shielded cable or a data bus.
- Colors: Each wire is typically identified by a color code (e.g., Red, Blue, Black). This helps in tracing wires and identifying the correct connections. Common abbreviations include: BK (Black), RD (Red), BL (Blue), GN (Green), YL (Yellow), WH (White).
- Relay Symbol: A relay is usually depicted as a coil symbol connected to a switch. The coil represents the electromagnet that closes the switch when energized.
- Switch Symbol: A switch is shown as a break in a line, with a lever or actuator indicating how the switch is opened or closed.
- Ground Symbol: Represents the electrical ground, typically connected to the chassis of the vehicle.
- Fuse Symbol: Looks like a jagged line within a rectangle or circle.
- Connector Symbol: Shows where two wiring harnesses connect.
In a 3-wire system, the wiring typically breaks down as follows:
- Wire 1 (Power): Usually a 12V+ wire supplying power to the compressor clutch. This wire often runs through the AC compressor clutch relay.
- Wire 2 (Ground): Provides the ground connection for the compressor clutch. This is essential for completing the circuit.
- Wire 3 (Control/Signal): A signal wire coming from the ECU or pressure switch. This wire activates the AC compressor clutch relay, signaling the compressor to turn on or off. Some systems also use this wire to signal compressor speed via PWM.
How It Works
Here's a simplified explanation of how the 3-wire AC compressor circuit works:
- The driver activates the AC system using the AC request switch inside the car.
- This signal is sent to the ECU (or directly to the AC compressor clutch relay in simpler systems).
- The ECU checks various parameters (engine temperature, refrigerant pressure, etc.) to ensure it's safe to engage the AC compressor.
- If all conditions are met, the ECU energizes the AC compressor clutch relay.
- When the relay is energized, it closes the circuit, allowing 12V+ power to flow to the compressor clutch.
- The energized clutch engages, connecting the compressor pulley to the engine, and the compressor starts to pump refrigerant.
- The pressure switch monitors the refrigerant pressure. If the pressure falls outside the acceptable range, the switch opens, interrupting the circuit and disengaging the compressor to prevent damage.
Real-World Use: Basic Troubleshooting Tips
Here are some basic troubleshooting steps you can perform using the wiring diagram:
- AC Not Blowing Cold:
- Check the fuse: The fuse protecting the AC compressor circuit may be blown. Use a multimeter to check for continuity.
- Check the relay: Test the AC compressor clutch relay to see if it's functioning correctly. You can often swap it with another identical relay (e.g., the horn relay) to see if the AC starts working. If it does, the relay is the problem.
- Check the pressure switch: Disconnect the pressure switch connector and use a jumper wire to bypass the switch. If the compressor engages, the switch is faulty or there is an issue with the refrigerant pressure. Note: Only bypass the switch briefly for testing purposes. Running the compressor with incorrect pressure can cause serious damage.
- Check for voltage at the compressor clutch: Use a multimeter to check if 12V+ is reaching the compressor clutch when the AC is turned on. If not, there's a break in the wiring or a faulty relay.
- Check the ground connection: Ensure the ground wire connected to the compressor clutch has a good connection to the chassis. Corrosion or a loose connection can prevent the clutch from engaging.
- AC Compressor Constantly Running: This could indicate a faulty relay (stuck closed) or a problem with the ECU.
Safety
Working with automotive electrical systems can be dangerous. Here are some safety precautions:
- Disconnect the battery: Before working on any electrical components, disconnect the negative battery terminal to prevent accidental shorts or shocks.
- High-Pressure Refrigerant: The refrigerant in the AC system is under high pressure and can cause severe frostbite if released improperly. Do not attempt to work on the refrigerant lines or components unless you are properly trained and equipped. This includes proper refrigerant recovery and recharge equipment.
- Electrical Shock: Be careful when working with electrical components. Avoid touching exposed wires and ensure your hands are dry.
- Consult a professional: If you are unsure about any aspect of the repair, consult a qualified mechanic.
Important Note: Refrigerant handling requires specialized equipment and certification. Improper handling can damage the environment and is illegal in many areas. Always consult a qualified AC technician for refrigerant-related issues.
We have a detailed 3-wire AC compressor wiring diagram file available for download. Please contact us to receive the file, which includes specific wiring configurations and component locations for various vehicle models.