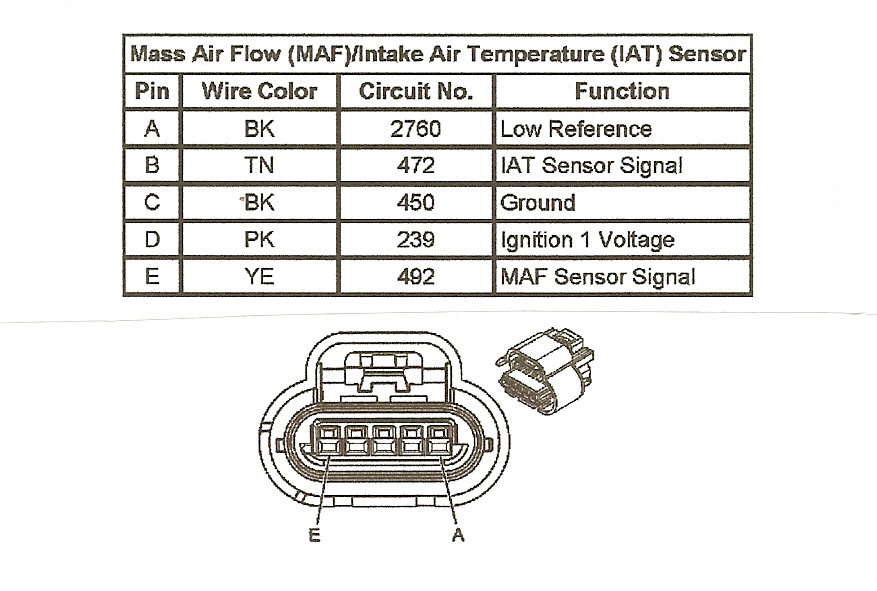
3 Wire Maf Sensor Wiring Diagram
Understanding your car's 3-wire Mass Air Flow (MAF) sensor wiring diagram is crucial for anyone venturing into DIY repairs, performance modifications, or even just general vehicle maintenance. Whether you're diagnosing a check engine light, upgrading your intake system, or learning more about how your engine management system functions, a solid grasp of this diagram is invaluable. This article will break down the specifics, providing you with the knowledge you need to confidently interpret and utilize these essential schematics.
Purpose: Why Bother with the Wiring Diagram?
MAF sensor wiring diagrams aren't just for professional mechanics. They offer a powerful toolkit for:
- Troubleshooting Engine Performance Issues: A faulty MAF sensor can cause a range of problems, from poor fuel economy and rough idling to stalling and a lack of power. The wiring diagram helps you pinpoint wiring issues as potential causes, distinguishing them from a bad sensor itself.
- Performing Sensor Diagnostics: Using the diagram in conjunction with a multimeter, you can test the voltage and continuity of each wire, confirming whether the signal is reaching the Engine Control Unit (ECU) correctly.
- Custom Modifications and Upgrades: When installing aftermarket air intakes or other performance parts, understanding the MAF sensor wiring is essential to ensure proper integration and avoid damaging the ECU.
- General Automotive Education: Learning about the MAF sensor and its wiring deepens your understanding of how an engine management system works, empowering you to become a more knowledgeable car owner.
Key Specs and Main Parts of a 3-Wire MAF Sensor System
A 3-wire MAF sensor, as the name suggests, has three crucial wires connecting it to the vehicle's electrical system. These wires serve distinct functions:
- Power Wire (+12V or +5V): This wire provides the sensor with the necessary electrical power to operate. The voltage supplied can be either 12V or 5V, depending on the vehicle's make and model. Consult your specific vehicle's service manual to confirm the correct voltage.
- Ground Wire (GND): This wire provides a return path for the electrical current, creating a complete circuit. It ensures the sensor has a stable reference point for its measurements.
- Signal Wire (MAF Signal): This wire carries the analog voltage signal from the sensor back to the ECU. The voltage signal is proportional to the amount of air flowing through the intake system. The ECU uses this information to calculate the appropriate amount of fuel to inject for optimal combustion.
The MAF sensor itself is usually located in the intake duct, between the air filter and the throttle body. It typically uses a heated element (a hot wire or a hot film) to measure the air flow. As air passes over the element, it cools down. The sensor then adjusts the current flowing through the element to maintain a constant temperature. The amount of current required is directly proportional to the air flow rate.
Decoding the Diagram: Symbols, Lines, and Colors
MAF sensor wiring diagrams, like all electrical schematics, use specific symbols and conventions to represent components and connections. Understanding these symbols is key to interpreting the diagram correctly.
- Lines: Solid lines represent wires. Dashed lines may indicate shielding around the wire, or connections existing only on particular models or certain equipment levels.
- Colors: Wire colors are often indicated next to the lines (e.g., RED, BLK, GRN). Knowing the wire colors can be extremely helpful when tracing wires within the vehicle. However, be aware that wire colors can vary between manufacturers and even between different models of the same brand.
- Connectors: Connectors are typically represented by squares or circles with numbers or letters inside, indicating the pin number or connector ID.
- Ground Symbol: The ground symbol usually looks like a series of horizontal lines, often resembling a rake or pitchfork.
- Voltage Source: The voltage source (e.g., battery) is often indicated with a "+" symbol and a voltage value (e.g., +12V).
- ECU/PCM: The Engine Control Unit (ECU) or Powertrain Control Module (PCM) is typically represented as a rectangle or square with pins labeled. The MAF signal wire will connect to a specific pin on the ECU/PCM.
Let's say you see a red line labeled "+12V" connecting to the MAF sensor. This indicates that the power wire for the sensor is red and carries a +12V supply. Similarly, a black line labeled "GND" indicates the ground wire.
How It Works: From Airflow to Engine Control
The 3-wire MAF sensor plays a vital role in the engine management system. Here's a simplified breakdown of how it works:
- Airflow Measurement: As air enters the engine through the intake, it passes over the heated element in the MAF sensor.
- Signal Generation: The sensor measures the amount of air flowing and generates an analog voltage signal proportional to the airflow.
- Signal Transmission: This voltage signal is transmitted via the signal wire to the ECU/PCM.
- Fuel Calculation: The ECU/PCM uses the MAF sensor signal, along with other sensor inputs (e.g., throttle position, engine temperature), to calculate the optimal amount of fuel to inject into the cylinders.
- Engine Control: Based on the calculations, the ECU/PCM controls the fuel injectors, ignition timing, and other engine parameters to achieve optimal performance, fuel efficiency, and emissions.
Essentially, the MAF sensor provides the ECU with crucial information about how much air is entering the engine, allowing the ECU to precisely control the air-fuel ratio for efficient combustion.
Real-World Use: Basic Troubleshooting Tips
Here are a few basic troubleshooting tips you can apply using the MAF sensor wiring diagram:
- No Power to Sensor: If the sensor isn't receiving power, use the diagram to trace the power wire back to the fuse box or relay. Check the fuse and replace it if necessary. Also check the relay responsible for the power supply.
- Grounding Issues: A poor ground connection can cause erratic sensor readings. Use the diagram to locate the ground wire and ensure it's securely connected to the chassis. Clean the ground connection point if it's corroded.
- Signal Wire Problems: If the signal wire is damaged or shorted, the ECU will receive an incorrect signal. Use a multimeter to check the continuity of the signal wire and ensure it's not shorted to ground or power. Compare the signal to known good values for your vehicle.
- Voltage Drop Testing: Perform voltage drop tests on the power and ground circuits to identify areas of excessive resistance. A high voltage drop indicates a corroded connection or damaged wire.
Remember: Always disconnect the battery before working on electrical components to prevent accidental shorts or damage to the ECU.
Safety First: Highlighting Risky Components
Working on automotive electrical systems can be dangerous if proper precautions are not taken. Here are some potential hazards to be aware of:
- Electrical Shock: While the voltage in most automotive circuits is relatively low, it can still deliver a shock, especially if you're working in wet conditions. Always disconnect the battery before working on electrical components.
- Short Circuits: Accidental shorts can damage wiring harnesses, fuses, relays, and even the ECU. Be careful not to short any wires to ground while working on the electrical system.
- Hot Surfaces: The MAF sensor itself can get hot, especially after the engine has been running. Allow the sensor to cool down before handling it.
- Fuel Vapors: Avoid working near open flames or sparks when working on the fuel system, as fuel vapors are highly flammable.
Crucially: The ECU is a sensitive and expensive component. Improper handling or wiring can damage it. If you're unsure about any aspect of the wiring diagram or the repair procedure, it's best to consult a qualified mechanic.
With a clear understanding of its purpose, components, and troubleshooting techniques, you're now better equipped to handle 3-wire MAF sensor wiring diagrams. Always refer to your vehicle's specific service manual for accurate information and diagrams.
We have the file if you'd like to download the diagram.