4 Wheel Drive 1998 Dodge Ram 1500 4x4 Vacuum Diagram
Alright, let's dive into the vacuum system of your 1998 Dodge Ram 1500 4x4. This isn’t just a bunch of hoses; it's a carefully orchestrated system that makes your 4-wheel drive engage and disengage properly. Understanding this system, and especially the vacuum diagram, is crucial for diagnosing 4x4 issues, performing repairs, and even modifications. We're aiming for a deep dive here, so buckle up!
Purpose: Why Bother with the Vacuum Diagram?
The vacuum system on your '98 Ram controls the 4x4 engagement. If you're experiencing issues like the 4x4 not engaging, disengaging erratically, or making strange noises, a faulty vacuum system is a prime suspect. The vacuum diagram is your roadmap for troubleshooting. It allows you to:
- Diagnose Leaks: Vacuum leaks are common culprits behind 4x4 problems. The diagram shows you where all the hoses run, making it easier to inspect for cracks, breaks, or disconnections.
- Trace Problems: If a specific component isn't working, you can trace the vacuum lines back to their source and identify the root cause.
- Perform Repairs: Knowing the layout of the system makes replacing damaged hoses or components much easier.
- Understand the System: Even if you don't have immediate problems, understanding the vacuum system allows you to appreciate how your 4x4 system works and potentially prevent future issues.
Key Specs and Main Parts of the 1998 Dodge Ram 1500 4x4 Vacuum System
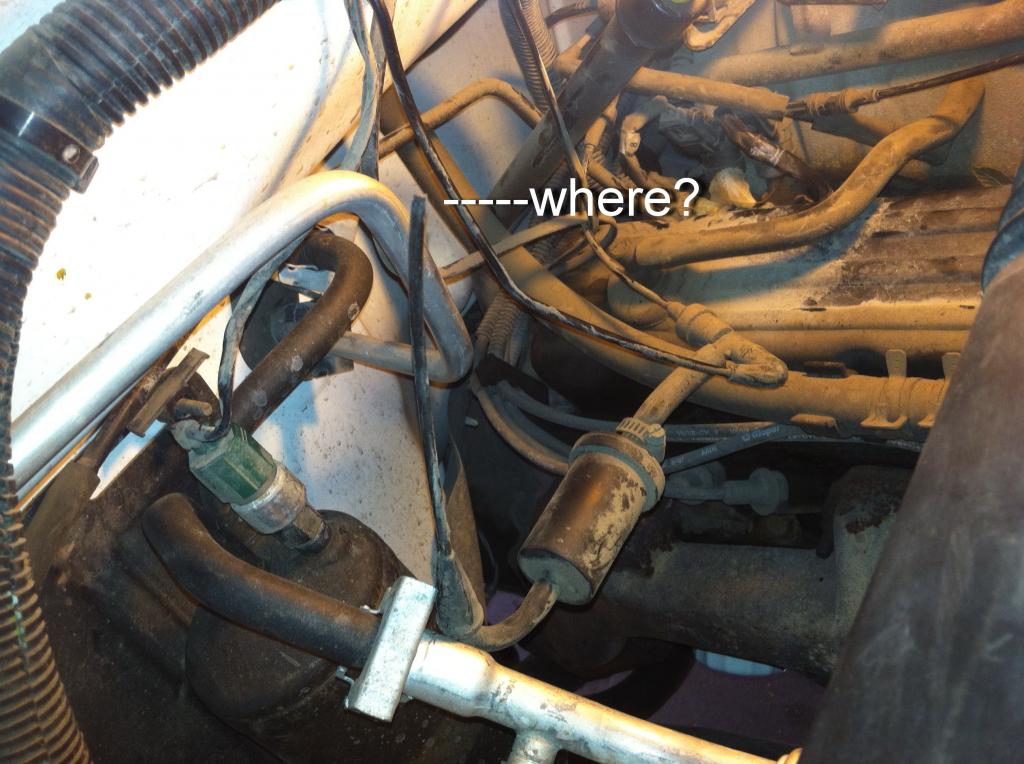
Before we dissect the diagram itself, let’s familiarize ourselves with the main players in the 4x4 vacuum system. This system utilizes engine vacuum to actuate the Central Axle Disconnect (CAD) system on the front axle.
- Vacuum Source: The starting point is the engine intake manifold. This is where the vacuum is generated.
- Vacuum Reservoir: Usually a black plastic sphere located in the engine compartment. This reservoir stores vacuum to ensure a consistent supply, even under heavy engine load when vacuum levels might drop.
- Check Valve: Prevents vacuum from bleeding back into the intake manifold when engine vacuum is low. It’s a one-way valve.
- Transfer Case Switch/Sensor: Located on the transfer case, this switch detects whether the transfer case is in 2WD or 4WD. It signals the vacuum switch to direct vacuum to the appropriate actuator.
- Vacuum Switch/Motor: This switch controls the flow of vacuum to either engage or disengage the CAD actuator. It's often located on or near the transfer case.
- CAD Actuator: Mounted on the front axle, the CAD actuator uses vacuum to slide a collar and connect (or disconnect) the two-piece front axle shafts. When engaged, the front wheels are connected to the front differential, enabling 4WD.
- Vacuum Lines/Hoses: These are the arteries of the system, carrying vacuum between the components.
Decoding the Symbols on the Vacuum Diagram
Vacuum diagrams use a standardized set of symbols and conventions. Here's a breakdown of what you're likely to see:
- Lines: Solid lines typically represent vacuum lines. Different thicknesses *might* indicate different hose diameters, but this isn't always consistent.
- Colors: Colors often distinguish different vacuum lines. For the '98 Ram, common colors include black, red, blue, and green. The diagram should have a legend explaining what each color represents (e.g., black might be the main vacuum supply line, while colored lines activate different functions).
- Arrows: Arrows on the lines indicate the direction of vacuum flow.
- Circles/Squares: These represent components like vacuum reservoirs, switches, or actuators. The diagram will usually label these components.
- "T" Fittings/Connectors: Show where one vacuum line splits into two or more.
- Check Valves: Depicted as a symbol that clearly indicates the direction of permitted flow - an arrow inside the valve symbol.
Pay close attention to the legend or key on the diagram. It will define the specific symbols and colors used in your particular diagram. Variations can occur depending on the year and specific configuration of your truck.
How the 4x4 Vacuum System Works
Here's the basic flow of operation:
- Engine Vacuum: The engine creates a vacuum in the intake manifold.
- Vacuum Reservoir: Vacuum is drawn through a check valve to the vacuum reservoir, providing a stable vacuum source.
- Mode Selection: When you shift the transfer case into 4WD, the transfer case switch sends a signal.
- Vacuum Switch Activation: The signal from the transfer case switch activates the vacuum switch.
- CAD Actuation: The vacuum switch then directs vacuum to the CAD actuator on the front axle.
- Axle Engagement: The CAD actuator uses the vacuum to slide a collar, connecting the two halves of the front axle together. With the front axle engaged and the transfer case in 4WD, your truck is now in 4-wheel drive.
- Disengagement: When you shift back into 2WD, the process is reversed. The vacuum switch redirects vacuum to disengage the CAD actuator, disconnecting the front axle.
Real-World Use: Basic Troubleshooting Tips
Here are a few practical troubleshooting steps using the vacuum diagram:
- Visual Inspection: Start with a thorough visual inspection of all vacuum hoses. Look for cracks, breaks, or disconnections. Pay close attention to areas near heat sources or moving parts.
- Vacuum Gauge Testing: Use a vacuum gauge to check the vacuum at various points in the system, such as at the vacuum reservoir and the CAD actuator. Low vacuum indicates a leak.
- Hose Replacement: If you find cracked or damaged hoses, replace them with new vacuum hoses of the correct size and type. Make sure they are securely connected.
- Check Valve Inspection: Test the check valve by blowing through it in both directions. It should only allow airflow in one direction.
- Component Testing: You can use a vacuum pump to manually actuate the CAD actuator and verify that it moves freely.
- Smoke Test: If you're struggling to find a leak, a smoke test can be invaluable. A smoke machine injects smoke into the vacuum system, and the smoke will escape from any leaks, making them easy to spot.
Safety: Highlight Risky Components
While the vacuum system itself isn't inherently dangerous, there are a few things to keep in mind:
- Working on a Hot Engine: Be careful when working around a hot engine. Allow the engine to cool down before working on the vacuum system.
- Sharp Edges: Watch out for sharp edges on engine components and body panels.
- Fuel Lines: Be aware of the proximity of fuel lines. Avoid damaging or disconnecting fuel lines, as this can create a fire hazard.
- Eye Protection: Wear eye protection when working under the hood to protect your eyes from debris.
Disclaimer: Always consult your vehicle's repair manual and follow all safety precautions when working on your vehicle.
Understanding the vacuum system of your 1998 Dodge Ram 1500 4x4 and having access to the vacuum diagram will make diagnosing and repairing 4x4 issues significantly easier. Remember to be methodical, pay attention to detail, and use the diagram as your guide.
By the way, we have a digital version of the 1998 Dodge Ram 1500 4x4 vacuum diagram. If you'd like to download it for easy access, send us a message, and we'll provide a link!