
5 Pin Power Window Switch Wiring Diagram
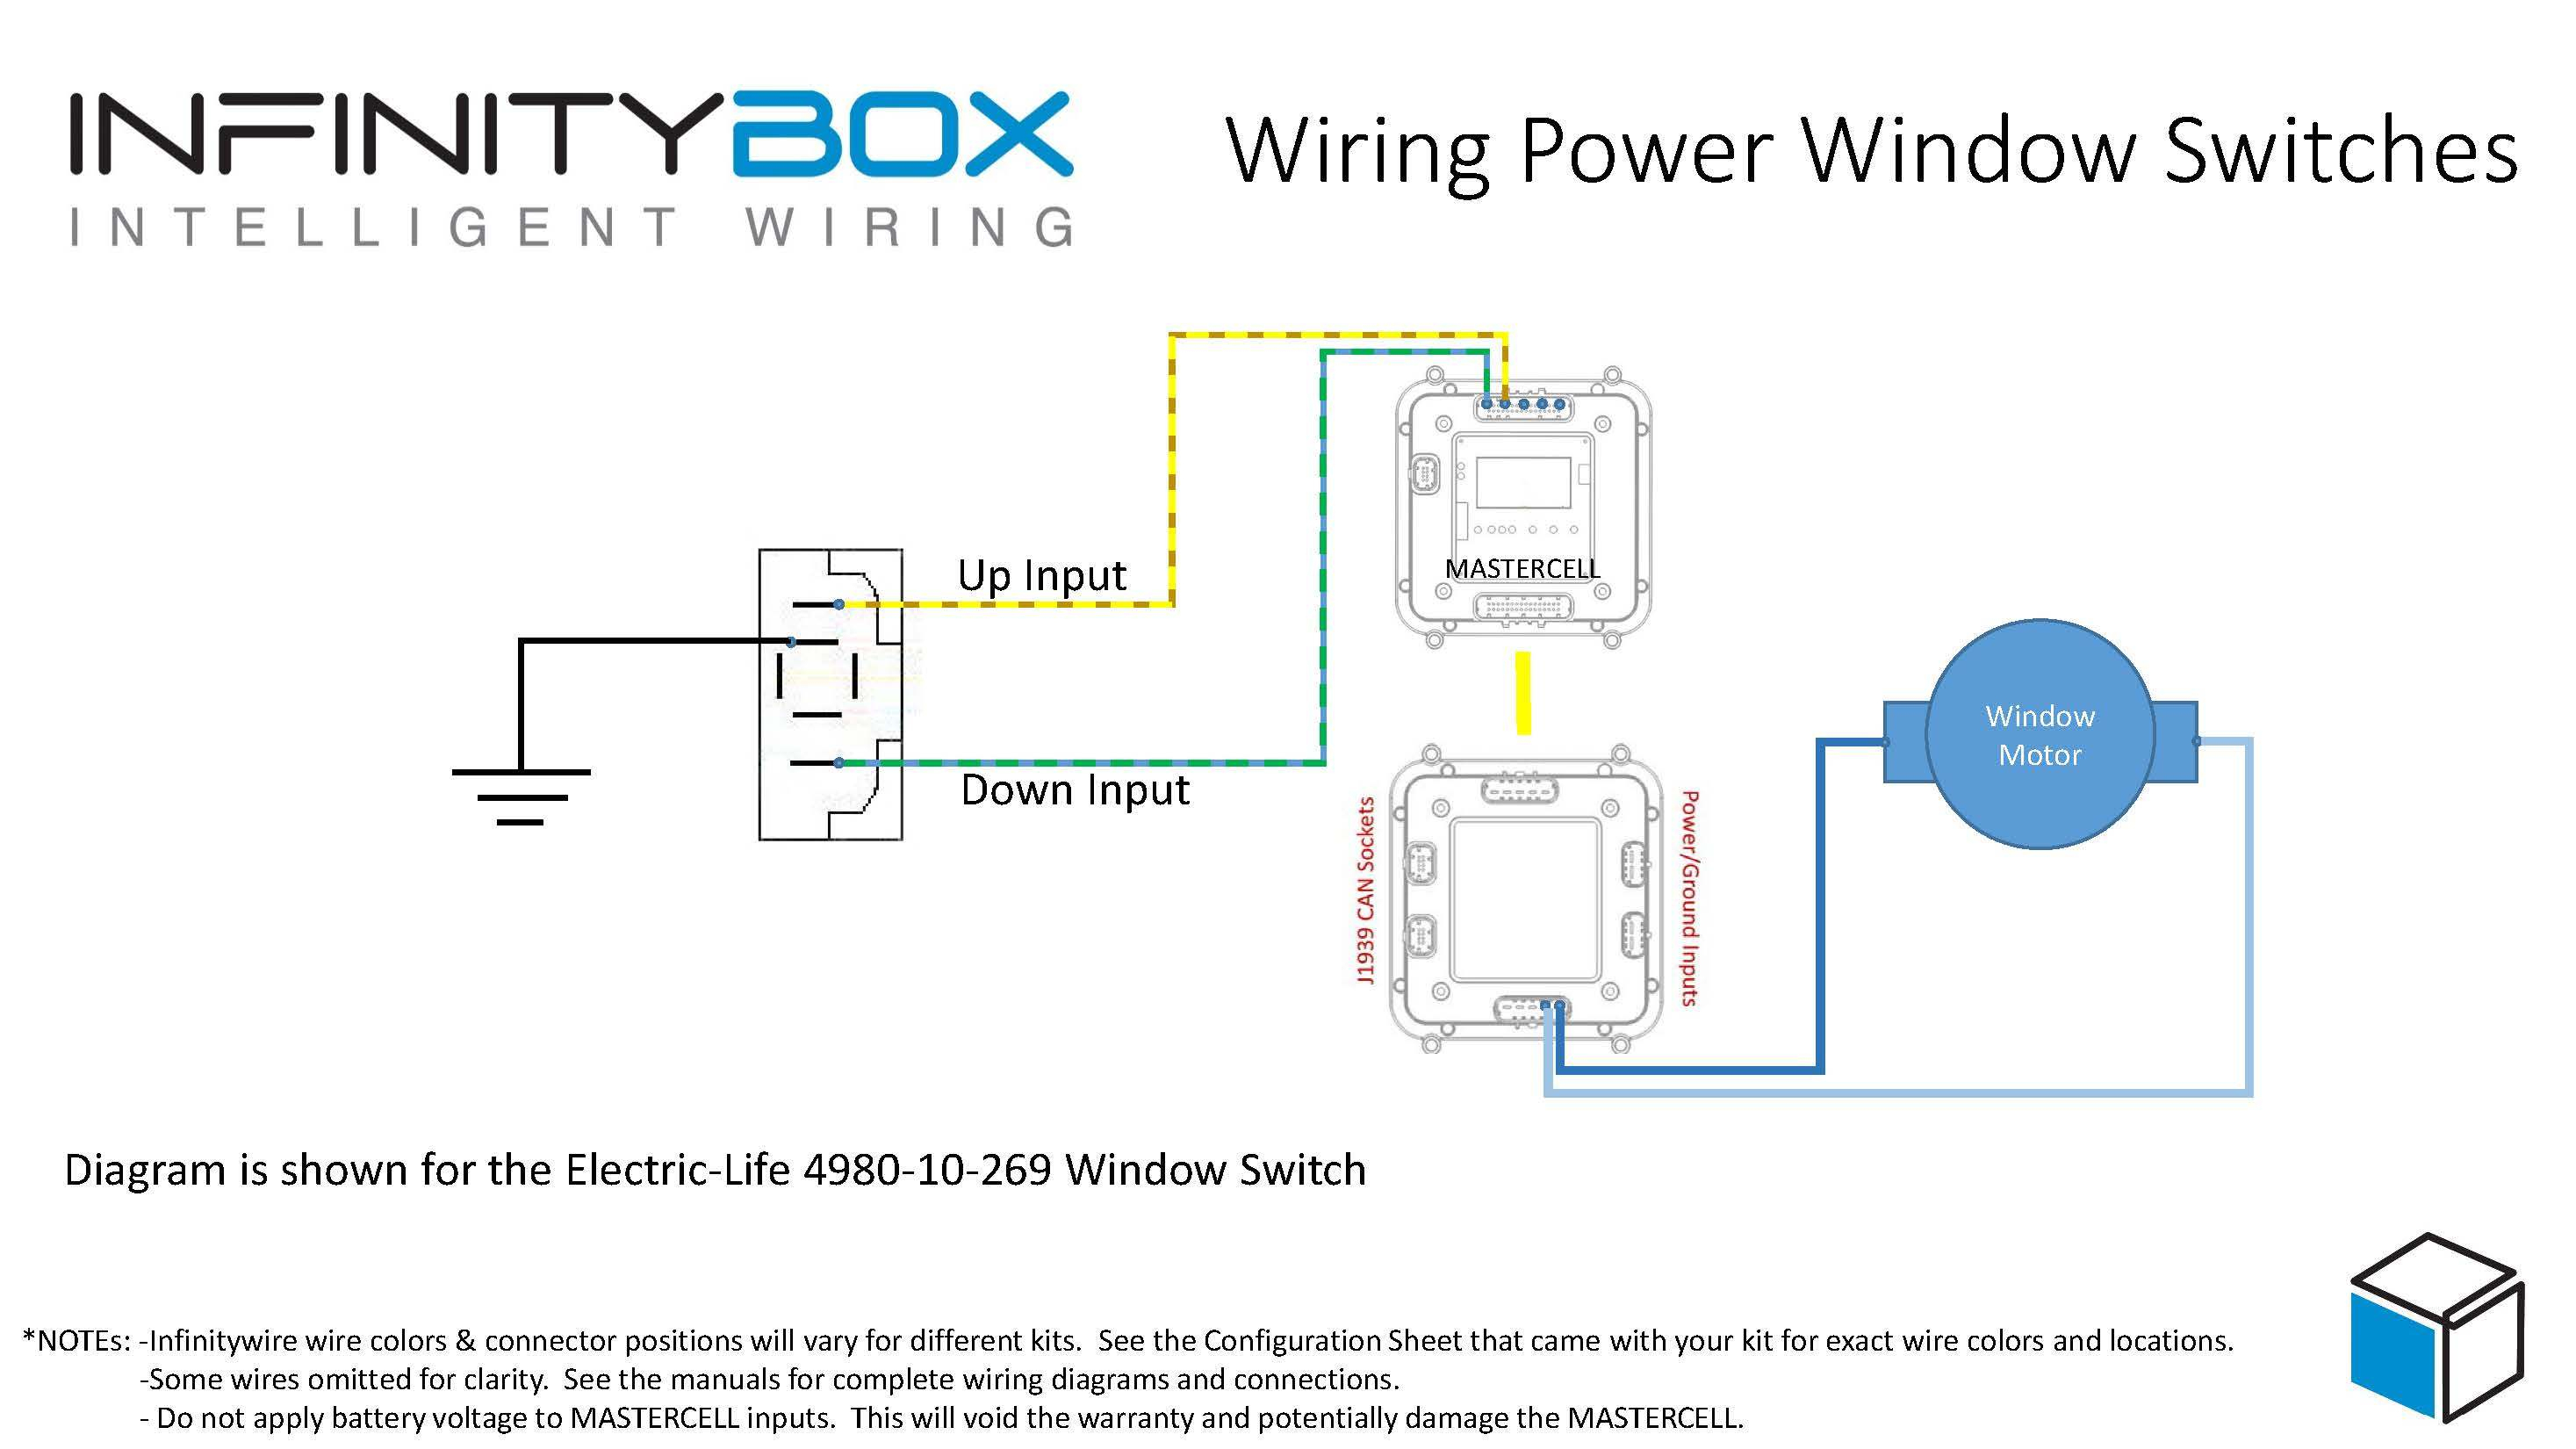
Alright, let's dive into the 5-pin power window switch wiring diagram. This is a staple for anyone maintaining, modifying, or even just trying to understand the electrical systems in their vehicle. Whether you're facing a window that refuses to budge, planning an aftermarket window motor upgrade, or simply curious about how things work under the dash, grasping this diagram is crucial.
Purpose: Why This Diagram Matters
This isn't just a fancy piece of paper (or digital file!). The 5-pin power window switch wiring diagram serves several critical purposes:
- Troubleshooting: It's your roadmap when diagnosing window issues. A dead window can be a frustrating problem, but with the diagram, you can systematically trace the circuit to pinpoint the fault – whether it's a faulty switch, a broken wire, a blown fuse, or a dying motor.
- Repair: Once you've identified the problem, the diagram guides you in replacing the faulty component or repairing damaged wiring. Knowing which wire goes where is paramount.
- Modification: Planning to install aftermarket power window motors, add remote control functionality, or integrate other electrical accessories? The diagram helps you understand the existing wiring and how to interface your new components safely and effectively.
- Education: Even if everything is working perfectly, studying the diagram can significantly enhance your understanding of automotive electrical systems. It's a great way to learn about basic circuit principles, relay operation (if applicable), and common wiring practices.
Key Specs and Main Parts
Before we jump into the diagram itself, let's define the core components and their typical characteristics:
- 5-Pin Power Window Switch: This is the heart of the system. It allows you to control the direction of the window motor by reversing the polarity of the voltage applied to it. The 5 pins generally consist of:
- Power Input (12V): Supplies the main power to the switch.
- Ground: Provides a return path for the current.
- Motor Up: Sends power to the motor to raise the window.
- Motor Down: Sends power to the motor to lower the window.
- Illumination (Optional): Powers the switch's internal light (may be combined with another pin).
- Power Window Motor: This is a reversible DC motor that physically moves the window up and down. It typically has two wires connected to it.
- Wiring Harness: The network of wires connecting all the components. Pay attention to wire gauge (thickness), as this dictates the current-carrying capacity. Thicker wires are used for higher current loads (like the motor).
- Fuse: A safety device that protects the circuit from overcurrent conditions. Always replace a blown fuse with one of the same amperage rating.
- Relay (Optional): Some systems, especially older or higher-power setups, use relays to switch the motor. A relay is an electrically operated switch that allows a low-current circuit (the switch) to control a high-current circuit (the motor). This reduces the load on the switch itself.
Symbols: Understanding the Diagram's Language
A wiring diagram uses standardized symbols to represent electrical components and connections. Here's a breakdown of common symbols you'll encounter in a 5-pin power window switch diagram:
- Solid Lines: Represent wires. Thicker lines often indicate larger gauge wires.
- Dashed Lines: May represent wiring runs located inside the car's wiring harness or within a sealed component. They don't usually imply any functional difference from solid lines.
- Circles with a "X" inside: Typically denote wire splices or connection points.
- Ground Symbol (often three horizontal lines): Indicates a connection to the vehicle's chassis ground (usually a metal part of the car's frame).
- Switch Symbol (a line bridging two contacts): Represents the power window switch. The position of the line shows which contacts are connected in each switch position (up or down).
- Motor Symbol (a circle with an "M" inside): Represents the power window motor.
- Fuse Symbol (a wavy line inside a rectangle): Represents the fuse. The diagram may also indicate the fuse's amperage rating (e.g., "20A").
- Color Coding: Wires are often color-coded to aid in identification. Common colors include red (power), black (ground), blue, green, yellow, etc. The diagram should include a color key to tell you which color corresponds to each wire.
How It Works: Tracing the Circuit
The fundamental principle is polarity reversal. The power window switch reverses the direction of current flow to the motor, making it turn in opposite directions (up or down).
- Rest Position: In the center (neutral) position, the switch doesn't connect either 'Motor Up' or 'Motor Down' to the power source. The motor receives no power, and the window stays put.
- Window Up: When you press the switch 'Up', it connects the 12V power input to the 'Motor Up' pin and connects the 'Motor Down' pin to ground. This sends current through the motor in one direction, raising the window.
- Window Down: When you press the switch 'Down', it reverses the connections. The 12V power input is now connected to the 'Motor Down' pin, and the 'Motor Up' pin is connected to ground. This reverses the current flow through the motor, causing it to turn in the opposite direction and lower the window.
If a relay is used, the switch controls the relay coil. When you press the switch, it energizes the relay coil, which then closes the relay contacts, connecting the high-current power to the motor.
Real-World Use: Basic Troubleshooting Tips
Here are some practical troubleshooting steps using the 5-pin power window switch diagram:
- No Window Movement: Start by checking the fuse. A blown fuse is the most common culprit. If the fuse is good, use a multimeter to check for voltage at the switch's power input pin. If there's no voltage, trace the wiring back to the power source.
- Window Only Moves in One Direction: This often indicates a problem with the switch itself. One of the internal contacts may be damaged. You can test the switch using a multimeter by checking continuity between the power input pin and the 'Motor Up' and 'Motor Down' pins in each switch position.
- Slow Window Movement: This could be due to a weak motor, corroded wiring connections, or a binding window mechanism. Check the voltage at the motor while it's running. A significant voltage drop indicates a problem in the wiring or a failing motor. Lubricate the window tracks and regulator mechanism.
- Intermittent Operation: This can be tricky to diagnose. It could be a loose connection, a partially failing switch, or a problem with the motor's brushes. Gently wiggle the wiring harness and the switch to see if you can reproduce the problem.
Safety: Handle with Care
Working with automotive electrical systems can be dangerous if proper precautions are not taken. Always disconnect the negative battery terminal before working on any electrical components. Be especially careful when dealing with the power window motor circuit, as it can draw a significant amount of current. Never short-circuit the power input wire to ground – this can damage the wiring, blow fuses, and even start a fire. If you're unsure about any aspect of the wiring, consult a qualified automotive electrician.
Also, remember that even after disconnecting the battery, capacitors in some modules can retain a charge. It's always best practice to wait a few minutes after disconnecting the battery before touching any wiring.
We have a detailed, downloadable 5-pin power window switch wiring diagram file available. This resource will provide you with a visual aid to complement this article and assist you in your troubleshooting and repair endeavors.