5.3 Chevy Transmission Cooler Lines Diagram
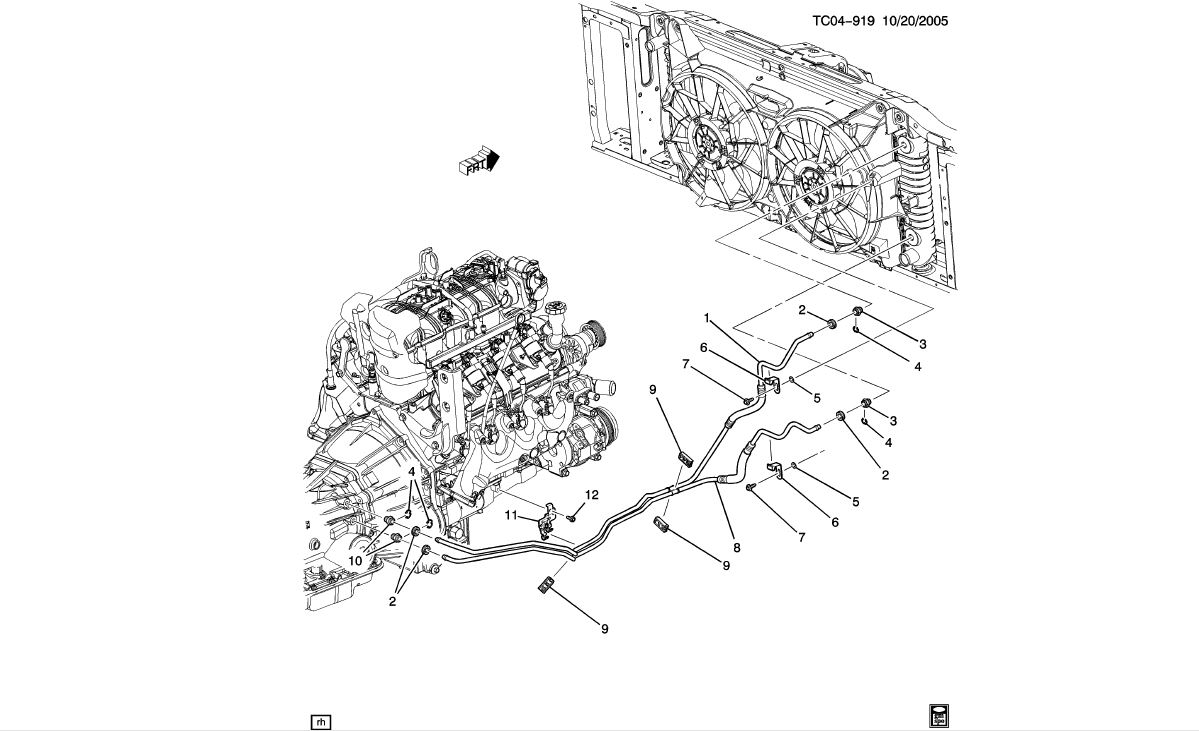
Alright, let's dive into the often-overlooked but absolutely crucial world of 5.3 Chevy transmission cooler lines. This isn't just about knowing where a hose goes; it's about understanding how your transmission stays alive and kicking. Having a solid grasp of the transmission cooler line diagram is vital whether you're performing routine maintenance, diagnosing a leak, upgrading your cooling system for towing, or even just expanding your automotive knowledge. With this guide and the accompanying diagram (available for download – link at the end!), you'll be well-equipped to handle anything transmission cooling related on your 5.3 Chevy.
Purpose of Understanding the Transmission Cooler Line Diagram
Why bother learning this stuff? Here's the breakdown:
- Repair and Maintenance: Identifying leaks, replacing damaged lines, or servicing the cooler itself requires knowing the exact routing and connections. Misconnected lines can lead to catastrophic transmission failure.
- Troubleshooting: Understanding the flow path helps diagnose overheating problems, low transmission fluid issues, and unusual shifting behavior.
- Upgrades: If you're planning to install an aftermarket transmission cooler (highly recommended for towing or performance applications), you'll need to know where to tap into the existing lines.
- General Knowledge: A deeper understanding of your vehicle's systems gives you more control and confidence when dealing with repairs and modifications.
Key Specs and Main Parts
Before we get into the diagram itself, let's cover the essential components of the transmission cooling system on a 5.3 Chevy.
- Transmission: The heart of the system, generating heat due to friction and fluid shear. The cooler lines tap into the transmission case, usually near the bottom.
- Transmission Cooler Lines: These are typically rigid steel lines or flexible hoses (or a combination of both) that carry transmission fluid between the transmission and the cooler. They're designed to withstand high pressures and temperatures.
- Radiator (Integrated Cooler): Many 5.3 Chevys use an integrated transmission cooler located within the radiator. This is a heat exchanger where transmission fluid flows through a separate section of the radiator, cooled by the engine coolant. This is considered the primary cooler in most configurations.
- Auxiliary Cooler (Optional): Often added for heavy-duty applications (towing, performance), this is a separate, dedicated cooler mounted in front of the radiator. It adds cooling capacity, keeping transmission temperatures even lower.
- Fittings and Connectors: These join the cooler lines to the transmission, radiator, and auxiliary cooler (if equipped). They can be quick-disconnect fittings, threaded fittings, or hose clamps. Pay close attention to the condition of these fittings as they are common leak points.
Understanding the Diagram Symbols
Deciphering the diagram is critical. Here's a breakdown of common symbols you might encounter:
- Solid Lines: Represent rigid steel lines or high-pressure hoses.
- Dashed Lines: Often indicate vacuum lines or other secondary connections. In the context of the transmission cooler, they might represent vent lines.
- Arrows: Show the direction of fluid flow. Pay close attention to these!
- Color Coding (Diagram Dependent): Some diagrams use color to differentiate between inlet and outlet lines. Typically, red might indicate the hotter "outlet" line, and blue the cooler "return" line. Always refer to the diagram's legend.
- Connectors and Fittings: These are usually represented by small circles, squares, or other geometric shapes. The diagram will usually have an accompanying table or legend that identifies what each symbol means.
How It Works
The basic principle is simple: hot transmission fluid is pumped to the cooler, cooled down, and then returned to the transmission.
- Hot Fluid Out: The transmission pump forces hot transmission fluid out of the transmission case and into one of the cooler lines. This is typically the outlet line.
- Cooling Process: The fluid travels through the cooler lines to the radiator's integrated cooler (and then to the auxiliary cooler, if equipped). Heat is transferred from the transmission fluid to the engine coolant (in the radiator) or to the air (in the auxiliary cooler).
- Cooled Fluid Return: The cooled fluid then flows through the return line back to the transmission, where it lubricates and cools the internal components.
- Continuous Cycle: This process repeats continuously as the engine runs, maintaining optimal transmission temperature.
Real-World Use and Basic Troubleshooting
Here's where that diagram really proves useful:
- Identifying Leaks: Use the diagram to trace the entire length of the cooler lines, fittings, and coolers. Look for wet spots, drips, or signs of fluid accumulation. Pay particular attention to the fittings and any bends in the lines.
- Checking Fluid Levels: Low transmission fluid is often a symptom of a leak in the cooler lines. If you're constantly having to top off your transmission fluid, suspect a leak in this system.
- Overheating Diagnosis: If your transmission is overheating, use the diagram to ensure that the cooler lines are properly connected and that the cooler(s) are not blocked by debris. A clogged cooler will restrict fluid flow and reduce cooling efficiency.
- Line Replacement: When replacing damaged lines, use the diagram as a reference to ensure that you route the new lines correctly. Incorrect routing can lead to kinks, restrictions, and premature failure.
- Upgrade Planning: If adding an auxiliary cooler, the diagram will show you the optimal point to tap into the existing lines.
Troubleshooting Tips:
- Check the easiest things first: Fluid level, obvious leaks.
- Use a flashlight: For a detailed inspection.
- Clean the area: Before starting to pinpoint the leak, clean the area around the lines and fittings. This makes it easier to see where fresh fluid is leaking from.
- Monitor transmission temperature: Consider installing a transmission temperature gauge, especially if you tow regularly.
Safety Precautions
Working on the transmission cooling system involves some inherent risks:
- Hot Fluid: Transmission fluid can be extremely hot, especially after the engine has been running. Allow the system to cool down completely before working on it.
- High Pressure: While the pressure in the cooler lines is lower than in other parts of the transmission, it can still be significant. Relieve the pressure by allowing the system to cool down.
- Flammable Fluid: Transmission fluid is flammable. Keep open flames and sources of ignition away from the work area.
- Eye Protection: Always wear safety glasses to protect your eyes from splashing fluid.
- Jack Stands: If you need to lift the vehicle, use jack stands to support it securely. Never work under a vehicle supported only by a jack.
- Quick-Disconnect Fittings: These can be tricky. Use the correct tool and technique to avoid damaging the fitting or line.
Transmission fluid can be extremely messy, and prolonged skin contact is not recommended. Wear appropriate gloves, and clean up spills immediately.
Understanding the 5.3 Chevy transmission cooler line diagram is a valuable skill for any DIYer. With the right knowledge and tools, you can effectively troubleshoot, repair, and upgrade your transmission cooling system, ensuring the longevity and performance of your vehicle. Remember to always prioritize safety, and don't hesitate to consult a professional if you're unsure about any aspect of the repair.
As mentioned earlier, we have a detailed, downloadable diagram that will further assist you in understanding and working on your 5.3 Chevy's transmission cooler lines. You can download it here: [Insert Download Link Here - Replace with Actual Link]. This diagram provides a visual representation of the lines, fittings, and components, making it even easier to diagnose problems and perform repairs. Good luck, and happy wrenching!