
73 87 Chevy Truck Wiring Harness Diagram
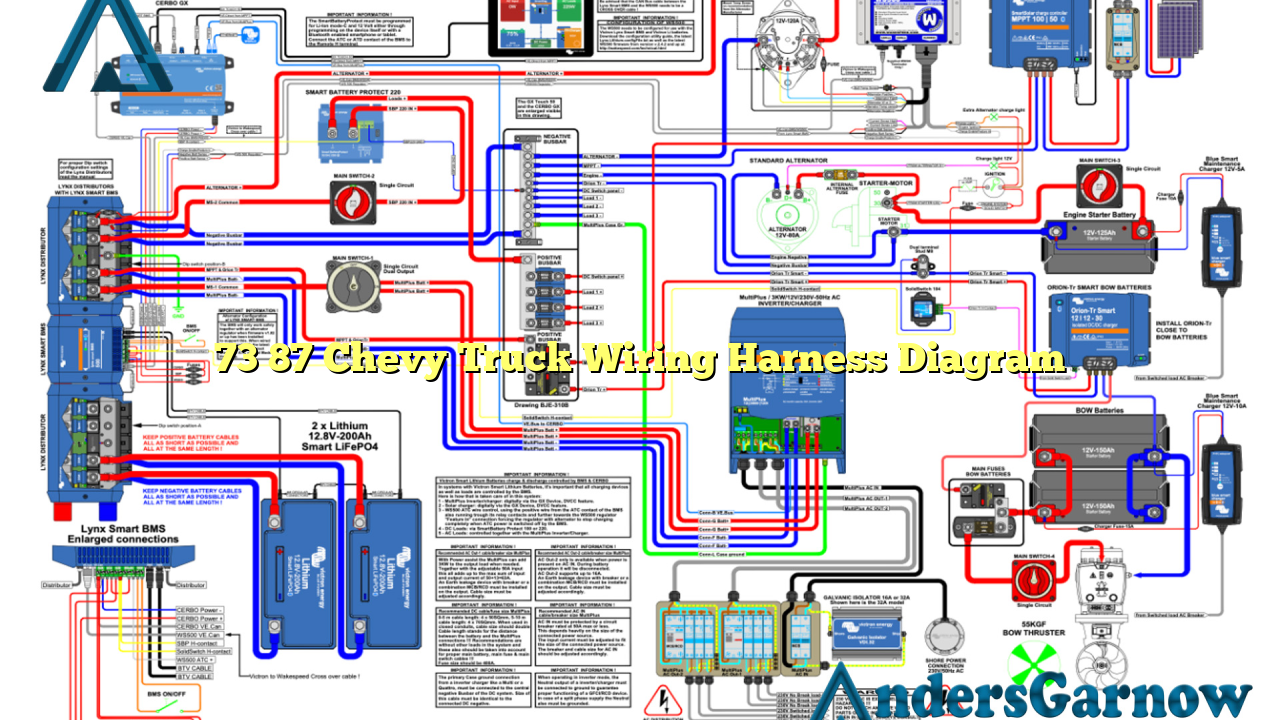
Let's dive into the often-intimidating world of 1973-1987 Chevy Truck wiring harnesses. These trucks, affectionately known as "square bodies," are incredibly popular for restoration, modification, and general tinkering. Understanding their wiring is crucial for repairs, upgrades, and even diagnosing simple issues. This article will break down the wiring harness diagram, giving you the knowledge to confidently work on your classic Chevy truck.
Purpose of the Wiring Harness Diagram
The wiring harness diagram, essentially a roadmap of your truck's electrical system, serves several crucial purposes. First and foremost, it's your primary tool for repairs. When a circuit fails, the diagram lets you trace the wiring, identify the faulty component (like a relay or fuse), and pinpoint shorts or breaks in the wires. It's also invaluable for modifications. Adding new accessories, like aftermarket lights or a modern stereo, requires understanding how to safely integrate them into the existing wiring. Finally, studying the diagram is a fantastic way to understand the overall electrical system of your truck. You'll learn how the different systems interact, which can make you a more effective troubleshooter and DIY mechanic.
Key Specs and Main Parts of the Wiring Harness
The 1973-1987 Chevy/GMC trucks utilized a relatively simple, but still comprehensive, wiring system. Here are some key specs to keep in mind:
- Voltage: The system operates on a 12-volt DC system. This is standard for automotive applications.
- Grounding: These trucks use a chassis ground system, meaning many components are grounded directly to the metal frame of the truck. Clean and secure grounds are essential for proper electrical function.
- Fuses: A fuse block protects various circuits from overcurrent conditions. Identifying and understanding the fuses is fundamental to diagnosing electrical issues.
- Connectors: Various connectors are used throughout the harness to join wires and connect components. These connectors can become corroded or damaged over time, leading to intermittent problems.
The main parts of the wiring harness can be broadly categorized as follows:
- Engine Harness: This section handles the engine's electrical needs, including the starter, alternator, distributor (or electronic ignition components), and various sensors.
- Dash Harness: Controls the instrument panel, gauges, switches, and the HVAC system.
- Lighting Harness: Powers the headlights, taillights, turn signals, parking lights, and interior lights.
- Body Harness: Includes wiring for the wipers, horn, power windows (if equipped), and other body-related accessories.
Understanding Wiring Diagram Symbols
Deciphering the wiring diagram requires understanding the symbols used to represent different components and wires. Here's a breakdown:
Lines:
Solid lines represent wires. Dashed lines often indicate wires that are optional or specific to certain trim levels or options. The thickness of the line doesn't necessarily represent the wire gauge, but it can sometimes be used to visually separate different circuits.
Colors:
Wiring diagrams utilize color codes to identify wires. Common colors include:
- Red: Typically used for power (often constant power from the battery).
- Black: Usually indicates ground.
- Orange: Often used for circuits that are powered with the key in the "accessory" or "run" position.
- Yellow: Commonly used for circuits controlled by the ignition switch in the "run" or "start" position.
- Green: Frequently used for lighting circuits.
- Blue: Commonly used for accessory circuits or sensor signals.
Always refer to the specific color key on the diagram you're using, as conventions can vary slightly.
Icons:
Each component in the electrical system has a specific icon. Here are some common ones:
- Resistor: A zigzag line.
- Capacitor: Two parallel lines.
- Diode: A triangle pointing to a line.
- Switch: A line bridging two points (often with an arrow indicating the switch position).
- Relay: A coil of wire connected to a switch.
- Fuse: A squiggly line inside a rectangle.
- Ground: Usually represented by a series of downward-facing triangles or a stylized grounding symbol.
The diagram will also show the component name or function (e.g., "Headlight Switch," "Starter Solenoid") alongside its icon.
How It Works: Tracing a Circuit
Let's say you're troubleshooting a non-functional taillight. Here's how you'd use the diagram:
- Locate the taillight circuit: Find the section of the diagram related to the lighting harness, specifically the taillight circuit.
- Identify the power source: Trace the wire leading to the taillight back to its power source. This might be a fuse, a switch (like the headlight switch), or a relay.
- Check for voltage: Use a multimeter to check for voltage at various points along the circuit, starting with the power source. If you have voltage at the fuse but not at the taillight socket, you know there's a break or short somewhere between those two points.
- Inspect connections: Pay close attention to connectors along the wire's path. Disconnect and inspect them for corrosion or damage. Clean the connectors with electrical contact cleaner.
- Check the ground: Ensure the taillight has a good ground connection to the chassis. Clean and tighten the grounding point.
By systematically tracing the circuit, you can isolate the fault and repair it. Remember to always disconnect the battery before working on any electrical components to prevent accidental shorts.
Real-World Use: Basic Troubleshooting Tips
Here are some practical tips for troubleshooting electrical problems using the wiring diagram:
- Start with the basics: Check the battery voltage, fuses, and grounds. These are the most common culprits.
- Use a multimeter: A multimeter is your best friend for diagnosing electrical issues. Learn how to use it to measure voltage, current, and resistance.
- Isolate the problem: Divide the circuit into smaller sections to narrow down the area of the fault.
- Look for patterns: If multiple circuits are malfunctioning, suspect a common component, like the ignition switch or a shared ground.
- Consider the environment: Moisture, heat, and vibration can all contribute to electrical problems. Look for signs of corrosion, melted insulation, or loose connections.
- Don't overlook the obvious: Sometimes, the problem is as simple as a burnt-out bulb or a loose wire.
For example, if your turn signals aren't working, the diagram can help you quickly identify the turn signal flasher relay and its location. You can then test the flasher relay to see if it's the cause of the problem. Similarly, if your headlights are dim, the diagram can help you trace the wiring to the headlight switch and check for voltage drops, which could indicate a faulty switch or corroded wiring.
Safety First: Risky Components
Working with electricity can be dangerous. Here are some components to be particularly cautious around:
- Battery: The battery stores a significant amount of energy. Always disconnect the negative terminal before working on the electrical system. Avoid shorting the battery terminals, as this can cause sparks, heat, and even explosions.
- Alternator: The alternator generates high voltage while the engine is running. Avoid touching the alternator terminals with the engine running.
- Ignition System: The ignition system, especially in older trucks with points-type ignition, generates high voltage for the spark plugs. Avoid touching the ignition coil or distributor with the engine running.
- Wiring Harness: Damaged or frayed wiring can expose live wires. Wear gloves and use insulated tools when working with wiring.
Always disconnect the negative battery cable before starting any electrical work. Use insulated tools. If you are uncomfortable working with electricity, consult a qualified mechanic.
Accessing the Wiring Diagram
Having a clear and accurate wiring diagram is essential. Factory service manuals are the best source, but aftermarket manuals are also available. Online resources can also be helpful, but be sure to verify the accuracy of any diagrams you find online. We have a digital copy of the 73-87 Chevy truck wiring diagram available for download. Access it using the provided link.
With this knowledge and the wiring diagram in hand, you'll be well-equipped to tackle electrical repairs, upgrades, and troubleshooting on your classic Chevy truck. Good luck, and happy wrenching!