
88-98 Chevy Tail Light Wiring Diagram
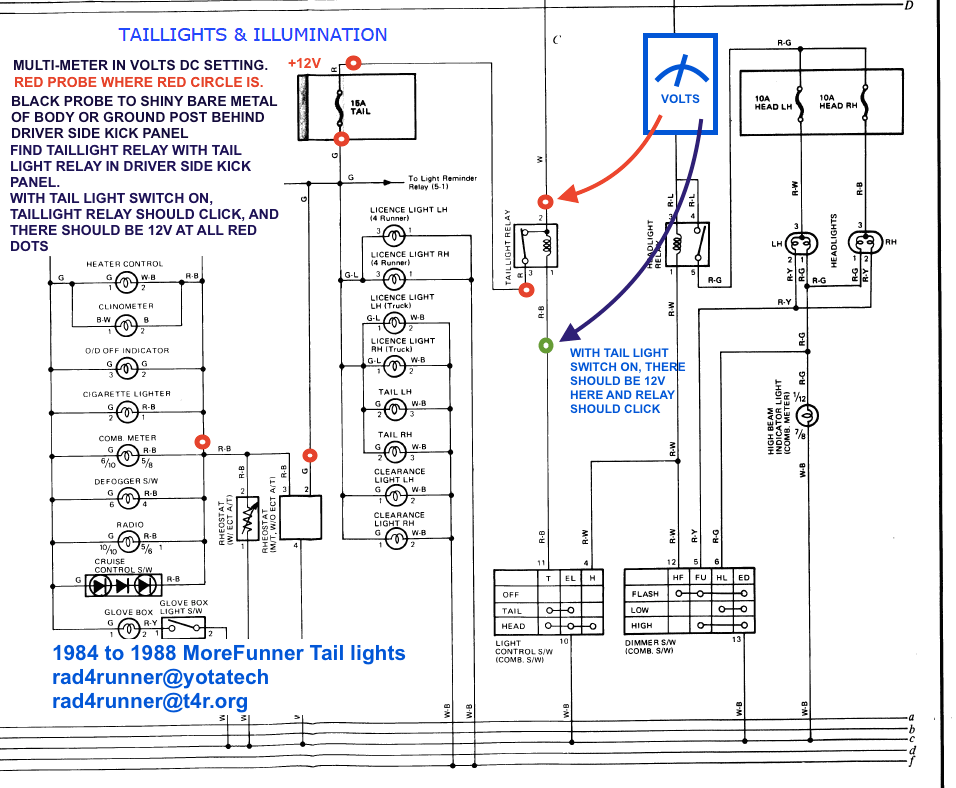
Understanding the 1988-1998 Chevy/GMC truck tail light wiring diagram is crucial for any DIY mechanic tackling electrical repairs, modifications, or simply deepening their knowledge of their vehicle's systems. These trucks, affectionately known as "OBS" (Old Body Style) Chevys, are renowned for their reliability, but like any vehicle of that age, their electrical systems can suffer from corrosion, damaged wiring, or simple wear and tear. Having a solid grasp of the tail light wiring allows you to diagnose problems quickly, perform accurate repairs, and even upgrade your lighting with confidence.
Purpose and Importance
The tail light wiring diagram serves as a roadmap for the entire rear lighting system. It illustrates how each component is connected, the color codes of the wires, and the functions of each wire and connector. This is invaluable for:
- Troubleshooting: Identifying shorts, opens, or grounds in the wiring.
- Repairing Damaged Wiring: Accurately splicing wires, replacing connectors, and routing new wiring.
- Installing Aftermarket Lights: Integrating new tail lights, trailer wiring, or other lighting accessories.
- Understanding Vehicle Electrical Systems: Gaining a deeper appreciation for how the vehicle's electrical system functions.
- Performing Modifications: Customizing lighting setups, such as adding LEDs or sequential turn signals.
Key Specs and Main Parts
The 88-98 Chevy/GMC tail light system is relatively straightforward, but it's important to understand the main components:
- Tail Light Assemblies: These house the various bulbs for brake lights, turn signals, running lights (also called parking lights), and reverse lights.
- Bulbs: Typically, these are incandescent bulbs, though some owners have upgraded to LEDs. Common bulb types include 3157 (dual filament) and 1156 (single filament).
- Wiring Harness: The bundle of wires that connect all the tail light components to the vehicle's electrical system. This harness runs from the front of the truck, typically along the frame, to the rear.
- Connectors: These provide a secure and reliable connection between the wiring harness and the tail light assemblies. Connectors are susceptible to corrosion, so it's important to inspect and clean them regularly.
- Fuses: Protect the circuit from overloads. Tail light circuits typically have dedicated fuses in the fuse box, usually located under the dashboard or in the engine compartment. Always check the fuse box diagram in your owner's manual for the exact location.
- Light Switch: Controls the running lights.
- Brake Light Switch: Activated when the brake pedal is pressed.
- Turn Signal Switch: Located in the steering column, this switch controls the turn signals.
- Ground Connection: A critical connection that provides a return path for the electrical current. Poor grounding can cause all sorts of electrical problems.
Symbols and Color Codes
Understanding the symbols and color codes on the wiring diagram is essential for accurate diagnosis and repair. Here's a breakdown:
- Lines: Represent wires. A solid line indicates a direct connection, while a dashed line might indicate a connection that's only present in certain configurations.
- Colors: Each wire is assigned a specific color code, which is indicated on the diagram. Common colors include:
- Brown (BRN): Usually for tail lights or running lights.
- Dark Green (GRN): Often for right turn signal.
- Light Green (LT GRN): Often for backup lights.
- Yellow (YEL): Often for left turn signal and brake lights.
- White (WHT): Typically for ground. A good ground is critical.
- Black (BLK): Also for ground.
- Circles: Represent connection points or splices in the wiring.
- Rectangles: Often represent components such as switches, relays, or fuses.
- Ground Symbol: A symbol resembling an inverted Christmas tree, indicating a connection to the vehicle's chassis (ground).
How It Works
The tail light system is a relatively simple circuit. Here's a basic overview:
- Running Lights: When the headlight switch is turned on, power flows through the brown wire to the tail light bulbs, illuminating them at a lower intensity.
- Brake Lights: When the brake pedal is pressed, the brake light switch closes, sending power through the yellow wire to the brake light filaments in the tail light bulbs. This causes the bulbs to illuminate at a higher intensity.
- Turn Signals: When the turn signal switch is activated, power is sent through either the dark green (right) or yellow (left) wire to the corresponding turn signal bulb. A flasher relay interrupts the current, causing the bulb to flash on and off.
- Reverse Lights: When the vehicle is shifted into reverse, the reverse light switch closes, sending power through the light green wire to the reverse light bulbs.
- Ground: All circuits require a good ground connection to complete the electrical path. The white or black wires provide this ground. A bad ground will cause dim lights, flickering, or complete failure.
Real-World Use – Basic Troubleshooting Tips
Here are some common tail light problems and troubleshooting tips:
- No Lights at All: Check the fuses first. If the fuse is blown, replace it with one of the same amperage. If the fuse blows again immediately, there's likely a short circuit in the wiring.
- One Light Not Working: Check the bulb first. If the bulb is good, check the connector for corrosion or loose connections. Use a multimeter to check for voltage at the connector.
- Dim Lights: This is often caused by a poor ground connection. Clean the ground connections and ensure they are making good contact with the chassis.
- Flickering Lights: This can be caused by a loose connection, a bad bulb, or a faulty flasher relay.
- Brake Lights Stay On: The brake light switch may be misadjusted or faulty.
When troubleshooting, always use a multimeter to check for voltage and continuity. This will help you pinpoint the location of the problem.
Safety
Working with automotive electrical systems can be dangerous. Here are some important safety precautions:
- Disconnect the Battery: Before working on any electrical components, disconnect the negative terminal of the battery. This will prevent accidental shorts and shocks.
- Use Proper Tools: Use insulated tools to prevent shocks.
- Avoid Working in Wet Conditions: Water can conduct electricity, increasing the risk of shock.
- Never Bypass Fuses: Fuses are designed to protect the electrical system from overloads. Bypassing a fuse can cause serious damage or even a fire.
- Be Careful with Wiring: Wiring can be brittle and easily damaged, especially in older vehicles. Handle wiring carefully to avoid breaking or shorting it.
High-intensity discharge (HID) and light-emitting diode (LED) lights can require higher voltage and different wiring configurations. Be extremely careful when working with these systems.
Now that you have a better understanding of the 88-98 Chevy/GMC tail light wiring diagram, you're better equipped to tackle repairs and modifications. Remember to always prioritize safety and use the correct tools and techniques. Happy wrenching!
We have the complete and detailed wiring diagram file for the 88-98 Chevy/GMC tail lights available for download. It includes all the color codes, connector locations, and circuit details you'll need for any repair or modification project.