
98 Chevy Silverado Radio Wiring Diagram
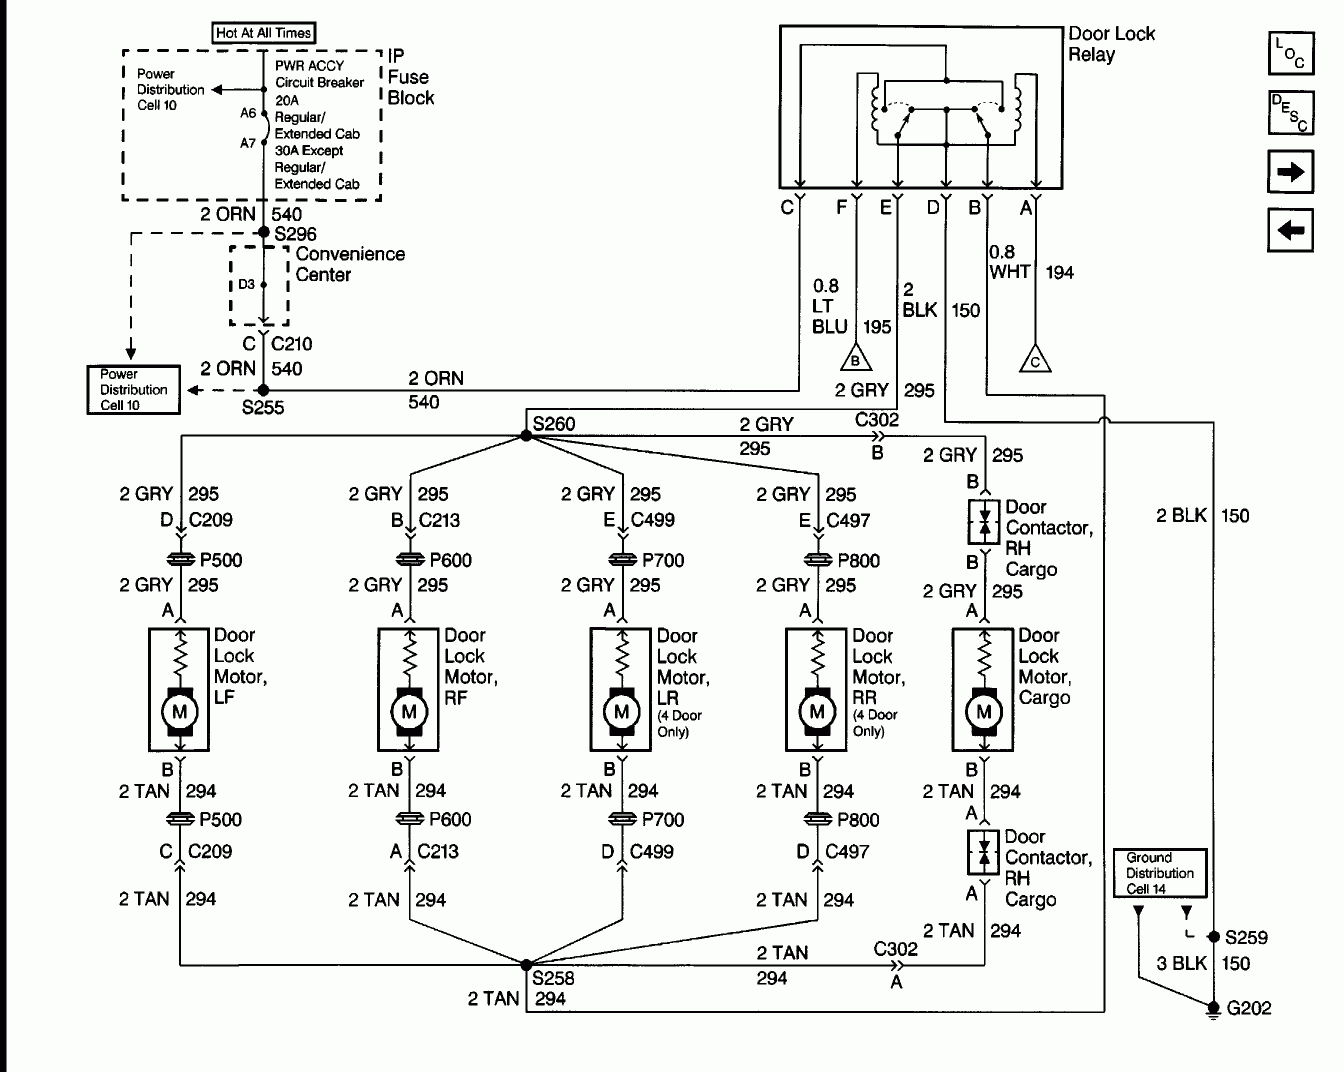
Alright, let's dive into the radio wiring diagram for a 1998 Chevy Silverado. Whether you're dealing with a faulty radio, upgrading to an aftermarket system, or just trying to understand your truck's electrical system better, having a clear understanding of this diagram is crucial. This guide will break down the intricacies of the wiring, explain the symbols, and give you some real-world troubleshooting tips.
Purpose of the Wiring Diagram
Why bother with a wiring diagram? The primary reason is to provide a visual representation of the electrical connections within the radio system. This is invaluable for:
- Repairing a faulty radio: Identifying broken or shorted wires.
- Installing an aftermarket radio: Correctly connecting the new radio to the existing wiring harness.
- Adding amplifiers or other audio components: Tapping into the correct wires for signal and power.
- Troubleshooting electrical issues: Ruling out the radio as the source of a problem.
- General understanding: Learning about the vehicle's electrical system.
Without a diagram, you're essentially guessing. And in the automotive world, guessing can lead to damaged components, blown fuses, or even electrical fires. A wiring diagram provides a safe and efficient path to resolving audio-related issues.
Key Specs and Main Parts of the '98 Silverado Radio System
Before we get into the diagram itself, let's talk about the components and their general functions. The '98 Silverado radio system, in its most basic form, consists of:
- Head Unit (Radio): The central control unit, providing the interface for selecting stations, adjusting volume, and often playing CDs or cassettes. This is what typically needs replacing, or is causing the problem.
- Speakers: Convert electrical signals into audible sound. Typically, there are speakers in the front doors and possibly the rear cab corners.
- Antenna: Receives radio signals. This could be integrated into the windshield or a separate mast.
- Wiring Harness: A collection of wires that connect the radio to the truck's electrical system. This is where you'll be doing most of your work.
- Fuses: Protect the radio and other components from electrical overload.
- Ground Connection: Provides a return path for electrical current, ensuring proper operation. Poor grounding is a common cause of radio problems.
Common OEM radios are either a standard AM/FM radio, or an AM/FM/Cassette radio. More expensive trims could include a CD player. All these share the same basic wiring schematic for power, ground, and speakers.
Understanding Wiring Diagram Symbols and Conventions
Wiring diagrams use a standardized set of symbols and conventions. Here's a breakdown of the most common ones you'll encounter in the '98 Silverado radio wiring diagram:
- Lines: Represent wires. Thicker lines might indicate wires carrying higher current.
- Colors: Each wire is typically represented by a specific color (e.g., Red for power, Black for ground). It is vital to refer to the color codes for correct identification.
- Symbols for Components: These are graphical representations of the actual components (e.g., a rectangle for a resistor, a circle with an "A" for an ammeter, a wavy line for a capacitor).
- GND or Ground Symbol: Indicates a connection to the vehicle's chassis, which serves as the ground. This is often represented by a series of downward-pointing lines.
- (+) and (-): Indicate positive and negative terminals, respectively.
- Connectors: Represented by circles or squares at the ends of wires, indicating where they connect to other components or harnesses.
- Splices: Points where multiple wires are joined together.
- Numeric codes: these are the number assigned to the circuits within the wiring harness. They may be useful to check electrical continuity in the system.
Color coding is especially important. For example, a Red wire is often used for constant power (+12V), while a Black wire is typically used for ground. However, always double-check the diagram to confirm the color codes for your specific vehicle.
How It Works: Tracing the Circuit
Let's walk through a simplified example to understand how the radio circuit works.
- Power Supply: The radio receives power from the vehicle's battery through a fuse. The fuse protects the radio from overcurrent. The Red wire (typically) carries this constant +12V power.
- Ignition Switch: An additional power wire, often Yellow, connects to the ignition switch. This wire provides power to the radio only when the ignition is turned on.
- Ground: The Black wire connects to the vehicle's chassis, providing a ground connection.
- Speaker Wires: These wires, typically a pair for each speaker (positive and negative), carry the audio signal from the radio to the speakers. The colors will vary, but they are generally twisted pairs.
- Antenna Wire: A dedicated wire connects the radio to the antenna, allowing it to receive radio signals. This is usually a coaxial cable.
When you turn on the ignition, the radio receives power and can be turned on. The radio then amplifies the audio signal and sends it to the speakers, producing sound. The antenna receives radio signals, which are then processed by the radio.
Tracing these circuits on the wiring diagram will reinforce your understanding of how the system operates.
Real-World Use: Basic Troubleshooting Tips
Here are some common problems and how the wiring diagram can help you diagnose them:
- No Power to Radio: Use the diagram to check the fuse for the radio. If the fuse is blown, replace it. If it blows again immediately, there's likely a short circuit somewhere in the wiring. Use the diagram to trace the power wires and look for any damaged insulation or exposed wires. Verify the ground connection is solid.
- Radio Turns On But No Sound: Check the speaker wires. Make sure they are properly connected to the speakers. If you suspect a speaker is bad, you can use a multimeter to check its resistance. Use the wiring diagram to confirm correct speaker wire connections and polarity.
- Poor Radio Reception: Check the antenna wire. Make sure it's properly connected to the radio and the antenna. Inspect the antenna itself for damage. A break in the antenna wire will severely limit radio reception.
- Intermittent Problems: These can be the trickiest to diagnose. Look for loose connections or corroded terminals. Gently wiggle the wiring harness while the radio is on to see if you can reproduce the problem. The wiring diagram helps you pinpoint the connectors that might be causing the issue.
Always disconnect the negative battery terminal before working on the electrical system to prevent accidental shorts.
Safety Precautions
Working with automotive electrical systems can be dangerous. Here are some crucial safety precautions:
- Disconnect the Battery: Always disconnect the negative battery terminal before working on the electrical system. This prevents accidental shorts and potential electrical shocks.
- Use a Multimeter: A multimeter is an essential tool for testing voltage, current, and resistance. Learn how to use it safely and correctly.
- Wear Safety Glasses: Protect your eyes from sparks and debris.
- Avoid Working in Wet Conditions: Water conducts electricity and increases the risk of electric shock.
- Identify Airbag Wires: Be extremely careful when working near airbag wires. Accidentally triggering an airbag can cause serious injury. Consult the wiring diagram to identify these wires and avoid them.
- Be aware of CAN bus wires: Modern radios are often integrated into the CAN bus (Controller Area Network) system. Damaging these wires can affect other vehicle systems. The diagram will show if your radio uses CAN bus and which wires are involved.
Remember, safety is paramount. If you're not comfortable working on the electrical system, consult a qualified technician.
Diagram Availability
Now that you have a solid understanding of the '98 Chevy Silverado radio wiring diagram, you can put your knowledge to practical use. Having the diagram itself is essential.
We have the complete wiring diagram file available for download. This diagram will provide the detailed information you need to safely and effectively troubleshoot or upgrade your Silverado's radio system.