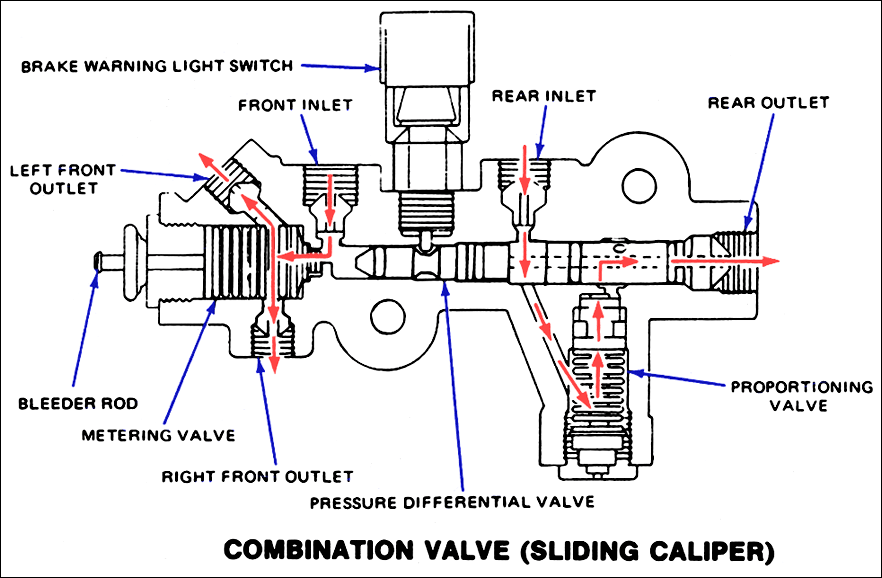
Adjustable Brake Proportioning Valve Diagram
Alright, let's dive into the world of adjustable brake proportioning valves. We're going to break down the diagram, understand its components, and how it all works together to keep you safe and in control. Whether you're troubleshooting a braking issue, planning a brake upgrade, or simply want to expand your automotive knowledge, understanding this diagram is crucial. We'll cover everything from the basic layout to troubleshooting tips, so let's get started.
Why This Diagram Matters
The diagram of an adjustable brake proportioning valve isn't just some abstract drawing; it's a roadmap to understanding how your braking system balances the braking force between your front and rear wheels. Proper brake balance is absolutely critical for safe and effective stopping, especially under hard braking. Without it, you risk locking up the rear wheels, leading to a loss of control and potentially a spin. This diagram is invaluable for:
- Repairs and Maintenance: Identifying faulty components, tracing leaks, and ensuring proper connections during repairs.
- Upgrades and Modifications: Planning brake upgrades, such as installing larger calipers or rotors, and adjusting the proportioning valve to match the new braking characteristics.
- Understanding Brake Bias: Learning how to fine-tune your brake bias for optimal performance on the street or track.
- Troubleshooting: Diagnosing braking problems, such as rear wheel lockup or uneven brake wear.
Key Specs and Main Parts
A typical adjustable brake proportioning valve diagram will illustrate several key components and specifications. Knowing these is key to understanding how the system operates:
Main Components:
- Valve Body: The main housing of the valve, usually made of brass or aluminum.
- Inlet Port(s): Where brake fluid enters the valve from the master cylinder, typically with one or two inlets depending on the system.
- Outlet Port(s): Where brake fluid exits the valve and travels to the rear brake calipers or wheel cylinders. Again, usually one or two outlets.
- Pressure Adjustment Knob/Screw: This is the key to adjusting the proportioning. Turning the knob or screw changes the point at which the valve begins to reduce pressure to the rear brakes.
- Internal Piston/Shuttle Valve: A moving component inside the valve that restricts the flow of brake fluid to the rear brakes when the front brakes reach a certain pressure.
- Spring(s): Provides resistance to the piston's movement and helps determine the pressure at which the valve starts to proportionally reduce rear brake pressure.
- Seals/O-Rings: Crucial for preventing leaks of brake fluid.
Key Specs:
- Pressure Range: The range of pressure reduction the valve can provide. This is usually expressed as a percentage (e.g., 10-90% pressure reduction).
- Thread Sizes: The sizes of the inlet and outlet ports, which must match the brake lines. Commonly 3/8-24 or 10mm x 1.0 inverted flare.
- Material: The material of the valve body (brass, aluminum, etc.), which affects its corrosion resistance and durability.
- Maximum Operating Pressure: The maximum pressure the valve can withstand without failing.
Symbols: Deciphering the Diagram
Understanding the symbols used in the diagram is vital for interpreting it correctly. Here's a breakdown of common symbols:
- Solid Lines: Represent brake lines or hydraulic connections. Their thickness may indicate the size or type of line.
- Dashed Lines: Often indicate control lines or pilot lines, which are used to actuate the valve. They might also represent internal passages within the valve body.
- Arrows: Indicate the direction of fluid flow.
- Circles: Represent ports or connections.
- Rectangles: Can represent valve bodies or other components.
- Spring Symbol: A coiled line indicates a spring.
- Pressure Gauge Symbol: Indicates a pressure gauge or test point.
- Colors: While not always present, colors can be used to differentiate between different types of fluid or pressure circuits. For example, blue might represent low-pressure circuits, and red might represent high-pressure circuits.
How It Works: A Deep Dive
The adjustable brake proportioning valve's primary function is to prevent rear wheel lockup during braking. Here's how it achieves this:
- Initial Pressure: When you initially apply the brakes, brake fluid pressure is transmitted equally to both the front and rear brakes through the valve.
- Proportioning Point: As brake pressure increases, the valve reaches its "proportioning point." This is the pressure at which the valve begins to reduce pressure to the rear brakes. The adjustment knob/screw controls this point.
- Pressure Reduction: Once the proportioning point is reached, the internal piston/shuttle valve begins to restrict the flow of brake fluid to the rear brakes. The amount of pressure reduction is determined by the valve's design and the setting of the adjustment knob/screw.
- Preventing Lockup: By reducing pressure to the rear brakes, the valve helps to prevent them from locking up before the front brakes. This allows the front brakes to do the majority of the work, maximizing stopping power and maintaining vehicle stability.
The reason we need this is due to weight transfer. Under braking, weight shifts forward in the car. This means the front tires have more grip than the rear tires. If the brake force isn't adjusted, the rear tires will lock up prematurely, leading to a loss of control.
Real-World Use: Basic Troubleshooting Tips
Here are a few common problems you might encounter and how the diagram can help you troubleshoot them:
- Rear Wheel Lockup: If the rear wheels are locking up too easily, even with light braking, the proportioning valve may be set too high (not reducing pressure enough). The diagram will help you locate the adjustment knob/screw and decrease the pressure reduction. If adjustment doesn't work, the valve itself might be faulty.
- Uneven Brake Wear: If the rear brakes are wearing out much faster than the front brakes, the proportioning valve may be set too low (reducing pressure too much). This forces the rear brakes to work harder. Use the diagram to locate the adjustment knob/screw and increase the pressure reduction slightly.
- Brake Fluid Leaks: Check the valve body, inlet and outlet ports, and seals for leaks. The diagram will help you identify the location of these components. Replace any damaged seals or fittings.
- Spongy Brake Pedal: A spongy brake pedal can be caused by air in the brake lines. While the proportioning valve itself isn't directly responsible, leaks in the valve or its connections can allow air to enter the system. Bleeding the brakes is necessary.
Safety: Risky Components
Working on your braking system involves inherent risks. Brake fluid is corrosive and can damage paint and skin. Always wear gloves and eye protection when handling brake fluid.
The proportioning valve itself is under significant pressure when the brakes are applied. Never loosen or disconnect brake lines while the system is pressurized. Always depressurize the system by pumping the brake pedal several times with the engine off before working on it.
Improper installation or adjustment of the proportioning valve can lead to serious safety issues. If you are not comfortable working on your braking system, seek the help of a qualified mechanic.
Finally, always thoroughly test your brakes after making any adjustments or repairs to the proportioning valve. Start with slow, controlled stops in a safe environment and gradually increase the braking force. Ensure that the brakes are functioning properly and that the vehicle is stopping safely.
We have a detailed diagram available for download. It covers all the points discussed and will be a handy reference in your brake system endeavors. Contact us for the file.