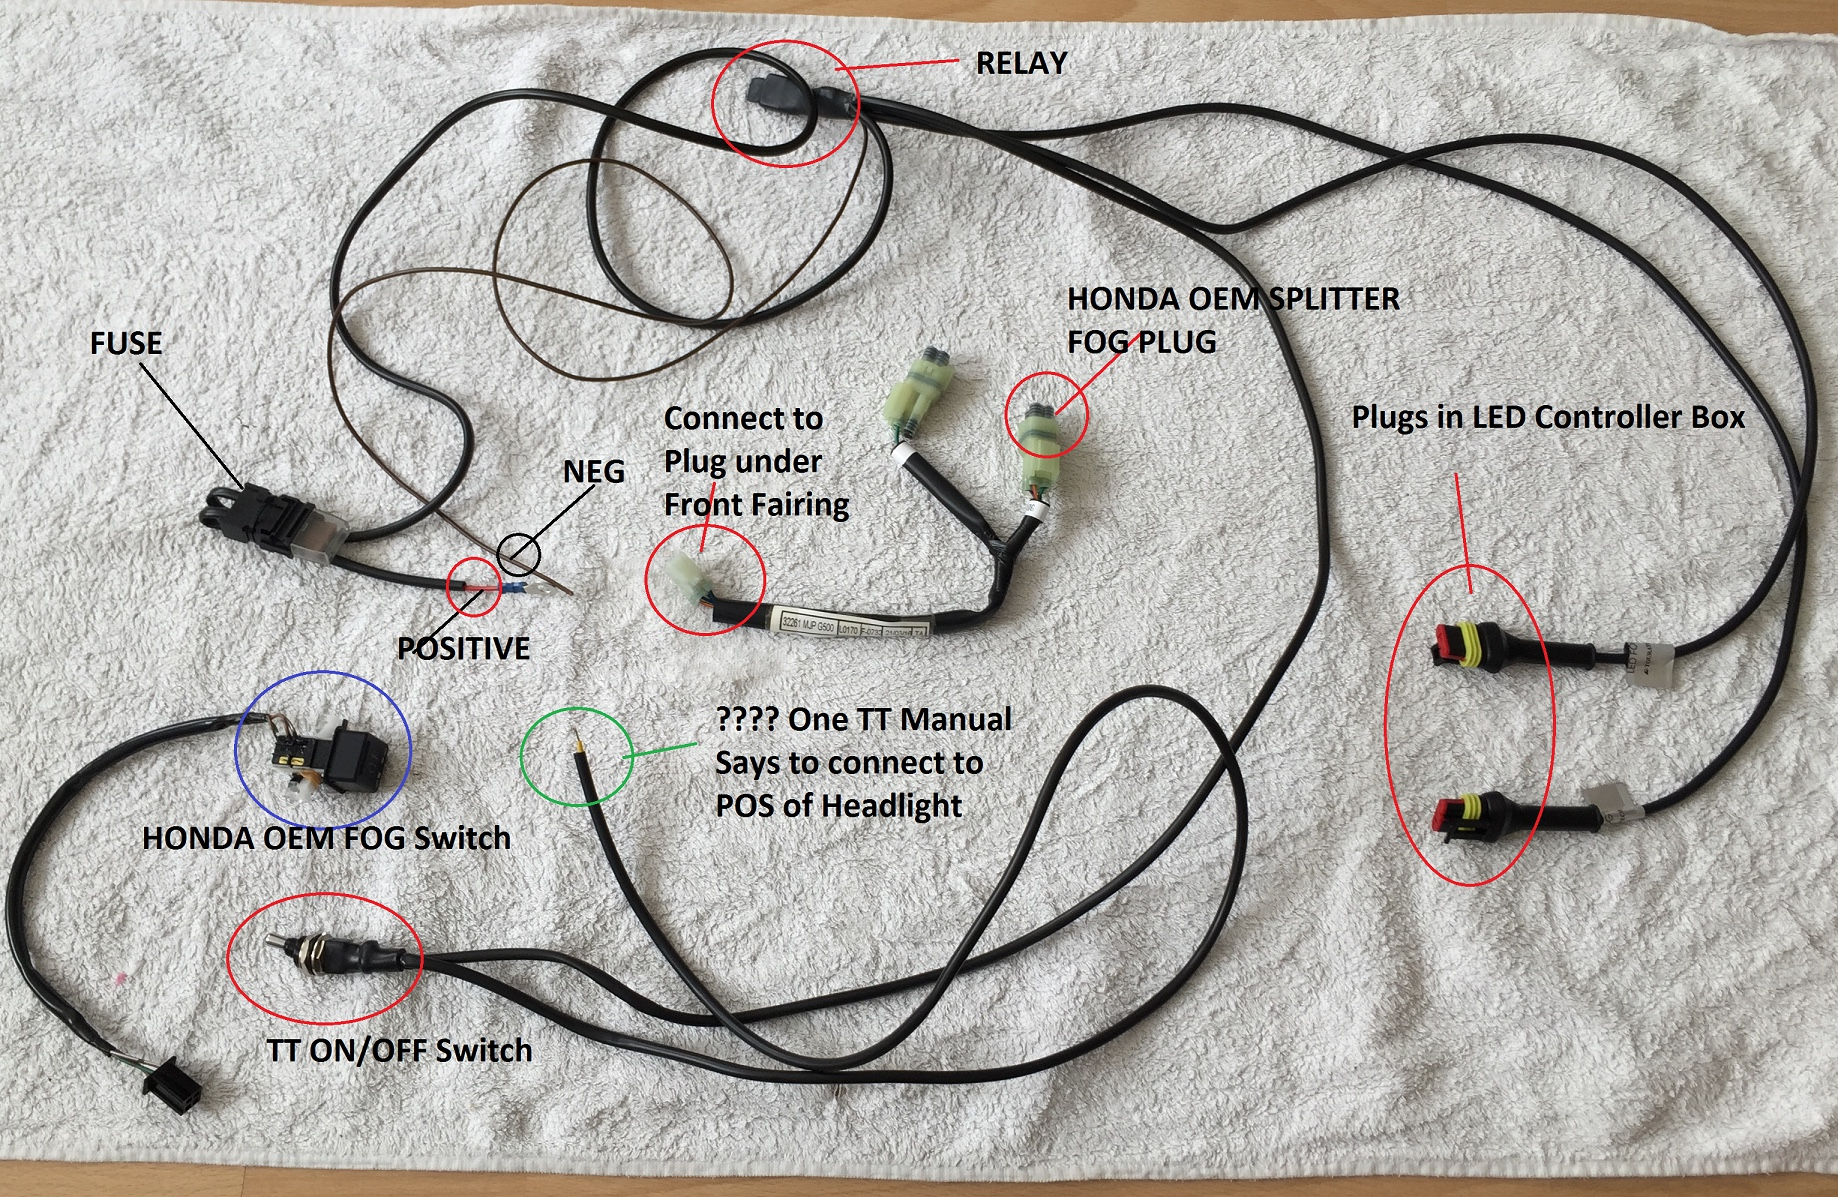
Aftermarket Fog Light Switch Wiring Diagram
So, you're diving into the world of aftermarket fog lights, eh? Good for you! Adding a set of those can dramatically improve visibility in adverse weather conditions. But, connecting them properly requires understanding the wiring, and that's where a good fog light switch wiring diagram comes in handy. This isn't just about flicking a switch and hoping for the best; it's about ensuring a safe, reliable, and legal installation.
Purpose: Why You Need This Diagram
Let's be clear: haphazard wiring can lead to shorts, blown fuses, or even electrical fires. A wiring diagram acts as your roadmap, guiding you through the connections and ensuring everything is done correctly. More specifically, understanding a fog light switch wiring diagram serves several crucial purposes:
- Safe Installation: Following a diagram minimizes the risk of electrical problems.
- Repair and Troubleshooting: If your fog lights stop working, the diagram will help you pinpoint the source of the problem. It's your troubleshooting guide!
- Learning and Understanding: Even if you're not having issues, studying the diagram helps you grasp the fundamentals of automotive electrical systems. This knowledge is invaluable for future modifications and repairs.
- Customization: Maybe you want to add a relay for extra safety or use a specific type of switch. The diagram gives you the basis to adapt and modify.
Key Specs and Main Parts
Before we dive into the symbols and connections, let's review the main components you'll encounter in a typical aftermarket fog light circuit:
- Fog Lights: The actual light fixtures. They have a specific wattage (power consumption), usually listed in watts (W). This dictates the current draw, which impacts the choice of wiring and fuse size.
- Aftermarket Fog Light Switch: This is how you turn the lights on and off. The switch has a rated amperage – it can only handle a certain amount of current. If the current from the fog lights exceeds the switch’s rating, you'll need a relay.
- Relay (Optional but Recommended): An electromagnetic switch. A small current from the switch activates the relay, which then allows a larger current from the battery to power the fog lights. Relays protect the switch from being overloaded and allow you to use heavier-gauge wiring for the fog lights, ensuring maximum brightness. Key specs here are the relay's voltage (usually 12V DC for automotive applications) and amperage rating (e.g., 30A or 40A).
- Fuse: A safety device that protects the circuit from overcurrent. It's a weak link designed to break (blow) if the current exceeds a certain level, preventing damage to other components. The fuse rating is measured in Amperes (A). You'll need to calculate the appropriate fuse size based on the total wattage of your fog lights. Use the formula: Amps = Watts / Volts. Multiply the answer by 1.25 (25%) to add a safety margin.
- Wiring: The conductors that carry the electricity. Wire gauge (thickness) is crucial. Thicker wires (lower gauge numbers, like 12 AWG) can carry more current. Choosing the correct wire gauge prevents overheating and voltage drop.
- Power Source (Battery): The heart of the electrical system, providing the necessary voltage (usually 12V DC) and current.
- Ground (Chassis Ground): A return path for the current, usually achieved by connecting the circuit to the vehicle's metal frame. A solid, clean ground connection is essential for proper operation.
Symbols: Deciphering the Diagram
Wiring diagrams use standardized symbols to represent electrical components. Here's a breakdown of common symbols you'll encounter in a fog light switch wiring diagram:
- Straight Line: Represents a wire. Different colors indicate different functions (e.g., red for power, black for ground, blue for the switch signal). Solid lines usually indicate a direct connection, while dashed lines might indicate a connection through a harness connector.
- Zigzag Line: Represents a resistor.
- Circle with a 'X': Represents a light bulb (in this case, your fog lights).
- Rectangle with a Switch Symbol Inside: Represents a switch. The switch symbol shows the open or closed state of the switch.
- Coil Symbol: Represents the coil of a relay. When energized, this coil closes the relay's contacts.
- Fuse Symbol: A line with a break in the middle or a box with a diagonal line.
- Ground Symbol: Typically looks like three lines decreasing in length.
- Battery Symbol: A series of short and long parallel lines.
Color Coding: The color of the wires in the diagram is important. While there's no universally strict standard, some common conventions exist. Red often represents positive (+) power from the battery. Black is commonly used for ground (-). Other colors, like blue, yellow, or white, might be used for the switch signal wire or other auxiliary functions. Always double-check the manufacturer's documentation for the specific color codes used in your installation.
How It Works: A Simplified Explanation
Let's break down the typical operation of a fog light circuit with a relay:
- Power flows from the battery, through a fuse, and to one terminal of the relay coil.
- When you flip the fog light switch, it completes the circuit to the relay coil, typically by providing a ground path. This energizes the relay coil.
- The energized relay coil creates an electromagnetic field, which pulls a set of contacts inside the relay closed.
- Closing these contacts completes a separate circuit directly from the battery (again, through a fuse) to the fog lights. This heavier-gauge wire ensures the lights get all the power they need.
- The fog lights illuminate.
- When you turn the switch off, the relay coil is de-energized, the contacts open, and the fog lights turn off.
Without a relay, the switch directly controls the power to the fog lights. This is simpler but puts more strain on the switch and necessitates a high-amperage switch.
Real-World Use: Basic Troubleshooting Tips
Even with a diagram, things can go wrong. Here are some common issues and troubleshooting tips:
- Fog Lights Don't Turn On:
- Check the fuse! A blown fuse is the most common culprit. Replace it with a fuse of the same amperage rating.
- Verify the ground connection. Ensure it's clean and securely attached to the vehicle's frame.
- Test the switch. Use a multimeter to check for continuity when the switch is in the "on" position.
- Check the relay (if used). You can often hear it click when the switch is activated. If not, test the relay coil with a multimeter to see if it's receiving power.
- Inspect the wiring for any breaks, shorts, or loose connections.
- Fog Lights Turn On But Are Dim:
- Check the voltage at the fog lights with a multimeter. Low voltage indicates a voltage drop, likely due to undersized wiring or poor connections.
- Ensure the battery is fully charged.
- Check the ground connection. A poor ground can cause dim lights.
- Fuse Keeps Blowing:
- This indicates an overcurrent situation, often caused by a short circuit. Inspect the wiring carefully for any places where the insulation may be damaged and the wire is touching the vehicle's frame.
- Ensure the fuse is the correct amperage rating.
- If you've recently added more lights or accessories to the circuit, the existing wiring may be overloaded. You may need to upgrade the wiring and fuse size.
Safety: Handle with Care
Automotive electrical systems can be dangerous. Here are some key safety precautions:
- Disconnect the Battery: Always disconnect the negative terminal of the battery before working on any electrical system. This prevents accidental shorts and potential injury.
- Work in a Well-Lit Area: Good visibility is crucial for avoiding mistakes.
- Use Proper Tools: Invest in quality tools, including a multimeter, wire strippers, crimpers, and a test light.
- Protect Yourself: Wear safety glasses to protect your eyes and gloves to protect your hands.
- Avoid Water: Never work on electrical systems in wet conditions.
- Be Careful with Wires: Don't pull or yank on wires. This can damage them and create shorts.
- Correct Fuse Ratings: Never use a fuse with a higher amperage rating than specified. This can bypass the safety mechanism and lead to serious damage or fire.
- The Relay: Treat the relay with respect. Incorrect wiring may lead to damage of the switching part.
Disclaimer:
Working on automotive electrical systems can be dangerous and requires a good understanding of electrical principles. If you're not comfortable with any aspect of the installation, seek professional assistance from a qualified mechanic.
Remember, this article provides a general overview. Always refer to the specific wiring diagram that came with your fog light kit or consult the manufacturer's instructions for detailed guidance. We have the comprehensive file containing the wiring diagram and more detailed specifications. Feel free to download it for a clearer understanding of the process.