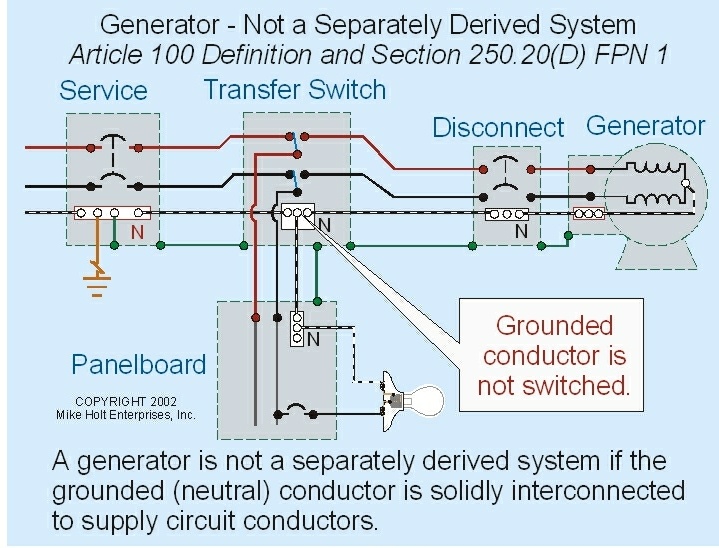
Automatic Transfer Switch Installation Diagram
Alright, so you're looking at tackling an Automatic Transfer Switch (ATS) installation. This is a project that bridges the gap between electrical systems and emergency power, and understanding the installation diagram is absolutely crucial. Think of it as the blueprint for keeping your lights on when the grid goes down. This article will break down an ATS installation diagram, making it understandable even if you're not an electrician. I’ll focus on the principles involved. Remember, while I provide this info as a guide, any live electrical work should be carried out by a qualified professional!
Purpose of the ATS Installation Diagram
Why bother with an installation diagram? Several reasons. First, repairs become infinitely easier. When something goes wrong (and it will, eventually), the diagram is your roadmap to troubleshooting. Second, it's invaluable for learning. Understanding the diagram means understanding how the ATS functions, which allows you to make informed decisions about its operation and maintenance. Third, if you're planning on modifying your system (adding circuits, upgrading the generator), the diagram is your baseline, ensuring any changes are done safely and correctly.
Key Specs and Main Parts (with definitions)
Before diving into the diagram itself, let's familiarize ourselves with the key components of an ATS and some important specifications. Think of these like the essential parts of an engine. Without them, nothing will work as expected. The main parts include:
- Automatic Transfer Switch (ATS): This is the brain of the operation. It monitors the incoming utility power and, when it detects a failure, automatically switches the load to the generator (or alternate power source).
- Utility Power Source: The normal electrical grid feed from your provider.
- Generator Power Source: The emergency power source, typically a generator. It needs to be adequately sized to handle the anticipated load.
- Load (or Load Center): This represents the circuits and appliances that will be powered by either the utility or the generator.
- Control Wiring: Low-voltage wiring that carries signals between the ATS and the generator, telling it when to start and stop.
- Circuit Breakers: Essential safety devices that protect against overloads and short circuits.
- Neutral and Grounding Connections: Critical for safety and proper operation. These ensure that fault currents have a safe path to ground.
Now for the key specifications, which define the capabilities of your ATS:
- Voltage Rating: The voltage the ATS is designed to handle (e.g., 120/240V for residential, 208/480V for commercial). Make sure it matches your electrical system.
- Amperage Rating: The maximum current the ATS can handle. This needs to be greater than or equal to the maximum current draw of the load it will be supporting.
- Phase: Single-phase or three-phase, depending on your electrical service.
- Transfer Time: The time it takes for the ATS to switch from utility to generator power. A shorter transfer time is generally desirable.
- NEMA Rating: National Electrical Manufacturers Association (NEMA) rating indicates the environmental protection provided by the enclosure (e.g., NEMA 3R for outdoor use, NEMA 4X for washdown environments).
Understanding the Symbols
The installation diagram uses a universal language of symbols to represent the various components and connections. Understanding these symbols is crucial for interpreting the diagram correctly. It's like reading a musical score.
- Lines: Lines represent electrical conductors (wires). Solid lines typically indicate live (hot) wires, while dashed lines might represent neutral or control wires. The thickness of the line *sometimes* indicates the wire gauge (thicker lines = larger gauge wires), but this is not always the case, so check the wire schedule on the diagram.
- Colors: Wire colors are standardized to indicate the function of the wire (e.g., black for hot, white for neutral, green for ground). Pay close attention to these colors when wiring the ATS.
- Circles and Squares: These often represent components like circuit breakers, relays, or terminal blocks. Look for accompanying labels or a legend to identify what each symbol represents.
- Arrows: Arrows indicate the direction of current flow or the switching action of the ATS.
- Grounding Symbol (⏚): This symbol represents the connection to earth ground, which is essential for safety.
- Neutral Symbol (N): This represents the neutral conductor, which carries the return current from the load.
Important Symbols to Memorize: You'll often see symbols representing the utility power source (usually a sine wave or a stylized representation of a power transformer), the generator (often a circle with "G" inside), and the load (a stylized representation of a resistor or a light bulb).
How It Works: Following the Signal Path
Let's trace the typical operation of an ATS, guided by the diagram. The diagram depicts the normal state, where the utility power is supplying the load. The ATS continuously monitors the voltage and frequency of the utility power. If the utility power fails (voltage drops below a certain threshold or frequency deviates outside acceptable limits), the ATS initiates a series of actions:
- Sensing the Failure: The ATS detects the loss of utility power through its sensing circuits.
- Signaling the Generator: The ATS sends a signal (usually a low-voltage signal) to the generator to start.
- Waiting for Stabilization: The ATS waits for the generator to reach its rated voltage and frequency. This is important to avoid damaging the load with unstable power.
- Transferring the Load: Once the generator is stable, the ATS opens the utility power connection and closes the generator power connection, transferring the load to the generator.
- Monitoring Generator Power: The ATS continues to monitor the generator power.
- Restoring Utility Power: When the utility power returns and stabilizes for a pre-determined time (to prevent cycling during brief outages), the ATS reverses the process: it transfers the load back to the utility, signals the generator to shut down (after a cool-down period), and resumes monitoring the utility power.
The diagram will show all these steps in the form of wiring and relay logic, allowing you to see the sequence of events and how the components interact.
Real-World Use: Basic Troubleshooting
Knowing how to read the diagram is a HUGE advantage when something goes wrong. Here are a few basic troubleshooting tips, referencing the diagram:
- Generator Won't Start: Check the control wiring between the ATS and the generator. Use a multimeter to verify that the start signal is being sent when the utility power fails. Consult the diagram for the specific terminals to test.
- Load Not Transferring: Check the fuses or circuit breakers associated with both the utility and generator power sources within the ATS. The diagram will show you their location. Also, verify that the ATS is receiving power to its control circuits.
- Generator Runs But No Power to Load: Double-check the connections to the load center. Use the diagram to trace the power flow from the generator through the ATS to the load.
- ATS constantly switching between Utility and Generator: This usually means that either the utility power supply is unstable, or the time-delay relays need adjustment. These relays will be identified on the diagram.
Safety: Respect the Voltage
WARNING: Working with electrical systems is inherently dangerous. The ATS contains high-voltage components that can cause serious injury or death. ALWAYS disconnect power to the ATS before working on it. Verify that the power is off using a voltage tester. Never work alone. Even when the ATS is de-energized, capacitors within the ATS may hold a dangerous charge, so always allow appropriate discharge time before touching any components. If you're not comfortable working with electricity, hire a qualified electrician.
Specifically, the incoming utility feed and the generator feed are extremely hazardous. Make sure you know where the main disconnects are for both of these sources and that they are clearly labeled. The ATS itself is also a potential hazard due to its internal components, such as relays and contactors, which can operate at high voltages.
Before working on anything, put on your PPE. At a minimum, use appropriate safety glasses and insulated gloves. If available, you can even use a full face shield.
Always follow the manufacturer’s recommended procedures and safety precautions outlined in the ATS manual. The information provided in this article is for educational purposes only and should not be considered a substitute for professional advice.
And there you have it. A deeper dive into ATS installation diagrams. Remember that every system is a little bit different, so always refer to the specific diagram for your ATS model. It may seem daunting at first, but by understanding the basic principles and symbols, you'll be well on your way to understanding how your emergency power system works and how to troubleshoot it effectively. We have a sample ATS installation diagram file available for download. This diagram, coupled with the information in this article, can greatly improve your understanding of ATS installations.