Briggs And Stratton Engine Troubleshooting Diagram
Let's talk about Briggs & Stratton engine troubleshooting diagrams. If you're someone who likes to get their hands dirty with engine repairs, upgrades, or even just routine maintenance on your lawnmower, generator, or other small engine equipment, understanding these diagrams is absolutely crucial. They're not just pretty pictures; they're roadmaps to understanding the intricate workings of your engine and quickly diagnosing problems. We have diagrams available for download.
Purpose of the Troubleshooting Diagram
Why bother learning to read a Briggs & Stratton troubleshooting diagram? The main reason is efficient and accurate diagnosis and repair. Think of it as a visual guide that bypasses the need for guesswork. Without a diagram, you're essentially poking around in the dark, hoping to stumble upon the issue. A diagram allows you to systematically trace the flow of electricity, fuel, or mechanical action, pinpointing the component that's causing the problem. Here's a breakdown of the key benefits:
- Faster Troubleshooting: Quickly identify potential issues based on observed symptoms.
- Reduced Repair Costs: Avoid replacing unnecessary parts by accurately pinpointing the faulty component.
- Enhanced Understanding: Gain a deeper understanding of how the engine and its sub-systems function.
- DIY Confidence: Tackle repairs with confidence, knowing you have a reliable guide.
- Preventative Maintenance: Use the diagram to understand the engine's systems and proactively address potential problems before they become major issues.
Beyond repairs, these diagrams are invaluable for learning. They provide a clear visual representation of the engine's internal components and their relationships, allowing you to grasp the principles of internal combustion and mechanical operation. If you're planning any modifications or upgrades, the diagram will help you understand the potential impact of your changes and ensure compatibility.
Key Specs and Main Parts
Before diving into the diagram itself, let's review some key specs and the main parts you'll encounter. Knowing these fundamentals will make interpreting the diagram much easier.
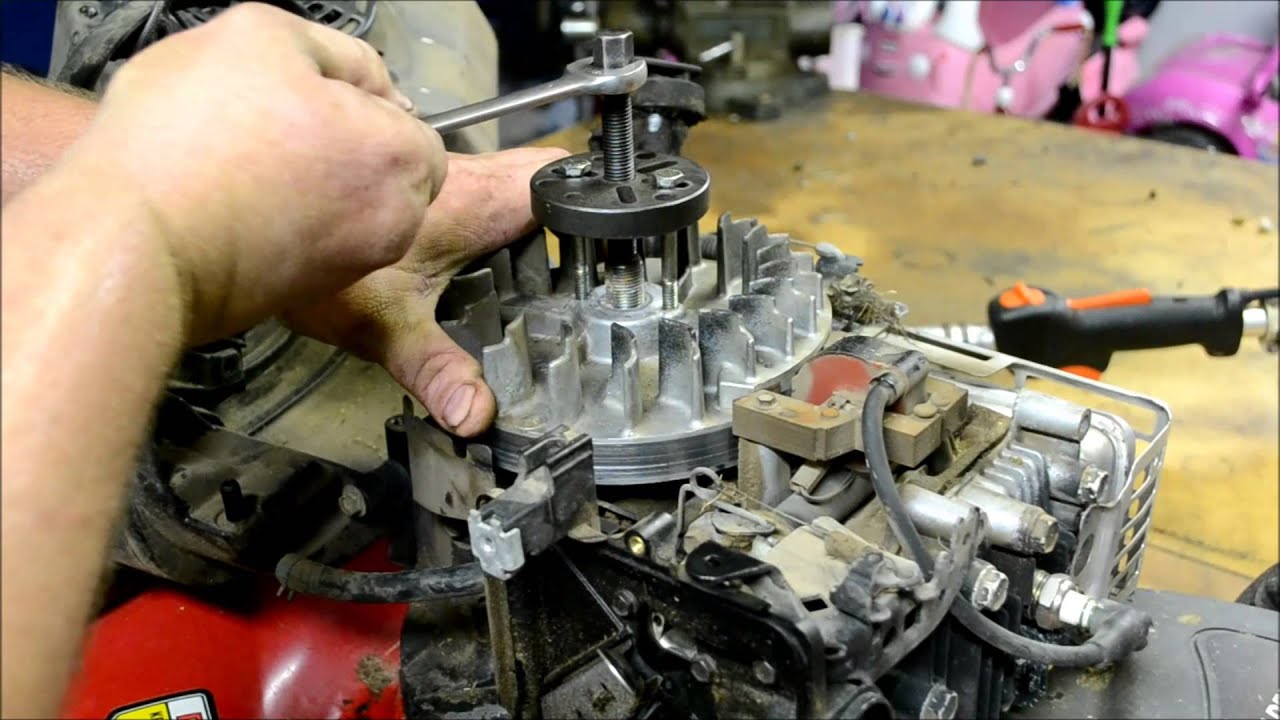
Engine Type: Briggs & Stratton manufactures a wide range of engines, primarily single-cylinder and V-twin four-stroke engines. The diagram will typically specify the engine type it represents. It is important to have the diagram specific to your engine.
Horsepower (HP): Indicates the engine's power output. While not directly visible on the diagram, knowing the HP rating helps you understand the engine's capabilities and potential stress points.
Displacement (cc or cu. in.): Refers to the total volume swept by the pistons during one complete cycle. It's an indicator of engine size and performance.
Main Parts Commonly Shown on Diagrams:
- Cylinder: The chamber where combustion takes place.
- Piston: The moving component within the cylinder that compresses the air-fuel mixture and transfers power.
- Connecting Rod: Connects the piston to the crankshaft.
- Crankshaft: Converts the linear motion of the piston into rotational motion.
- Valves (Intake and Exhaust): Control the flow of air-fuel mixture into the cylinder and exhaust gases out.
- Carburetor (or Fuel Injector): Mixes air and fuel in the correct proportions for combustion.
- Ignition System: Provides the spark to ignite the air-fuel mixture. This typically includes the magneto (or ignition coil), spark plug, and associated wiring.
- Starter Motor: Cranks the engine to initiate the combustion cycle.
- Governor: Regulates engine speed by controlling the throttle.
- Lubrication System: Provides lubrication to reduce friction and wear between moving parts.
- Cooling System (Air-Cooled): Dissipates heat generated by combustion.
Understanding the Symbols
Briggs & Stratton troubleshooting diagrams use a standardized set of symbols to represent various components and connections. Learning to recognize these symbols is essential for interpreting the diagram effectively.
Lines:
- Solid Lines: Generally represent mechanical connections, such as linkages, shafts, or physical connections between parts.
- Dashed Lines: Often indicate electrical connections, vacuum lines, or other non-mechanical connections. The specific meaning can vary, so always refer to the diagram's legend.
- Arrows: Indicate the direction of flow, such as the flow of fuel, air, or electrical current.
Colors: Some diagrams use color-coding to distinguish different circuits or systems. For example, fuel lines might be colored red, electrical wiring might be colored according to wire gauge or function (e.g., red for power, black for ground), and lubrication lines might be colored blue.
Icons: These represent specific components. Common icons include:
- Resistor: A squiggly line.
- Capacitor: Two parallel lines.
- Diode: A triangle pointing to a line.
- Transistor: Can vary, but often involves three terminals connected to a central element.
- Switch: A line that can be opened or closed to complete or break a circuit.
- Ground: A symbol resembling an upside-down Christmas tree.
Note: Always refer to the diagram's legend or key. This will provide a complete list of symbols and their meanings, ensuring accurate interpretation.
How It Works: Tracing the Flow
The real power of a troubleshooting diagram lies in its ability to help you trace the flow of operation within a system. Let's consider a simplified example: tracing the ignition system.
- Identify the problem: The engine won't start.
- Consult the diagram: Locate the ignition system components (magneto/coil, spark plug, wiring).
- Trace the circuit: Follow the lines from the magneto to the spark plug. Look for any breaks in the circuit (e.g., a loose wire, a corroded connection).
- Test components: Use a multimeter to check for voltage and continuity at various points in the circuit. The diagram may indicate expected voltage readings.
- Isolate the fault: Based on your tracing and testing, you can pinpoint the faulty component (e.g., a bad magneto, a broken spark plug wire).
The same principle applies to other systems, such as the fuel system (tracing the flow of fuel from the tank to the carburetor) or the lubrication system (tracing the flow of oil from the oil pump to the engine components).
Real-World Use: Basic Troubleshooting Tips
Here are some basic troubleshooting tips, using the diagram as your guide:
- Engine Won't Start: Check the ignition system (spark plug, coil), fuel system (fuel lines, carburetor), and compression.
- Engine Runs Rough: Check the spark plug, air filter, carburetor, and valve lash.
- Engine Overheats: Check the cooling fins (ensure they're clean), oil level, and air-fuel mixture.
- Loss of Power: Check the air filter, spark plug, carburetor, and governor linkage.
Remember to always consult the diagram to understand the specific components and connections relevant to the problem you're experiencing.
Safety First!
Working with engines involves inherent risks. Here are some crucial safety precautions:
- Disconnect the Spark Plug Wire: Before working on any part of the engine, disconnect the spark plug wire and ground it to prevent accidental starting. The ignition system can deliver a high-voltage shock.
- Fuel Handling: Gasoline is highly flammable. Work in a well-ventilated area and avoid open flames or sparks.
- Hot Surfaces: Allow the engine to cool completely before working on it. Exhaust manifolds and other components can reach extremely high temperatures.
- Proper Tools: Use the correct tools for the job. Makeshift tools can damage components and cause injury.
- Eye Protection: Wear safety glasses to protect your eyes from flying debris.
Pay special attention to components like the ignition coil, which can deliver a painful and potentially dangerous electrical shock. Fuel system components require careful handling due to the flammability of gasoline.
By understanding and using Briggs & Stratton engine troubleshooting diagrams, you can confidently diagnose and repair your small engine equipment, saving time, money, and frustration. Remember to always prioritize safety and consult the diagram for accurate information.
We have the diagrams for download now.