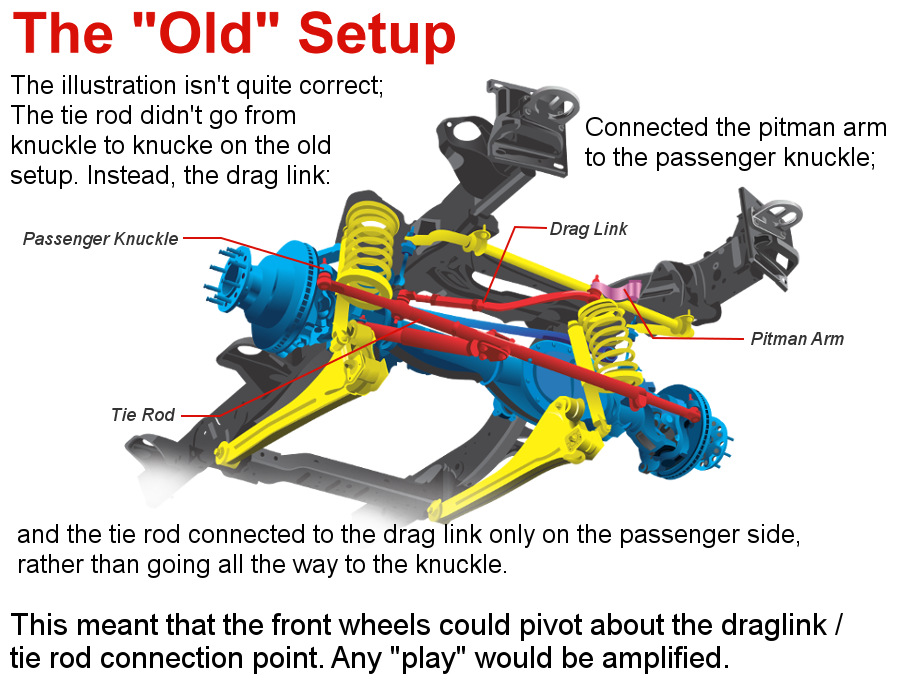
Death Wobble Dodge Ram 1500 Suspension Diagram
Alright, let's dive deep into the infamous "Death Wobble" plaguing some Dodge Ram 1500s and how understanding the suspension diagram is your first step in tackling it. This isn’t just about randomly replacing parts; it's about diagnosing the root cause systematically. Think of this article as your roadmap and the suspension diagram as the key to unlocking the mystery.
Purpose of the Dodge Ram 1500 Suspension Diagram
Why bother with a suspension diagram? Simple: accurate diagnostics and effective repairs. Without it, you're essentially groping in the dark. The diagram allows you to:
- Identify Components: Quickly locate and identify each part of the suspension system.
- Understand Relationships: See how parts interact and affect each other.
- Troubleshoot Problems: Trace potential causes of issues like the death wobble by understanding the system's functionality.
- Plan Repairs and Modifications: Plan your repair jobs, estimate time and costs, and guide the installation of new parts, upgrades, or modifications with confidence.
- Ensure Safety: Performing repairs incorrectly on critical suspension components can be dangerous.
Whether you're replacing worn-out ball joints, upgrading your shocks, or chasing down the dreaded death wobble, having a solid grasp of the suspension system and its diagram is crucial.
Key Specs and Main Suspension Parts
The Dodge Ram 1500, depending on the year and trim, typically utilizes an independent front suspension (IFS) and a solid axle rear suspension. This combination offers a balance of ride comfort and load-carrying capability. Let's break down the key components, primarily focusing on the front suspension which is often the culprit in death wobble scenarios.
Front Suspension (IFS - Independent Front Suspension)
- Upper and Lower Control Arms: These A-shaped arms (or sometimes "wishbones") connect the wheel hub to the frame. They allow the wheel to move up and down while maintaining proper alignment.
- Ball Joints: Located at the ends of the control arms, ball joints act as pivots, allowing the wheels to steer and articulate.
- Wheel Hub Assembly: Houses the wheel bearing and provides a mounting point for the wheel and brake rotor.
- Steering Knuckle (Spindle): Connects the control arms, ball joints, and wheel hub assembly. It's the pivoting point for steering.
- Shock Absorbers: Dampen the oscillations of the suspension, preventing excessive bouncing and improving ride quality.
- Coil Springs: Support the weight of the vehicle and absorb bumps. Some Rams may have torsion bars instead of coil springs.
- Sway Bar (Anti-Roll Bar): Reduces body roll during cornering, improving stability. Connected to the frame and lower control arms via end links.
- Tie Rods: Connect the steering rack to the steering knuckles, transmitting steering input to the wheels. Includes inner and outer tie rod ends.
- Steering Stabilizer (Damper): Further dampens vibrations in the steering system, especially important with larger tires or lifted suspensions.
Rear Suspension (Solid Axle)
- Leaf Springs: Provide both suspension and load-carrying capacity.
- Shock Absorbers: Dampen the oscillations of the rear suspension.
- Axle Housing: Encloses the differential and axles.
- U-Bolts: Secure the axle to the leaf springs.
Understanding Suspension Diagram Symbols
Deciphering the diagram requires understanding its symbolic language. While specific diagrams might vary, some common conventions apply.
- Solid Lines: Typically represent physical components, like control arms, tie rods, or the frame itself.
- Dashed Lines: Often indicate connections, like hydraulic lines for power steering or vacuum lines. They can also represent hidden parts or lines behind other parts.
- Arrows: Show direction of movement, force, or fluid flow. For example, an arrow might indicate the direction of force applied by a spring or the direction of steering input.
- Circles: Can represent joints, pivots, or mounting points. A filled circle often indicates a fixed point.
- Different Colors: Some diagrams use color-coding to differentiate systems or components. For example, red might indicate brake lines, while blue might indicate steering components. Always check the diagram's legend for clarification.
- Abbreviations: Expect to see abbreviations like "UCA" for Upper Control Arm, "LCA" for Lower Control Arm, "TR" for Tie Rod, and "SB" for Sway Bar.
Look for the diagram's legend or key. It's your Rosetta Stone for understanding the symbols used.
How It Works: The Interplay of Components
The suspension system is a carefully orchestrated dance between components. In the IFS front suspension, when the wheel encounters a bump, the following happens:
- The wheel moves upward, compressing the coil spring (or twisting the torsion bar).
- The control arms pivot on their ball joints, allowing the wheel to move vertically while maintaining its alignment.
- The shock absorber dampens the oscillation of the spring, preventing the wheel from bouncing excessively.
- The sway bar resists body roll, keeping the vehicle relatively level during cornering.
- Steering input from the steering wheel is translated through the steering linkage (steering shaft, steering gear/rack and pinion, tie rods) to turn the wheels via steering knuckle.
The rear suspension operates similarly, with the leaf springs providing both spring and damping action, and the shock absorbers controlling oscillation.
Real-World Use: Troubleshooting and the Death Wobble
Okay, let's get to the meat of the issue: the death wobble. This violent shaking, usually occurring at specific speeds, is often caused by a combination of factors weakening the entire system. Here's how the diagram helps:
- Check for Worn Ball Joints: The diagram pinpoints the location of the upper and lower ball joints. Use a pry bar to check for excessive play. Play in the ball joints is a common cause of vibration.
- Inspect Tie Rod Ends: Similarly, the diagram shows the tie rod ends. Check for play or looseness. Even slight play can contribute to the wobble.
- Examine Control Arm Bushings: The diagram highlights the bushings where the control arms attach to the frame. Look for cracks, wear, or separation. Degraded bushings allow unwanted movement.
- Verify Steering Stabilizer Condition: A weak or damaged steering stabilizer won't properly dampen vibrations.
- Wheel Alignment: While not directly visible on the diagram, remember that improper wheel alignment (especially toe angle) exacerbates existing issues. A good alignment after replacing worn components is essential.
- Track Bar: (if applicable, some models) Often overlooked, the track bar's purpose is to keep the front axle centered under the truck. Loose track bar or worn bushings will cause the axle to move from side to side. This movement will cause the death wobble.
- Frame: Damage to the frame can impact your entire system. Look closely to ensure nothing is bent or broken.
Basic Troubleshooting Tips:
- Start with the Obvious: Check tire pressure and wheel balance. An unbalanced wheel can mimic the death wobble.
- Look for Visual Clues: Rust, cracks, leaks, and uneven tire wear are all red flags.
- Use a Helper: Have someone turn the steering wheel while you inspect the suspension components for movement.
Safety: High-Risk Components
Working on the suspension system can be dangerous due to the high forces involved. Always prioritize safety.
- Springs: Coil springs and torsion bars store immense energy. Improperly compressed springs can cause serious injury. Use the correct spring compressors and follow the manufacturer's instructions precisely.
- Jacking and Supporting: Always use jack stands to support the vehicle after lifting it with a jack. Never work under a vehicle supported only by a jack.
- Torque Specifications: Use a torque wrench to tighten fasteners to the specified torque. Over-tightening can damage components, while under-tightening can lead to failure.
- Disconnect the Battery: Prevents accidental engagement of electrical components.
- Brake Lines: Be very careful when working near brake lines, as a sudden burst can release brake fluid under pressure and lead to brake failure.
If you're not comfortable working on the suspension system, seek professional assistance. It's better to be safe than sorry, especially when dealing with critical components.
Armed with this knowledge and the Dodge Ram 1500 suspension diagram, you're well on your way to diagnosing and addressing suspension issues, including the dreaded death wobble. Remember to work methodically, prioritize safety, and consult the service manual for specific torque specifications and procedures for your particular model year.
We have access to a Dodge Ram 1500 suspension diagram that can greatly aid in your understanding and troubleshooting. Feel free to reach out for a copy of the diagram.