Diagram Toyota 2.7 Timing Chain Marks
The Toyota 2.7L engine, specifically the 2TR-FE, is a workhorse found in various Toyota models like the Tacoma, Hilux, and Fortuner. Understanding its timing chain system is crucial for anyone performing engine repairs, maintenance, or modifications. Properly aligning the timing marks during reassembly is absolutely essential to prevent catastrophic engine damage. This article provides a detailed explanation of the 2.7L timing chain diagram, offering insights into its function, interpretation, and practical application.
Purpose of the Timing Chain Diagram
A timing chain diagram serves as a visual guide for ensuring the correct relationship between the crankshaft, camshafts (if applicable), and any other components driven by the timing chain. Its primary purposes include:
- Ensuring proper valve timing: The timing chain synchronizes the rotation of the crankshaft (which controls piston movement) with the camshaft(s) (which control valve opening and closing). Incorrect timing can lead to valves colliding with pistons, resulting in severe engine damage.
- Facilitating engine rebuilds: When reassembling an engine after a rebuild or major repair, the diagram provides the necessary reference points to align the timing components accurately.
- Diagnosing timing-related issues: Deviations from the expected timing mark alignment can indicate a stretched or damaged timing chain, worn sprockets, or other problems within the timing system.
- Providing a learning resource: The diagram offers a valuable visual aid for understanding the overall operation of the engine's timing system.
Key Specs and Main Parts
Before diving into the diagram, let's review the key specifications and components involved in the 2TR-FE timing system:
- Engine: 2.7L 2TR-FE Inline-4
- Valve Train: DOHC (Double Overhead Camshaft) - Meaning it has two camshafts in the cylinder head.
- Timing Chain Type: Single-row roller chain
- Crankshaft Sprocket: The gear located on the crankshaft that drives the timing chain.
- Camshaft Sprockets: The gears located on the camshaft(s) that are driven by the timing chain and control valve timing.
- Timing Chain Tensioner: A hydraulically operated device that maintains proper tension on the timing chain, preventing slack and ensuring accurate timing.
- Timing Chain Guides/Sliders: Plastic or metal components that guide the timing chain and prevent it from rubbing against the engine block.
- Oil Pump Drive: Typically, the crankshaft also drives the oil pump, often through the timing chain system.
Understanding the Timing Chain Diagram: Symbols and Markings
The diagram typically uses a combination of lines, symbols, and colors to represent the various components and their alignment. Understanding these elements is crucial for interpreting the diagram correctly.
- Solid Lines: Usually represent the timing chain itself or the outlines of engine components.
- Dotted Lines: May indicate hidden features or alignment marks that are not directly visible.
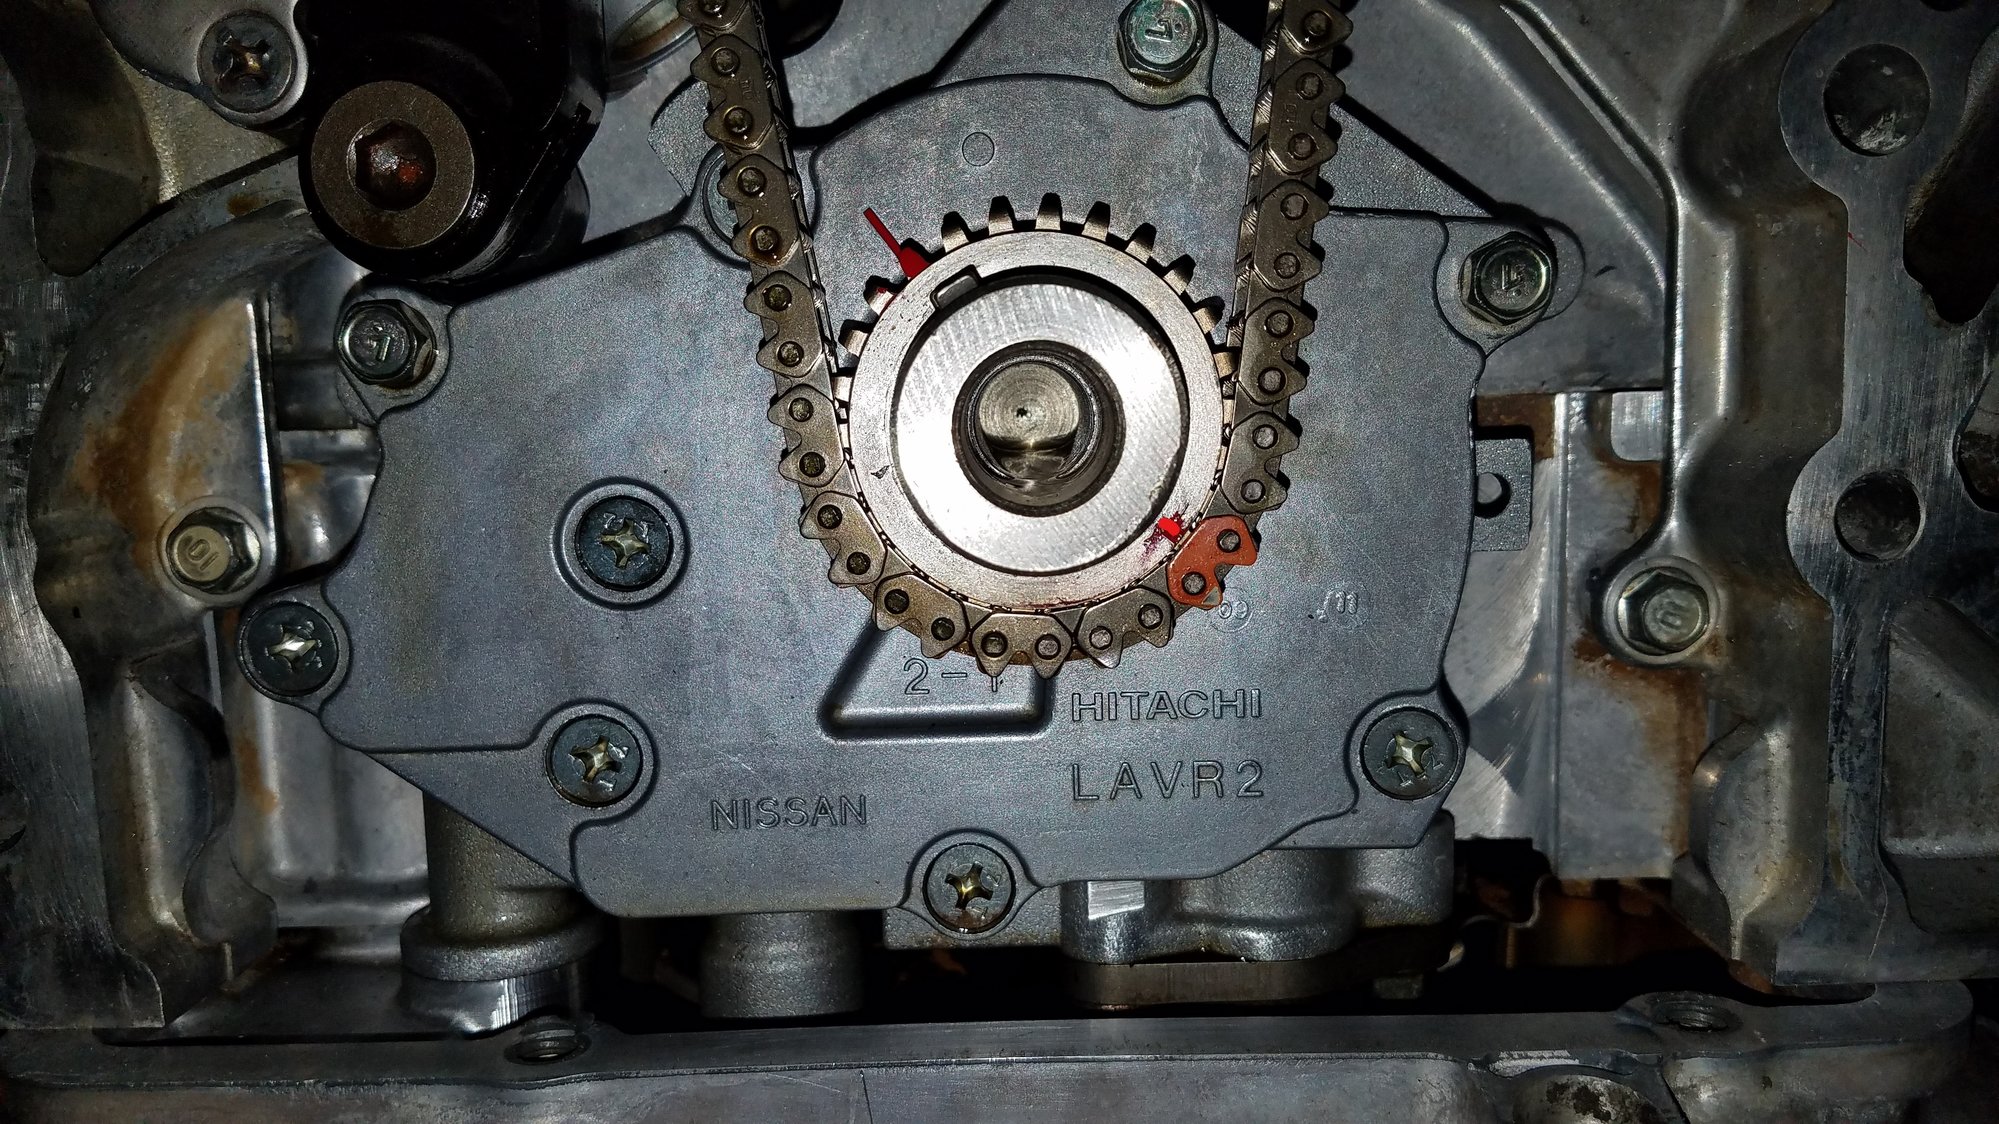
- Circles or Dots: These are often used to denote the timing marks on the sprockets. These marks must align with corresponding marks on the engine block or other components.
- Arrows: May indicate the direction of engine rotation or the orientation of a specific component.
- Colors: While not always present, colors can highlight specific timing marks or components. For example, one mark might be painted yellow or white to distinguish it from others. Refer to the specific diagram you are using for color-coding information.
- Triangles or Notches: Some diagrams use triangles or notches instead of dots to indicate timing marks.
Crucially, the diagram will illustrate the relationship between:
- Crankshaft sprocket timing mark and a corresponding mark on the engine block.
- Camshaft sprocket timing marks (usually two) and corresponding marks on the cylinder head.
How the Timing System Works
The timing chain connects the crankshaft to the camshaft(s), ensuring that the valves open and close at precisely the right moments in relation to the piston's movement. The crankshaft sprocket drives the timing chain, which in turn rotates the camshaft sprockets. The camshafts then actuate the valves, controlling the flow of air and fuel into the cylinders and the expulsion of exhaust gases.
The timing chain tensioner plays a vital role in maintaining proper chain tension. As the chain wears and stretches over time, the tensioner automatically adjusts to compensate, preventing slack and ensuring accurate timing. The guides and sliders prevent the chain from rubbing against other engine components, reducing wear and noise.
Real-World Use and Troubleshooting
Here are some common scenarios where the timing chain diagram is essential:
- Replacing the Timing Chain: When replacing a worn or damaged timing chain, the diagram provides the necessary reference points to ensure proper alignment during reassembly.
- Replacing the Timing Chain Tensioner: A failing tensioner can cause timing chain slack, leading to engine noise, reduced performance, and potential engine damage. Use the diagram when replacing the tensioner to ensure proper timing after installation.
- Diagnosing Engine Misfires: Misfires can be caused by incorrect valve timing. Check the timing marks to see if they are properly aligned. A misaligned timing can also contribute to P0016, P0017, P0018, P0019 error codes.
- Troubleshooting Engine Noise: Excessive timing chain noise (e.g., rattling or slapping) can indicate a worn chain, faulty tensioner, or damaged guides. The diagram can help you identify the source of the noise and confirm the need for repairs.
Basic Troubleshooting Tips:
- Visual Inspection: Before disassembling anything, carefully inspect the timing chain, sprockets, tensioner, and guides for signs of wear, damage, or looseness.
- Timing Mark Alignment: With the engine at Top Dead Center (TDC) on the compression stroke of cylinder #1, verify that the timing marks on the crankshaft and camshaft sprockets align with the corresponding marks on the engine block and cylinder head.
- Chain Slack: Check for excessive slack in the timing chain. A loose chain can indicate a worn chain or a failing tensioner.
Safety Precautions
Working on the timing system involves handling critical engine components. Follow these safety precautions:
- Disconnect the battery: Always disconnect the negative battery terminal before working on any electrical components.
- Use proper tools: Use the correct tools for the job to avoid damaging components.
- Consult the service manual: Refer to the Toyota service manual for specific instructions and torque specifications.
- Be meticulous: Double-check all timing mark alignments before reassembling the engine.
- Crankshaft Position: Be *absolutely certain* about crankshaft position relative to the cylinder head. Do NOT force anything if it does not line up per the diagram.
- Risk of Catastrophic Damage: Incorrectly installed or tensioned timing chains or guides can cause immediate and catastrophic engine failure.
Warning: The timing chain system operates under high tension and involves moving parts. Improper handling or installation can result in serious injury or engine damage.
Understanding the Toyota 2.7L timing chain diagram is essential for performing accurate repairs and maintenance on your engine. By carefully studying the diagram, identifying the key components and markings, and following the recommended procedures, you can ensure that your engine operates smoothly and reliably for years to come.
We have a detailed, high-resolution diagram of the Toyota 2.7L 2TR-FE timing chain system available for download. It includes all the necessary markings and specifications for proper alignment. Please [Contact us / Visit our website] to obtain a copy.