
Diagram Toyota Corolla Body Parts Names
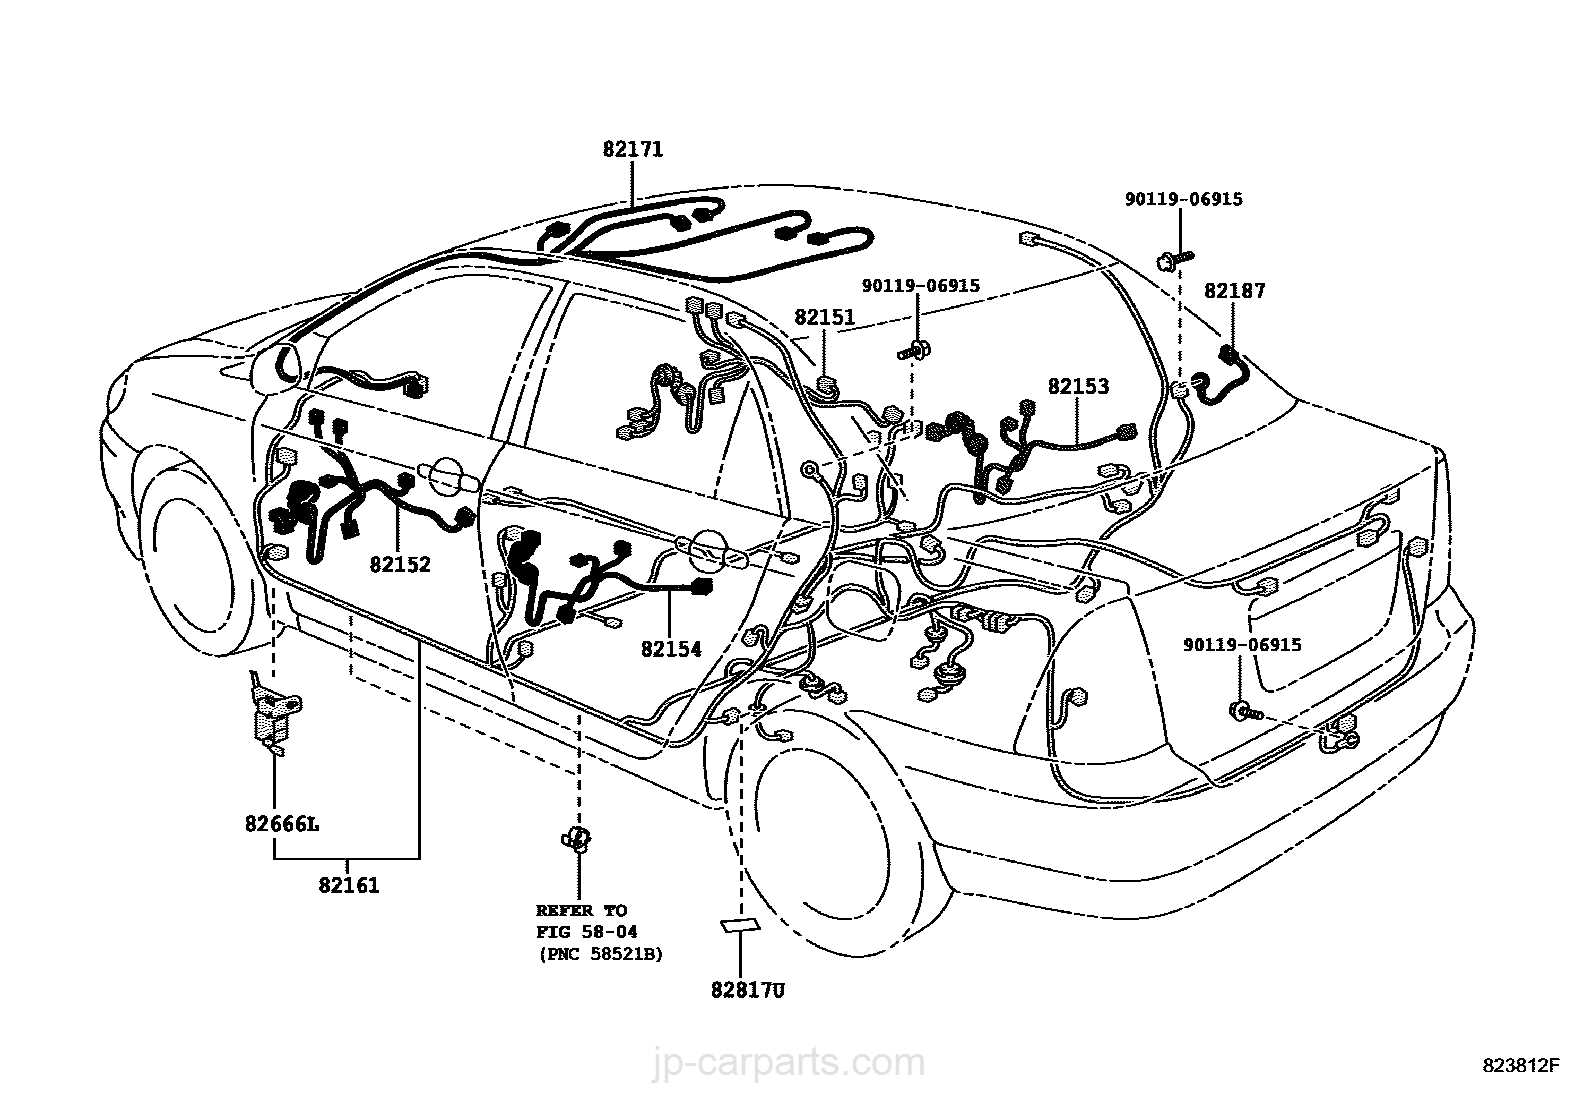
Understanding the anatomy of your Toyota Corolla is crucial, whether you're planning a minor repair, contemplating a body kit upgrade, or just want to be more informed about your vehicle. Having a detailed diagram of the Corolla's body parts, with all the correct names, allows for accurate part ordering, clearer communication with mechanics, and a deeper understanding of how the car's structure contributes to its overall performance and safety. This article will break down a typical Toyota Corolla body parts diagram, explaining the terminology, symbols, and practical applications, empowering you to tackle your next automotive project with confidence.
Why a Body Parts Diagram Matters
A body parts diagram isn't just a pretty picture; it's a vital tool. Its purpose is multi-faceted:
- Repair and Replacement: Easily identify the exact part you need to replace after an accident or due to wear and tear. No more guessing games or ordering the wrong components.
- Customization and Modification: Planning to install a new spoiler, side skirts, or a custom bumper? A diagram helps you understand the mounting points, clearances, and potential compatibility issues before you even start.
- Insurance Claims: When dealing with insurance companies after an accident, having a clear understanding of the damaged parts, along with their proper names, can significantly streamline the claim process.
- General Knowledge and Diagnostics: Familiarity with the body structure can aid in diagnosing certain problems. For example, rust in a specific area might indicate a larger issue with drainage or corrosion protection.
Key Specs and Main Parts of the Corolla Body
The Toyota Corolla, depending on the model year, typically features a unibody construction. This means the body and frame are integrated into a single structure, providing strength and rigidity while minimizing weight. Here’s a breakdown of the key body components:
Front End Components
- Hood (Bonnet): The hinged cover over the engine compartment. Usually made of steel or aluminum.
- Fenders (Wings): The body panels that surround the front wheels. They protect the engine compartment from road debris and contribute to the vehicle's aerodynamics.
- Front Bumper: Designed to absorb low-speed impacts and protect the vehicle's front-end components. Often made of plastic and includes mounting points for fog lights and parking sensors.
- Grille: Allows airflow to the radiator for engine cooling and is a key element of the car's front-end styling.
- Headlights: Provide illumination for nighttime driving.
- Headlight Bezels/Surrounds: Decorative or protective trim pieces around the headlights.
- Apron (Inner Fender): The inner part of the fender, usually structural.
- Radiator Support: Structural piece that supports the radiator.
Side Components
- Doors: Provide access to the vehicle's interior. Typically constructed with inner and outer panels.
- Side Mirrors (Wing Mirrors): Allow the driver to see traffic behind and to the sides of the vehicle.
- Rocker Panel (Sill): The structural panel along the bottom edge of the vehicle, between the front and rear wheel wells. It's a critical part of the unibody structure.
- Side Skirts: Optional aerodynamic components that run along the rocker panel.
- Wheel Arches: The curved openings in the body panels that allow the wheels to move freely.
- Door Handles: Mechanisms for opening and closing the doors.
Rear End Components
- Rear Bumper: Similar to the front bumper, it's designed to absorb low-speed impacts and protect the rear of the vehicle.
- Trunk Lid (Boot Lid): The hinged cover over the cargo compartment.
- Taillights: Provide illumination for braking, turning, and signaling the vehicle's presence.
- Rear Quarter Panels: The body panels that surround the rear wheels.
- Rear Spoiler (Wing): An optional aerodynamic component mounted on the trunk lid or roof.
- Rear Valance: The lower part of the rear bumper or panel.
Structural Components
- Pillars (A, B, C): The vertical supports of the roof. The A-pillar is at the front, the B-pillar is between the front and rear doors, and the C-pillar is at the rear (some Corollas may have a D-pillar as well). These are critical for structural integrity and rollover protection.
- Roof Panel: The panel that covers the top of the vehicle.
- Floor Pan: The bottom of the vehicle's unibody structure.
Understanding the Symbols
Body parts diagrams often use standardized symbols to convey information concisely. Here's a breakdown of common symbols you might encounter:
- Solid Lines: Typically represent the outer edges of body panels or structural components.
- Dashed Lines: Can indicate hidden features, such as internal reinforcements or mounting points that are not visible from the outside.
- Arrows: Show the direction of force or movement, such as the direction of impact in a collision test.
- Different Colors: May be used to differentiate between different materials (e.g., steel vs. aluminum) or to highlight specific components. Colors might also indicate *corrosion protection* levels.
- Icons: Small icons may represent specific features, such as sensors, wiring harnesses, or drainage holes. Consult the diagram's legend for clarification.
- Numbers and Letters: Typically used as reference points that correspond to a parts list. The parts list provides the part number and description for each component.
How It Works: Interpreting the Diagram
To effectively use a body parts diagram, follow these steps:
- Identify the Area of Interest: Locate the specific area of the vehicle you're interested in (e.g., front bumper, driver's side door).
- Locate the Relevant Diagram: Find the diagram that corresponds to that area. Some diagrams might focus on specific assemblies, while others provide a more comprehensive overview.
- Identify the Part: Use the diagram to pinpoint the exact part you're looking for. Pay attention to the lines, symbols, and reference numbers.
- Consult the Parts List: Use the reference number to find the corresponding part in the parts list. The parts list will provide the part number, description, and possibly the price.
- Verify Compatibility: Always double-check the part number against your vehicle's VIN (Vehicle Identification Number) to ensure compatibility. There can be variations between different model years and trim levels.
Real-World Use: Basic Troubleshooting Tips
Here are some practical scenarios where a body parts diagram can be invaluable:
- Dented Fender Repair: Use the diagram to identify the fender's mounting points and determine the best way to access the dented area. It can also help you locate any hidden reinforcements that might be obstructing the repair.
- Bumper Replacement: The diagram will show you the location of all the bolts and fasteners that hold the bumper in place. This will help you avoid damaging any surrounding components during removal.
- Rust Repair: If you're dealing with rust, the diagram can help you identify the extent of the damage and determine which panels need to be replaced or repaired. Pay close attention to structural components like the rocker panels and pillars.
- Aftermarket Accessory Installation: Installing aftermarket parts, like spoilers or side skirts, often requires drilling new holes in the body. The diagram can help you identify safe drilling locations and avoid damaging any underlying components.
Safety Considerations
Working on a vehicle's body can involve certain risks. Here are some safety precautions to keep in mind:
- Airbags: Be extremely cautious when working near airbag sensors or components. Accidental deployment can cause serious injury. Disconnect the battery and allow sufficient time for the system to discharge before working in these areas.
- Sharp Edges: Body panels can have sharp edges that can cause cuts. Wear gloves and use caution when handling them.
- Welding: Welding on the body requires proper safety equipment, including a welding helmet, gloves, and a fire extinguisher. Be sure to disconnect the battery and protect any nearby flammable materials.
- Structural Components: Avoid cutting or modifying structural components like the pillars or rocker panels without proper knowledge and experience. These components are critical for the vehicle's safety and structural integrity. Any modifications can compromise the vehicle's ability to withstand a crash.
- Chemicals: Many body repair products, such as paint, solvents, and adhesives, contain hazardous chemicals. Wear appropriate respiratory protection and work in a well-ventilated area.
Remember, if you're unsure about any aspect of the repair, it's always best to consult with a qualified professional. A body parts diagram is a valuable tool, but it's not a substitute for experience and expertise.
We have a detailed Toyota Corolla body parts diagram file available for download. This comprehensive resource will provide you with the detailed information you need to confidently tackle your next automotive project. Please fill out the contact form on our website to request access to the file.