
Dodge Ram 1500 Serpentine Belt Diagram
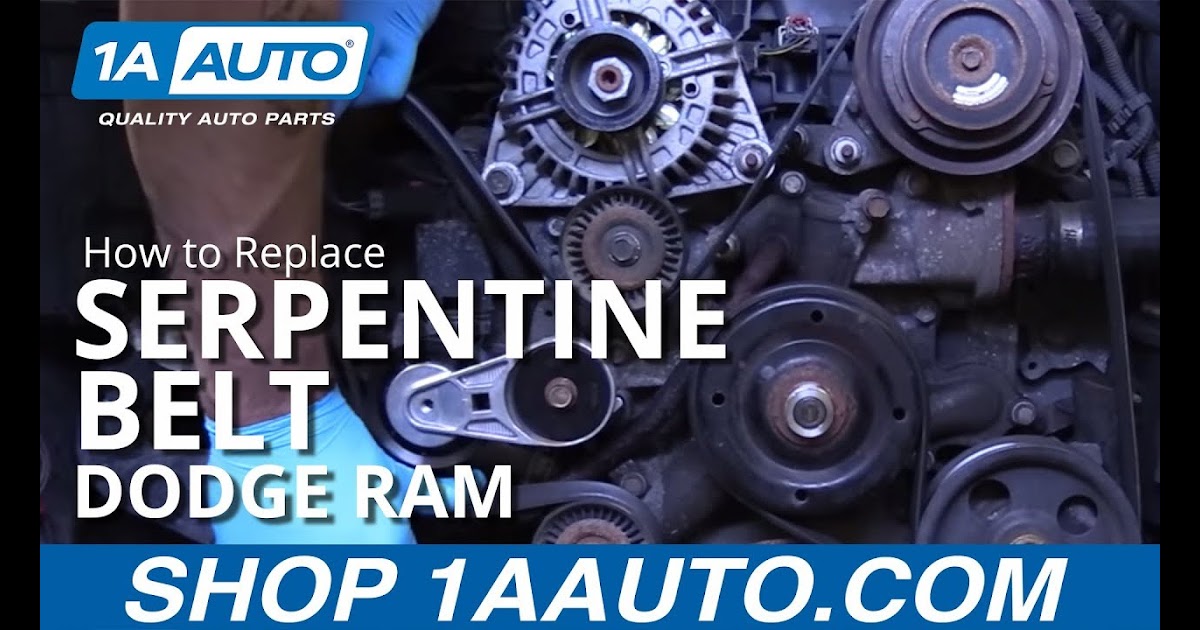
So, you're tackling a serpentine belt replacement on your Dodge Ram 1500. Excellent choice! It's a job that can save you serious money if you're comfortable wrenching. Before you even think about reaching for a socket wrench, the serpentine belt diagram is your best friend. This isn't just some pretty picture; it's a crucial roadmap for navigating the labyrinth of pulleys and accessories that make your truck tick.
Purpose of the Serpentine Belt Diagram
Why is this diagram so essential? Simple: without it, you're essentially guessing how the belt snakes its way around various components. The serpentine belt diagram serves several critical purposes:
- Repair and Replacement: The primary reason. When replacing a worn or broken belt, the diagram ensures you route the new belt correctly. Incorrect routing can lead to component damage, belt failure, and a whole lot of frustration.
- Troubleshooting: A squealing or slipping belt often indicates a problem. The diagram helps you identify which components are driven by the belt, allowing you to narrow down potential issues (e.g., a failing power steering pump putting extra load on the belt).
- Component Identification: Familiarizing yourself with the diagram lets you quickly identify the various pulleys and accessories (alternator, water pump, AC compressor, etc.). This is invaluable for any repair or upgrade project.
- Preventative Maintenance: Regularly checking the belt's condition and comparing its alignment to the diagram can help you spot potential problems early, preventing costly breakdowns.
- Understanding Vehicle Systems: For the aspiring mechanic, studying the diagram is a great way to understand how the engine's accessories are driven and how they interact.
Key Specs and Main Parts
While the specific layout can vary slightly depending on your Ram 1500's engine (3.6L V6, 5.7L Hemi V8, etc.) and year model, the core components remain largely the same. Here's a rundown of the main players:
- Crankshaft Pulley (Damper): This is the central pulley driven directly by the engine's crankshaft. It's usually the largest pulley in the system and is the driving force behind the serpentine belt.
- Alternator Pulley: The alternator generates electrical power to charge the battery and run the vehicle's electrical systems.
- Water Pump Pulley: The water pump circulates coolant through the engine to prevent overheating.
- Power Steering Pump Pulley: The power steering pump provides hydraulic assistance to make steering easier.
- Air Conditioning (AC) Compressor Pulley: The AC compressor circulates refrigerant to cool the cabin air.
- Idler Pulley(s): These smooth, non-driven pulleys guide the belt and maintain proper tension.
- Tensioner Pulley: This spring-loaded pulley automatically adjusts to maintain the correct belt tension, compensating for belt stretch and wear. A crucial element, and often the source of squealing noises when its bearing starts to fail.
Belt Specs: The correct belt length is critical. Your Ram 1500's owner's manual or a parts store catalog will list the correct belt length for your specific year, engine, and options (e.g., with or without AC). Don't guess; use the right belt!
Symbols – Decoding the Diagram
Serpentine belt diagrams aren't complex, but understanding the symbols makes them even easier to decipher. Here's a common key:
- Solid Line: Represents the belt itself. Follow the line carefully to see the belt's routing.
- Dashed Line (sometimes): May indicate the *rear* path of the belt, where it's hidden behind other components.
- Arrows: Indicate the direction of belt travel around each pulley. This is essential for ensuring correct routing.
- Circles: Represent pulleys. Different sizes may correspond to different pulley diameters, but this isn't always the case.
- Icons: Each pulley will often be labeled with a symbol or abbreviation:
- ALT: Alternator
- WP: Water Pump
- PS: Power Steering
- AC: Air Conditioning Compressor
- CRANK: Crankshaft
- IDLER: Idler Pulley
- TENSIONER: Tensioner Pulley
How It Works: A System in Harmony
The serpentine belt system is elegantly simple in its operation. The crankshaft pulley, driven by the engine's rotation, acts as the prime mover. The serpentine belt, a continuous loop of reinforced rubber, transmits this rotational force to all the other pulleys in the system. Each pulley, in turn, drives its respective component. The tensioner pulley ensures that the belt maintains the correct amount of tension to prevent slippage and ensure efficient power transfer. The proper tension is critical. Too loose, and the belt slips, leading to reduced performance and potential damage. Too tight, and you risk premature bearing failure in the driven components.
Think of it as a well-coordinated dance. Each component relies on the others to function properly. If one component fails, it can disrupt the entire system.
Real-World Use: Basic Troubleshooting Tips
Here's how that diagram comes in handy when you're under the hood dealing with real issues:
- Squealing Belt: Often caused by a worn or glazed belt, a loose belt, or a failing pulley bearing. Use the diagram to identify the tensioner. A common check is to spray a *tiny* amount of water on the belt while the engine is running. If the squeal disappears briefly, the belt is likely the culprit. However, don't drench the belt!
- Belt Slippage: Similar causes to squealing, but can also be caused by a pulley misalignment or a seized component. The diagram will help you inspect each pulley for damage or obstruction.
- Belt Breakage: Often caused by a worn or damaged belt, a seized component, or a pulley misalignment. Never reuse a broken belt! Use the diagram to ensure proper routing of the new belt. Also, inspect each pulley carefully for sharp edges or damage that could have contributed to the failure.
- Component Failure: If a specific component isn't working (e.g., the AC is blowing hot air), use the diagram to verify that the belt is properly engaged with the AC compressor pulley. Also, check the tensioner - is it moving freely? Is the belt correctly seated?
Quick Tip: Before removing the old belt, take a picture of its routing with your phone. This can be a lifesaver if you get confused during reassembly. Seriously, do this!
Safety First: Handle with Care
Working around a running engine can be dangerous. Here are some crucial safety precautions:
- Disconnect the Battery: Before starting any work, disconnect the negative battery cable. This prevents accidental starting of the engine.
- Hot Surfaces: The engine and exhaust components can be extremely hot. Allow the engine to cool down completely before working on it.
- Moving Parts: Keep your hands, tools, and clothing away from the serpentine belt and pulleys while the engine is running. The spinning belt can cause serious injury.
- Eye Protection: Wear safety glasses to protect your eyes from debris.
- Loose Clothing and Jewelry: Avoid wearing loose clothing or jewelry that could get caught in the moving parts.
- Serpentine Belt Tensioner: The tensioner pulley is under spring pressure. Use the correct tool to relieve the tension before removing the belt. Improper handling can cause the tool to slip and potentially injure you.
- Electrical components: Never spray water or other liquids on electrical components or wiring harnesses while the engine is running.
Always err on the side of caution. If you're unsure about any step, consult a qualified mechanic.
Having the right serpentine belt diagram for your Dodge Ram 1500 is half the battle. We've prepared a readily downloadable document to help with your project. This detailed resource provides a clear visual guide, ensuring you have the information you need right at your fingertips. It will assist you in completing your serpentine belt replacement accurately and safely.