
Engine Toyota Wiring Diagram Color Codes
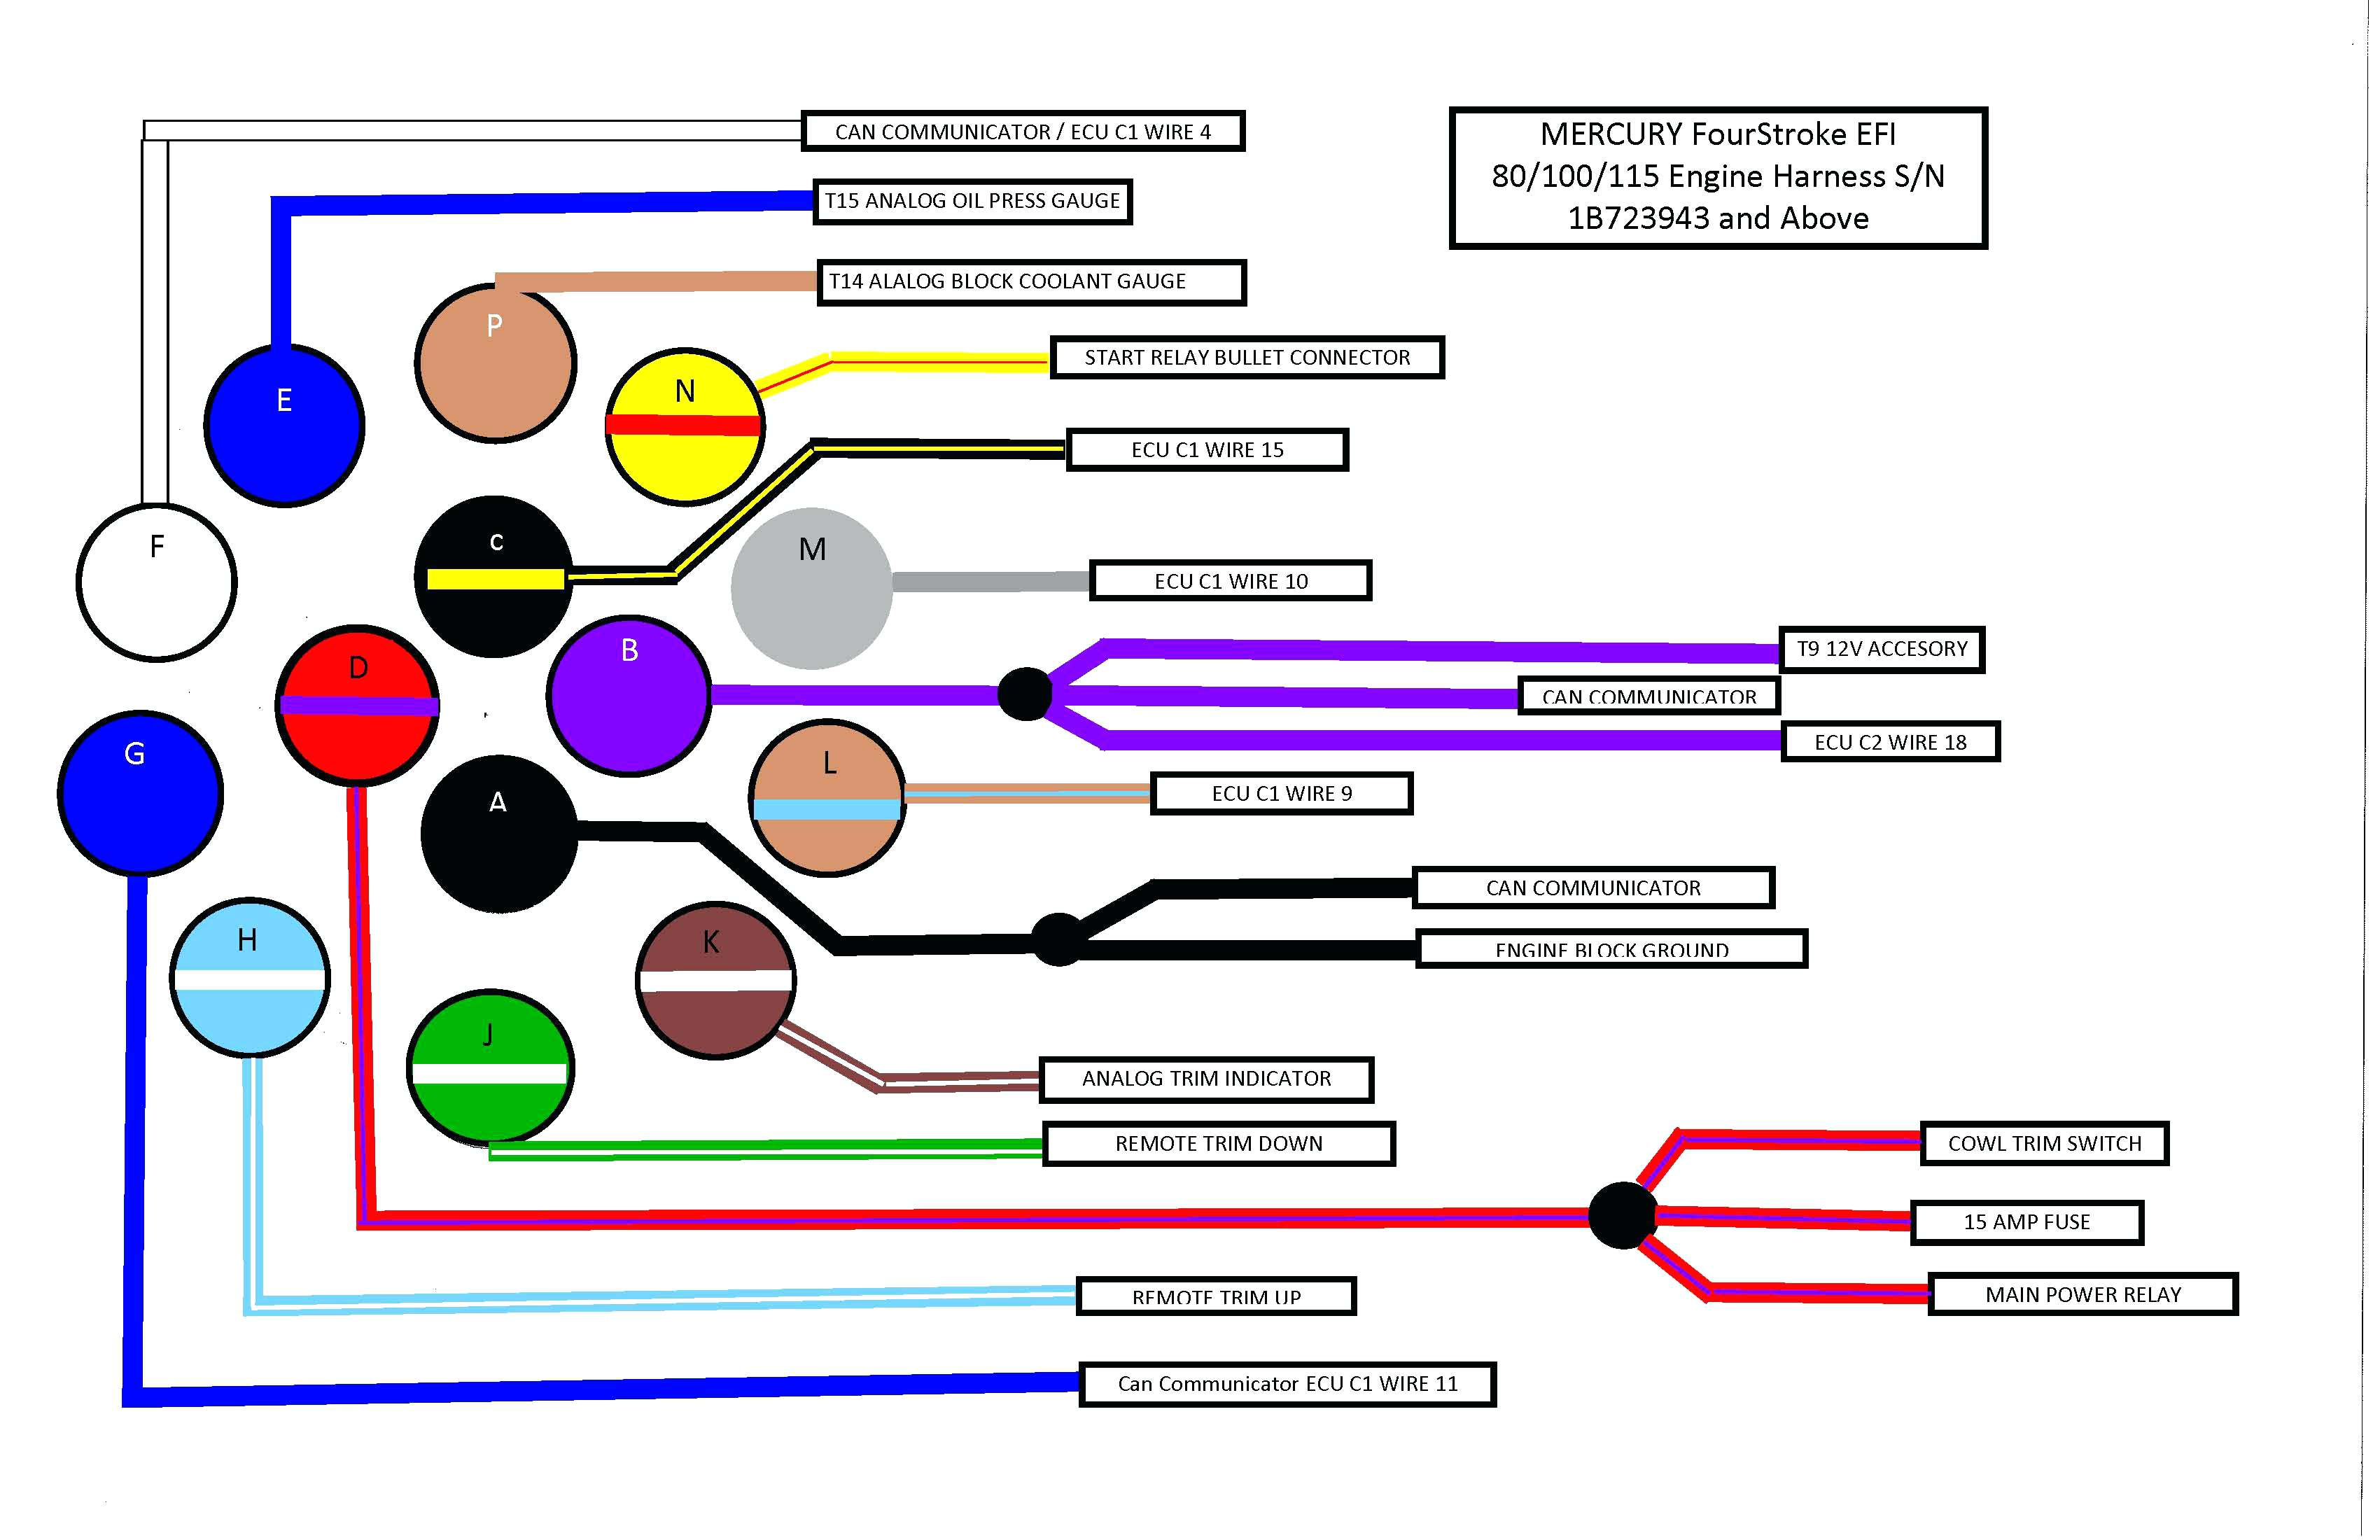
Understanding your Toyota's wiring is crucial whether you're tackling a simple stereo install, troubleshooting a mysterious electrical fault, or diving into more advanced modifications. The wiring diagram, specifically understanding its color codes, is your roadmap. This article will demystify Toyota's wiring diagrams and color conventions, giving you the knowledge to confidently navigate your vehicle's electrical system.
Purpose of a Toyota Wiring Diagram
A wiring diagram is a visual representation of the electrical circuits within your Toyota. It shows how various components are interconnected. Think of it as a schematic blueprint for electricity. Why is this important? Several key reasons:
- Repairing Electrical Issues: Diagnosing and fixing electrical problems is nearly impossible without a wiring diagram. It allows you to trace circuits, identify shorts, opens, and voltage drops.
- Modifications and Upgrades: Adding aftermarket accessories (lights, stereos, alarms) requires tapping into existing circuits. A diagram tells you which wires to connect to and avoid.
- Understanding Vehicle Systems: Even if you're not actively working on the car, understanding how the electrical system is designed can help you better understand how your vehicle functions.
- Preventing Damage: Incorrect wiring can damage sensitive electronic components, potentially costing you thousands in repairs. A diagram helps you avoid costly mistakes.
Key Specs and Main Parts of a Toyota Wiring Diagram
Before we delve into color codes, let's identify the main elements you'll encounter in a Toyota wiring diagram:
- Components: These are the individual parts of the electrical system, such as sensors, relays, switches, motors, and control modules (e.g., the Engine Control Unit, or ECU).
- Wires: Lines representing the wires connecting the components. These are the pathways for electrical current.
- Connectors: Points where wires are joined together, often using multi-pin connectors.
- Grounds: Points where the circuit connects to the vehicle's chassis, providing a return path for the current. Usually indicated by a ground symbol.
- Power Sources: Batteries, alternators, and fuses that supply electrical power.
- Fuses and Relays: Protective devices that prevent overcurrent and control high-current circuits, respectively.
- Splices: Locations where multiple wires are joined together, forming a connection.
Important Spec: Wire Gauge. Wire gauge, typically measured in AWG (American Wire Gauge), indicates the wire's current-carrying capacity. A lower AWG number means a thicker wire and a higher current capacity. The diagram will often specify the gauge of individual wires, crucial for choosing the correct wire when making repairs or modifications.
Symbols, Lines, Colors, and Icons
Understanding the symbols and conventions used in a wiring diagram is vital for accurate interpretation. Here's a breakdown:
Lines
- Solid Lines: Represent wires.
- Dotted Lines: Often indicate shielded wires or wires that are part of a harness but may not be present in all vehicle configurations.
- Arrows: Show the direction of current flow (though current actually flows from negative to positive, diagrams often show conventional current flow from positive to negative).
Colors
This is where the color codes come into play. Toyota, like most manufacturers, uses a standardized color coding system to identify wires. Here's a common set of colors and their generally accepted purposes. However, it is always best to check the specific wiring diagram for your vehicle, as variations can occur from model to model and year to year:
- B - Black: Typically ground wires.
- W - White: Often used for ground or neutral wires.
- R - Red: Usually indicates a power wire directly connected to the battery (often through a fuse).
- Y - Yellow: Typically used for circuits powered by the ignition switch.
- G - Green: Often used for circuits related to lighting or signals.
- L - Blue: Can be used for various circuits, often instrument panel lighting or sensors.
- Br - Brown: Often used for lighting circuits, especially parking lights or tail lights.
- P - Pink: Commonly used for fuel system components.
- O - Orange: Often used for circuits that are hot at all times, even when the ignition is off.
- V - Violet/Purple: Can be used for various circuits, often related to sensors or control systems.
Important Note: Toyota often uses color combinations, such as "W-B" (White with a Black stripe) or "R-L" (Red with a Blue stripe). The first color is the base color of the wire, and the second is the color of the stripe. These combinations significantly increase the number of identifiable wires.
Icons and Symbols
Wiring diagrams use a variety of symbols to represent electrical components. These symbols are generally standardized across the automotive industry. Some common examples include:
- Resistor: A zig-zag line.
- Capacitor: Two parallel lines.
- Diode: A triangle pointing to a line.
- Transistor: A circle with three lines extending from it.
- Relay: A coil symbol representing the relay coil and a switch symbol representing the relay contacts.
- Fuse: A squiggly line inside a rectangle.
- Ground: A series of descending horizontal lines (looks like an inverted pyramid).
- Switch: A line that can be open (circuit open) or closed (circuit closed).
How It Works: Tracing a Circuit
Let's say you're troubleshooting a non-functional tail light on your Toyota. Here's how you'd use a wiring diagram:
- Locate the Tail Light Circuit: Find the section of the diagram that corresponds to the tail light system.
- Identify the Power Source: Trace the circuit back to the fuse box and identify the fuse that powers the tail light.
- Follow the Wire: Follow the wire (identified by its color code) from the fuse to the tail light switch (if applicable) and then to the tail light itself.
- Check for Breaks: Look for any connectors or splices along the way. These are common points of failure.
- Test with a Multimeter: Use a multimeter to check for voltage at various points along the circuit. If you have voltage at the fuse but not at the tail light, there's a break in the wire somewhere between the two points.
- Ground Check: Verify that the tail light has a good ground connection.
Real-World Use: Basic Troubleshooting Tips
Here are some practical troubleshooting tips using a Toyota wiring diagram:
- Start with the Basics: Check the fuse first! A blown fuse is often the culprit.
- Look for Common Failure Points: Connectors and splices are prone to corrosion and loose connections.
- Use a Multimeter: A multimeter is your best friend for electrical troubleshooting. Learn how to use it to check for voltage, continuity, and resistance.
- Isolate the Problem: If a circuit has multiple components, try disconnecting them one by one to isolate the faulty component.
- Consider Aftermarket Accessories: If you have aftermarket accessories installed, they could be interfering with the factory wiring. Disconnect them to see if the problem goes away.
Safety Considerations
Working with automotive electrical systems can be dangerous. Here are some safety precautions:
- Disconnect the Battery: Always disconnect the negative battery cable before working on any electrical component. This prevents accidental shorts and potential electrocution.
- Be Careful Around the Airbag System: The airbag system is highly sensitive. Avoid any work that could trigger the airbags. Consult the service manual for proper airbag disabling procedures before working in the vicinity of airbag components.
- High-Voltage Components: Be extremely cautious when working with the ignition system, especially on vehicles with distributorless ignition systems. These systems can generate very high voltages that can be lethal.
- Use Proper Tools: Use insulated tools designed for electrical work.
- Never Work Alone: Have someone nearby in case of an emergency.
Warning: Working on the electrical system can be risky. If you are uncomfortable with any of these procedures, consult a qualified technician. Improper wiring can damage your vehicle and even cause a fire.
This article provides a foundation for understanding Toyota wiring diagrams and color codes. With this knowledge, you'll be better equipped to diagnose and repair electrical problems on your vehicle. Remember to always consult the specific wiring diagram for your Toyota model and year for the most accurate information. We have a comprehensive collection of Toyota wiring diagrams available for download. This resource will be invaluable for your automotive endeavors.