Ford F150 License Plate Light Wiring Harness
The license plate light wiring harness on your Ford F150 might seem insignificant, but it's a crucial component for ensuring your vehicle is street legal and safe. This detailed guide provides an in-depth look at the wiring harness, equipping you with the knowledge to diagnose problems, perform repairs, or even make informed modifications. Knowing the ins and outs of this system is valuable whether you're a seasoned DIYer, a budding mechanic, or simply a car owner who likes to understand how things work.
Purpose and Importance
Why bother understanding the license plate light wiring harness? Several reasons make it worth your while:
- Legal Compliance: Functioning license plate lights are mandatory in most jurisdictions. A burnt-out bulb or faulty wiring can lead to a ticket.
- Safety: Properly illuminated license plates enhance visibility, particularly at night, allowing law enforcement and other drivers to easily identify your vehicle.
- Troubleshooting Electrical Issues: Understanding the harness helps pinpoint electrical problems that may manifest in other areas of your vehicle's lighting system.
- Customization: If you're planning to upgrade your license plate lights (e.g., to LEDs), knowledge of the wiring is essential for a clean and safe installation.
- Repair and Maintenance: Avoid expensive mechanic bills by diagnosing and fixing simple issues yourself.
Key Specs and Main Parts
The F150 license plate light wiring harness is a relatively simple circuit, but understanding its components is key to successful troubleshooting and repair.
Main Components:
- License Plate Light Assemblies: These house the bulbs and lenses that illuminate the license plate. Typically, an F150 has two of these.
- Bulbs: Usually small incandescent bulbs (e.g., 194, 168) or LED equivalents.
- Wiring Harness: The network of wires connecting the lights to the vehicle's electrical system. This harness often runs along the rear bumper or tailgate.
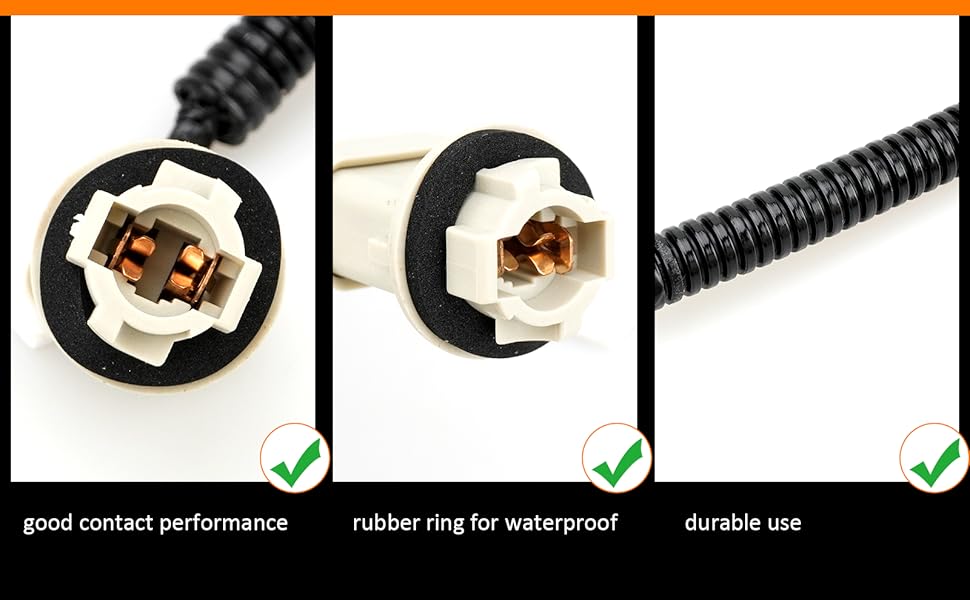
- Connectors: These allow for easy connection and disconnection of the harness from the main vehicle wiring and the light assemblies themselves. Pay attention to the connector type and ensure proper mating during reassembly.
- Grounding Point: A secure connection to the vehicle's chassis, providing a return path for the electrical current. A faulty ground is a common cause of lighting problems.
- Fuse: A protective device (typically located in the fuse box) that blows to prevent damage to the electrical system in case of a short circuit. The fuse protects the entire circuit of lighting including the license plate light.
Key Specifications:
- Voltage: The system operates on the vehicle's standard 12V DC electrical system.
- Wire Gauge: The wires are typically small gauge (e.g., 18-22 AWG), suitable for the low current draw of the license plate lights.
- Connector Types: Varies depending on the F150 model year, but commonly uses weatherproof connectors to prevent corrosion.
Understanding the Wiring Diagram Symbols
A wiring diagram is your roadmap to understanding the electrical system. Let's break down the common symbols you'll encounter:
- Solid Lines: Represent wires. The thickness of the line doesn't usually indicate wire gauge.
- Dashed Lines: May represent shielded wires or connections to ground.
- Circles: Often represent connection points or splices in the wiring.
- Rectangles: Commonly used to represent components like switches, relays, or control modules.
- Squiggly Line: Represents a resistor.
- Ground Symbol: Looks like an upside-down Christmas tree or a series of decreasing horizontal lines.
- Lamp Symbol: Represents the light bulbs themselves.
- Color Codes: Wires are often identified by color (e.g., BLK for black, WHT for white, GRN for green). These color codes are crucial for tracing wires and identifying the correct connections.
Important Note: Ford wiring diagrams can vary slightly between model years and trim levels. Always refer to the specific wiring diagram for your F150.
How It Works: The Electrical Flow
The license plate light circuit is relatively straightforward. When the headlights or parking lights are switched on, the circuit is completed, allowing current to flow to the license plate lights.
- Power Source: The circuit receives power from the vehicle's battery.
- Switch: The headlight or parking light switch activates the circuit.
- Fuse: The current passes through a fuse for protection.
- Wiring Harness: The current travels through the wiring harness to the license plate light assemblies.
- Light Bulbs: The current flows through the light bulbs, causing them to illuminate.
- Ground: The current returns to the battery through the grounding point, completing the circuit.
Real-World Use: Troubleshooting Common Problems
Here are some common problems you might encounter and how to troubleshoot them:
- License Plate Lights Not Working:
- Check the Bulbs: Replace any burnt-out bulbs.
- Check the Fuse: Inspect the relevant fuse in the fuse box and replace it if blown.
- Check the Wiring Harness: Look for any signs of damage, corrosion, or breaks in the wiring. Use a multimeter to check for continuity (a complete electrical path).
- Check the Connectors: Ensure the connectors are securely attached and free from corrosion. Clean them with electrical contact cleaner if necessary.
- Check the Ground: Ensure the grounding point is clean and secure. A loose or corroded ground can prevent the lights from working.
- One License Plate Light Working, the Other Not:
- Check the Non-Working Bulb: Replace the bulb.
- Inspect the Wiring to the Non-Working Light: Look for damage or breaks in the wiring specifically leading to that light.
- Check the Connector to the Non-Working Light: Ensure the connector is secure and clean.
- License Plate Lights Flicker:
- Check for Loose Connections: Inspect all connectors and ensure they are securely attached.
- Check the Ground: A loose or corroded ground can cause flickering.
- Consider Voltage Drop: Excessive voltage drop in the circuit can cause flickering. Use a multimeter to measure the voltage at the light assembly.
Safety Considerations
Working with automotive electrical systems requires caution:
- Disconnect the Battery: Always disconnect the negative battery terminal before working on any electrical component. This prevents accidental shorts and electrical shocks.
- Use Proper Tools: Use insulated tools designed for automotive electrical work.
- Beware of Shorts: Avoid creating short circuits by accidentally touching wires together. A short circuit can damage the wiring harness, blow fuses, and even start a fire.
- Fuses are Important: Never bypass a fuse or replace it with one of a higher amperage rating. Fuses are designed to protect the electrical system from overload.
- Airbags: Be aware of airbag locations if you're working near the front of the vehicle. Disconnecting the battery is crucial to prevent accidental airbag deployment.
Conclusion
Understanding your Ford F150's license plate light wiring harness empowers you to diagnose and fix common issues, saving you time and money. By following the troubleshooting steps and safety precautions outlined in this guide, you can confidently tackle repairs and modifications to your vehicle's lighting system. Remember to always refer to the specific wiring diagram for your F150 model year and trim level.
We have access to detailed wiring diagrams for many Ford F150 model years. Contact us to request the diagram specific to your vehicle. With the right information, you can confidently tackle almost any electrical repair.