Fuel Tank 2011 Ford Expedition Location Diagram
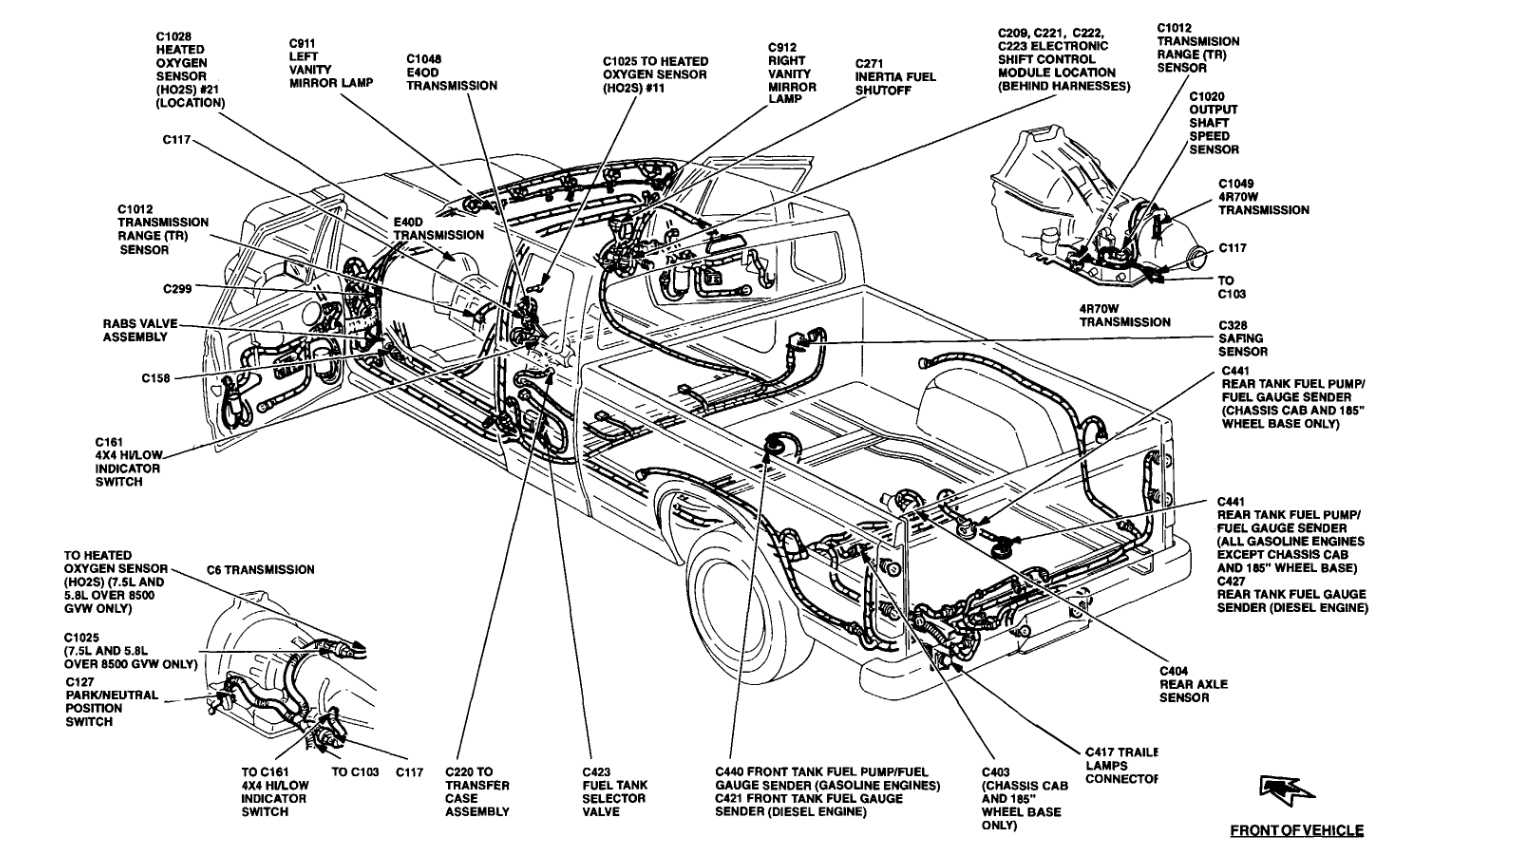
Alright, let's dive into the fuel tank system of your 2011 Ford Expedition. Understanding this system, and having a good location diagram, is crucial for a variety of reasons, from routine maintenance to tackling more complex repairs. Whether you're replacing a fuel pump, diagnosing a fuel leak, or even planning modifications to the exhaust system, knowing the layout and components of the fuel tank is essential.
Why You Need This Diagram
Think of a fuel tank diagram as the roadmap of your Expedition's fueling system. Without it, you're driving blind. Specifically, a fuel tank location diagram helps you:
- Locate components quickly: No more guessing where the fuel pump, fuel lines, or vapor recovery system are hiding.
- Diagnose problems accurately: Trace fuel lines and identify potential leak points or blockages.
- Perform repairs safely: Knowing the exact location of components allows you to disconnect them in the correct order, minimizing the risk of fuel spills or damage.
- Plan modifications: If you're upgrading your exhaust or making other changes, understanding the fuel tank's location and routing is critical to avoid interference.
- Understand the system: It gives you a better understanding of how the entire fueling system operates.
We’ve got a detailed diagram you can download at the end of this article. It’ll be a valuable resource for years to come.
Key Specs and Main Parts of the 2011 Ford Expedition Fuel System
Let's cover the key specs and main components you'll find in your 2011 Expedition's fuel system. Keep in mind, specific details might vary slightly based on your exact model and options.
Fuel Tank
The fuel tank itself is typically made of high-density polyethylene (HDPE) or coated steel. HDPE is common these days due to its durability and resistance to corrosion. The 2011 Expedition's fuel tank capacity is around 28-33 gallons, depending on the configuration. The tank is strategically located to protect it from damage and to maintain a low center of gravity for the vehicle. Expect it to be mounted centrally, usually under the rear passenger area. Its location is crucial for safety and stability.
Fuel Pump Module
This is a critical component. The fuel pump module is usually located inside the fuel tank and it's responsible for drawing fuel from the tank and delivering it to the engine at the correct pressure. The module typically includes:
- Fuel Pump: An electric pump that creates the necessary pressure to deliver fuel to the injectors.
- Fuel Level Sender: A float-and-sensor mechanism that sends a signal to the fuel gauge on your dashboard.
- Fuel Filter (often integrated): A filter that removes contaminants from the fuel.
- Pressure Regulator: Some models integrate a pressure regulator into the module to maintain a consistent fuel pressure.
Fuel Lines
Fuel lines are the pathways for fuel. They are typically made of reinforced rubber or nylon, designed to withstand the pressure and chemical properties of gasoline. You'll find:
- Supply Line: Carries fuel from the fuel pump to the fuel rail on the engine.
- Return Line (sometimes): Some systems use a return line to send excess fuel back to the fuel tank. Returnless systems, common in newer vehicles, regulate pressure at the pump and don't have a return line. Your 2011 Expedition is likely a returnless system.
- Vapor Lines: Part of the evaporative emissions control (EVAP) system, these lines carry fuel vapors to the charcoal canister.
Fuel Rail and Injectors
The fuel rail is a manifold that distributes fuel to the individual fuel injectors. Fuel injectors are electronically controlled valves that spray fuel into the engine's intake manifold. These are controlled by the ECU (Engine Control Unit) to optimize fuel delivery.
Evaporative Emission Control (EVAP) System
This system prevents fuel vapors from escaping into the atmosphere. Key components include:
- Charcoal Canister: A container filled with activated charcoal that absorbs fuel vapors.
- Purge Valve: A valve that controls the flow of vapors from the charcoal canister to the engine.
- Vent Valve: Allows air into the fuel tank to prevent a vacuum as fuel is consumed.
Understanding the Diagram's Symbols
A good fuel tank diagram isn't just a picture; it's a standardized representation of the system. Here's how to decipher the symbols you'll encounter:
- Solid Lines: Typically represent fuel lines carrying liquid fuel.
- Dashed Lines: Usually indicate vapor lines or vacuum lines associated with the EVAP system.
- Arrows: Show the direction of fuel flow.
- Colors: While not always present, colors can differentiate between supply lines (e.g., red), return lines (e.g., blue), and vapor lines (e.g., green). Check the diagram's legend for specific color codes.
- Component Icons: Standardized symbols represent components like the fuel pump, fuel filter, charcoal canister, and valves. These are usually labelled.
- Electrical Wiring: Dotted lines or specific wiring diagrams indicate electrical connections to the fuel pump, fuel level sender, and other components. These will show wire colors and connector types.
How the Fuel System Works (Simplified)
Here's a simplified explanation of how the 2011 Expedition's fuel system operates:
- The fuel pump, located inside the fuel tank, draws fuel from the tank.
- The fuel is pumped through the fuel line to the fuel rail.
- The fuel injectors, controlled by the engine control unit (ECU), spray fuel into the engine's intake manifold.
- The ECU regulates the amount of fuel injected based on engine load, speed, and other factors.
- The EVAP system captures fuel vapors from the tank and directs them to the charcoal canister.
- The purge valve periodically opens, allowing the engine to draw vapors from the canister and burn them.
Real-World Use: Basic Troubleshooting Tips
Let's put this knowledge to practical use with some basic troubleshooting. Always prioritize safety when working with fuel systems!
- Fuel Leaks: Use the diagram to trace fuel lines and identify potential leak points. Look for signs of fuel stains or odors. Be extremely cautious of potential ignition sources.
- Fuel Pump Problems: If your engine won't start or is running poorly, the fuel pump might be the culprit. Use the diagram to locate the fuel pump and check its electrical connections. A multimeter can be used to check for voltage at the pump connector when the ignition is turned on.
- EVAP System Issues: A "check engine" light related to EVAP system codes (e.g., P0440, P0455) could indicate a leak in the system. Use the diagram to inspect the fuel cap, vapor lines, charcoal canister, and purge/vent valves.
- Fuel Filter Replacement: While often integrated into the fuel pump module on modern vehicles, if your diagram shows a separate fuel filter, use the diagram to locate it and follow the manufacturer's instructions for replacement.
Safety First! Working with Fuel Systems
Fuel systems are inherently dangerous. Gasoline is highly flammable, and fuel vapors can explode. Always take the following precautions:
- Disconnect the Battery: Before working on any fuel system component, disconnect the negative battery cable to prevent accidental sparks.
- Work in a Well-Ventilated Area: Ensure adequate ventilation to prevent the accumulation of fuel vapors.
- No Open Flames or Smoking: Keep all open flames and smoking materials away from the work area.
- Use the Right Tools: Use tools specifically designed for working on fuel systems, such as fuel line disconnect tools.
- Have a Fire Extinguisher Nearby: Keep a fire extinguisher rated for flammable liquids within easy reach.
- Relieve Fuel Pressure: Before disconnecting any fuel lines, relieve the fuel pressure in the system. Consult your service manual for the proper procedure. This is often done by disconnecting the fuel pump relay and starting the engine until it stalls.
- Wear Safety Glasses and Gloves: Protect your eyes and skin from fuel spills.
Special note on the fuel pump itself: When replacing the fuel pump, be incredibly careful with the fuel tank. Avoid any static electricity discharge. A spark inside the tank is a catastrophic event.
By understanding the fuel tank system and using a detailed location diagram, you can confidently tackle a wide range of maintenance and repair tasks on your 2011 Ford Expedition. Remember to prioritize safety, consult your service manual for specific procedures, and don't hesitate to seek professional assistance when needed.
Ready to get your hands on the diagram? You can download the comprehensive fuel tank location diagram for the 2011 Ford Expedition here.