Fuel Tank Drain Plug 2011 Ford Expedition Location Diagram
Alright, let's talk about the fuel tank drain plug location on your 2011 Ford Expedition. Knowing where this little guy lives can save you a lot of hassle, whether you're dealing with contaminated fuel, prepping for a fuel pump replacement, or just need to completely empty the tank for a repair. This isn't something you need to do regularly, but understanding its location and function is a valuable skill for any DIY mechanic.
Purpose of the Diagram
This diagram isn't just a pretty picture; it's your roadmap to the fuel tank drain plug. It allows you to:
- Precisely locate the drain plug: No more guessing or blindly feeling around under the vehicle.
- Perform fuel system repairs: Draining the tank is often a necessary first step for many fuel system repairs, like replacing the fuel pump, fuel filter (if accessible from the tank), or even repairing a damaged fuel line.
- Remove contaminated fuel: If you accidentally put the wrong fuel in your tank (diesel instead of gasoline, for example), you'll need to drain the tank completely.
- Understand the fuel tank's assembly: The diagram often shows related components, giving you a better understanding of how the fuel tank is integrated into the vehicle.
- Safely decommission a vehicle: When scrapping a vehicle, it’s essential to remove all fluids, including fuel, for environmental and safety reasons.
Key Specs and Main Parts (Referencing the Diagram)
The diagram we have access to, specific to the 2011 Ford Expedition, will show the following key features. Keep in mind slight variations might exist based on specific trims or factory options.
Main Components Shown:
- Fuel Tank: The main reservoir, typically made of high-density polyethylene (HDPE) or coated steel. The diagram illustrates its overall shape and mounting points.
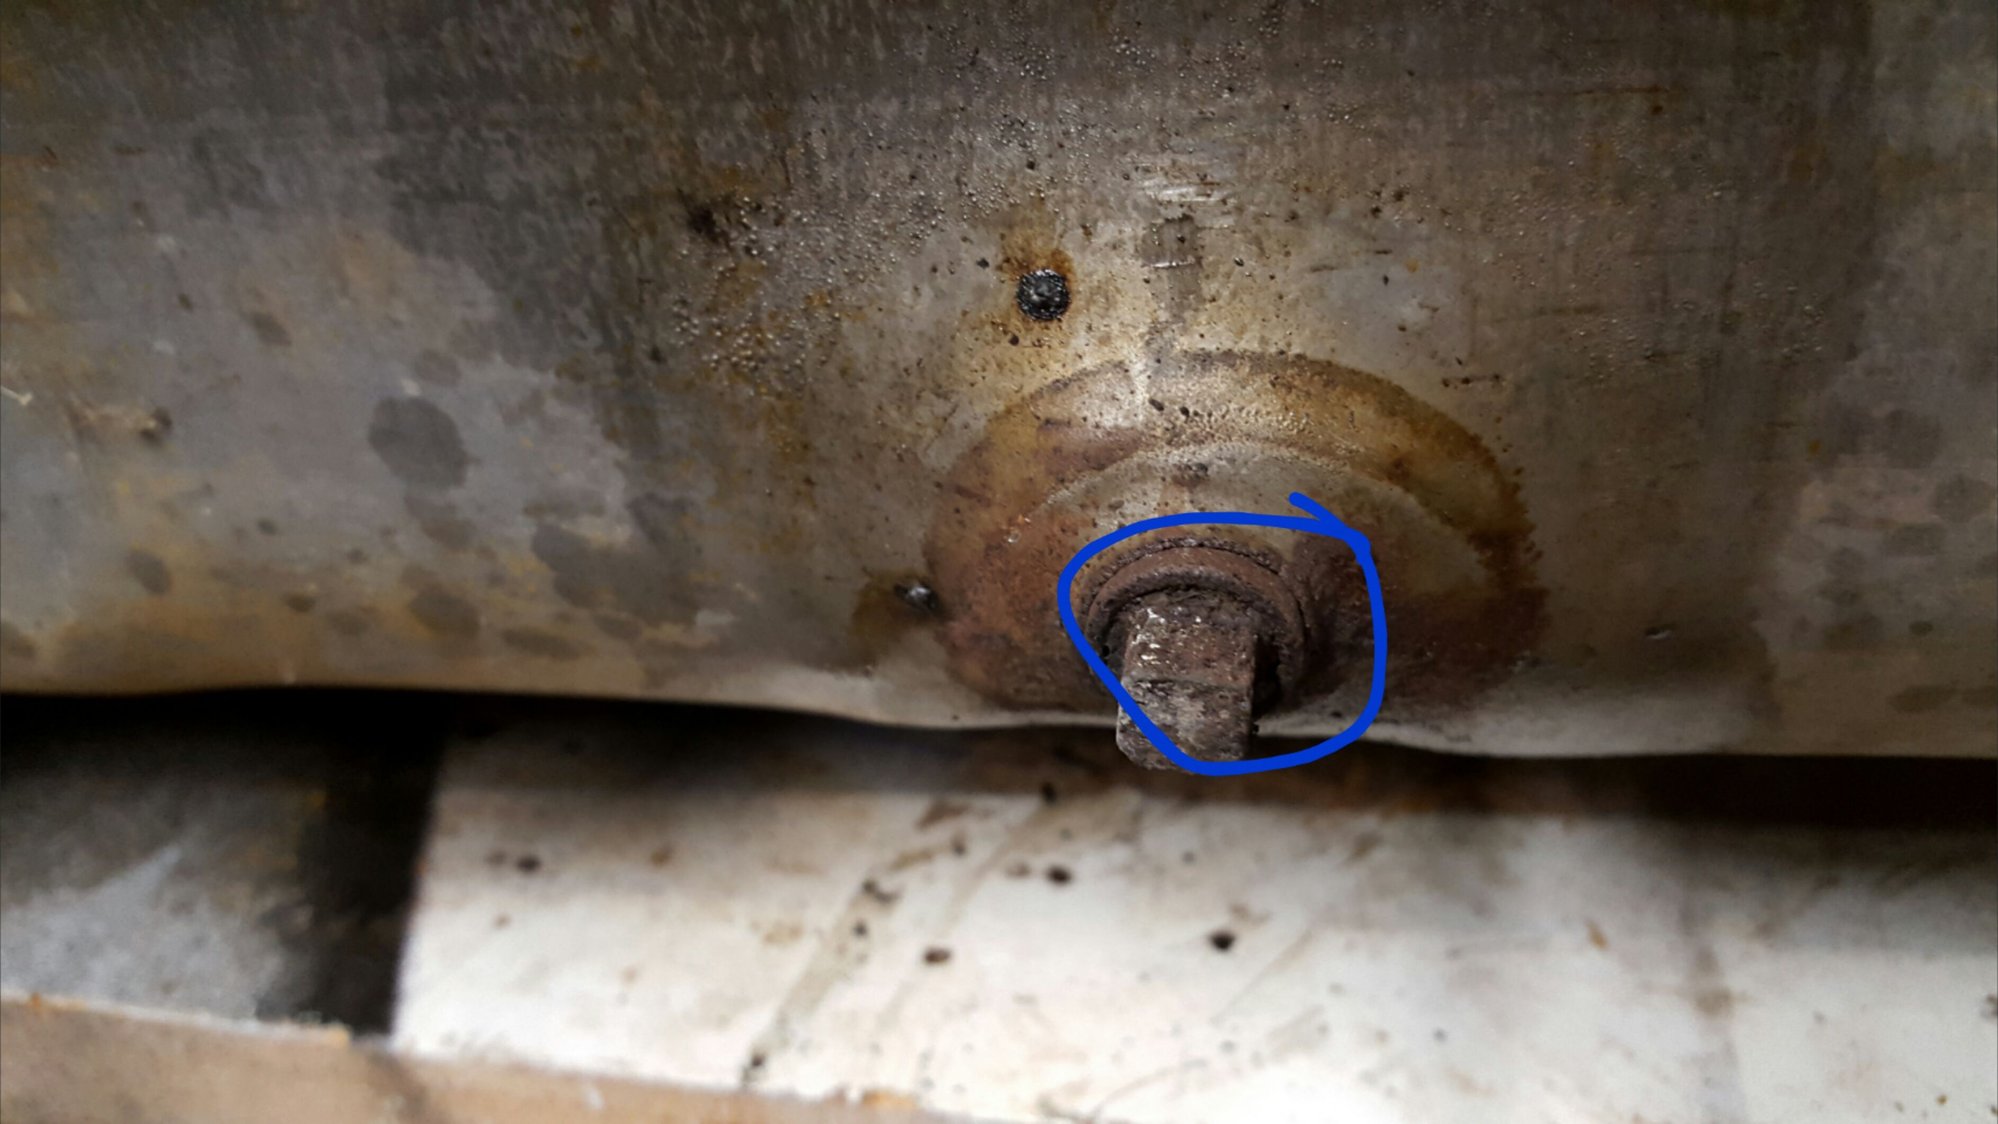
- Fuel Tank Drain Plug: Usually a bolt or plug located at the lowest point of the fuel tank. Its size and material will be specified (e.g., M12 x 1.5 bolt, steel). This is our target!
- Fuel Tank Straps: Metal straps that secure the fuel tank to the vehicle's undercarriage.
- Fuel Pump Module: Located inside the fuel tank (accessed from above). The diagram might show its relative position.
- Fuel Lines: Connections for fuel supply and return lines. These are often quick-connect fittings.
- Fuel Tank Vent Line: Allows the tank to breathe and prevent pressure buildup.
- Evaporative Emission Control (EVAP) System Components: Hoses and components related to the EVAP system, designed to prevent fuel vapors from escaping into the atmosphere.
Typical Specs (Expect Variation)
- Fuel Tank Capacity: Roughly 28-33 gallons, depending on the specific Expedition model.
- Drain Plug Size: Usually around M12 or M14 (metric thread) with a 1.5 or 2.0 thread pitch. It's crucial to use the correct replacement if needed.
- Drain Plug Torque: Typically around 15-25 ft-lbs. Always consult the service manual for the exact specification.
Symbols Explained
Understanding the symbols used in the diagram is critical. While specific conventions can vary, here are some common interpretations:
- Solid Lines: Typically represent physical connections, like fuel lines or wires. Thicker lines may indicate major components.
- Dashed Lines: Often indicate vacuum lines, vent lines, or hidden components.
- Arrows: Show direction of flow (e.g., fuel flow through a line).
- Color Coding:
- Red: Often used for fuel supply lines.
- Blue: May indicate fuel return lines.
- Green: Could represent vent lines.
- Icons:
- Ground symbol (three descending lines): Indicates a grounding point.
- Electrical connector symbol: Shows where electrical connections are made.
How It Works: The Drain Plug's Function
The fuel tank drain plug is a simple but essential component. It's strategically located at the lowest point of the fuel tank to allow gravity to do its work. When you remove the plug, the fuel will flow out, effectively emptying the tank. The plug itself is usually threaded and sealed with a gasket or O-ring to prevent leaks. It's vital to inspect and, if necessary, replace the gasket/O-ring each time the plug is removed to maintain a proper seal.
Real-World Use: Troubleshooting & Common Problems
Here are a few scenarios where knowing the location of the fuel tank drain plug is beneficial:
- Contaminated Fuel: If you suspect contaminated fuel (water, debris, or wrong fuel type), draining the tank is the first step. After draining, inspect the fuel and consider flushing the tank.
- Fuel Pump Replacement: Draining the fuel tank makes removing and replacing the fuel pump much easier and safer. A full tank adds significant weight and presents a fire hazard.
- Fuel Leak: If you suspect a leak from the drain plug itself, inspect the plug and gasket for damage. Replace as needed, and ensure proper torque during reinstallation.
- Difficulty Removing the Plug: Sometimes, the plug can become seized due to corrosion. Penetrating oil and gentle persuasion (using the correct wrench size!) are often necessary. Avoid excessive force, as you risk damaging the tank.
- Stripped Threads: Be extremely careful when re-installing the plug. Stripping the threads in the tank is a serious problem and may require tank replacement. Always torque to the manufacturer's specification using a torque wrench.
Safety: Risky Components and Procedures
Fuel is highly flammable! Take these precautions:
- Ventilation: Work in a well-ventilated area to prevent the buildup of flammable vapors. Outdoors is ideal.
- No Open Flames: Absolutely no smoking, open flames, or sparks near the fuel tank or during draining.
- Grounding: Ground the vehicle to prevent static electricity buildup. This can be achieved by connecting a jumper cable from a metal part of the vehicle frame to a known good ground.
- Fuel-Safe Container: Use an approved fuel container to collect the drained fuel. Make sure the container is properly sealed and stored away from heat and ignition sources.
- Protective Gear: Wear safety glasses and gloves to protect yourself from fuel exposure.
- Fire Extinguisher: Keep a fire extinguisher readily available in case of an emergency.
- EVAP System: Be careful not to damage any EVAP system components during the process. These lines are often brittle and can crack easily.
Working around the fuel system presents inherent dangers. If you are not comfortable with these procedures, it is best to seek the help of a qualified mechanic.
Remember, safety first. Always prioritize your well-being and the safety of your surroundings when working with fuel systems.
We have access to the detailed fuel tank drain plug location diagram specific to your 2011 Ford Expedition. You can download the diagram here.