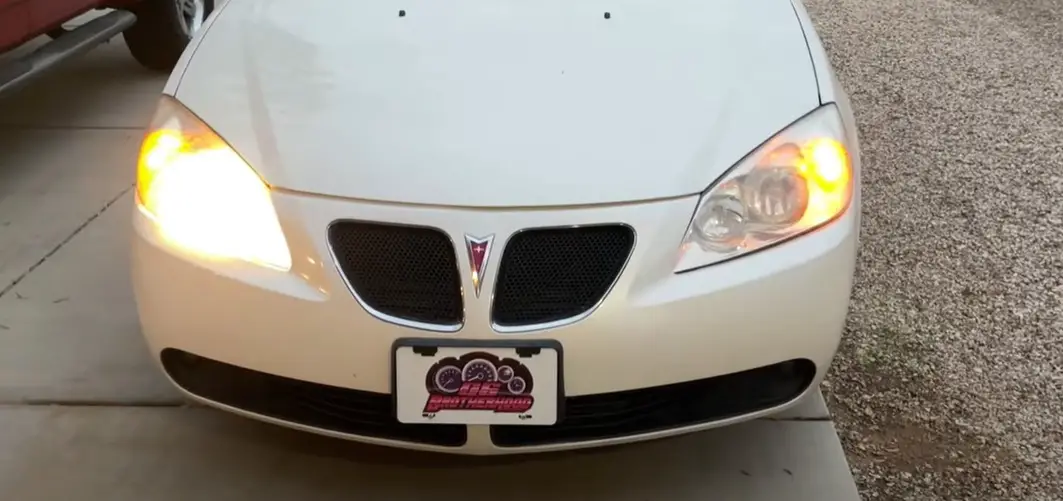
Headlight Wiring Harness For 2008 Pontiac G6
Let's dive deep into the headlight wiring harness for a 2008 Pontiac G6. Understanding this system is crucial whether you're tackling a headlight repair, upgrading to aftermarket lights, diagnosing electrical issues, or simply expanding your automotive knowledge. This isn't just about replacing a bulb; it's about grasping the intricate network that powers your G6's illumination.
Purpose and Why This Matters
The headlight wiring harness is the unsung hero ensuring your headlights function correctly. It's a dedicated electrical circuit supplying power and control signals to your headlights, allowing you to see and be seen, especially at night or in inclement weather. A faulty harness can lead to dim headlights, flickering lights, complete headlight failure, or even electrical shorts, which can be dangerous.
Having a solid understanding of the wiring harness diagram allows you to:
- Diagnose electrical problems: Pinpoint the exact location of shorts, open circuits, or voltage drops.
- Perform repairs effectively: Replace damaged connectors, wires, or even the entire harness with confidence.
- Upgrade your headlights: Install aftermarket headlights (HID, LED, etc.) with proper wiring and connections.
- Customize your lighting: Add auxiliary lights or modify the existing system (with caution!).
- Understand your car's electrical system: Gain a deeper understanding of how your G6's electrical components interact.
Key Specs and Main Parts of the 2008 Pontiac G6 Headlight Wiring Harness
While specifics can vary slightly based on sub-model (e.g., base, GT, GTP), the fundamental architecture remains consistent. Here's a breakdown of the key components:
- Battery Positive (B+): The source of power for the entire headlight circuit, typically connected through a fuse or fusible link.
- Ground (GND): The return path for the electrical current, typically connected to the vehicle's chassis. Proper grounding is critical for reliable operation.
- Headlight Switch: Controls the on/off state of the headlights. This switch usually controls a relay.
- Dimmer Switch: Controls the selection between low beams and high beams. This also can act as the flash-to-pass feature.
- Headlight Relay(s): Electromagnetic switches that control the flow of high current to the headlights. Relays are used to protect the headlight switch from overload. A relay consists of a coil circuit and a contact circuit.
- Headlight Bulbs: The actual light-emitting devices. The 2008 G6 typically uses halogen bulbs, often an H11 for low beams and 9005 for high beams. Check your owner's manual for the correct bulb type for your specific model.
- Connectors: Plastic housings that provide secure electrical connections between wires and components.
- Wiring: Stranded copper wires insulated with PVC or similar material. Wire gauge (thickness) is important to ensure adequate current flow. Common gauges are 14, 16, and 18 AWG (American Wire Gauge).
- Fuses/Circuit Breakers: Safety devices designed to protect the circuit from overcurrent conditions. These are typically located in the under-hood fuse box or inside the passenger compartment.
Understanding Wiring Diagram Symbols and Conventions
A wiring diagram is a schematic representation of the electrical circuit. Deciphering the symbols is key to understanding the diagram:
- Lines: Represent wires. Thicker lines generally indicate wires carrying higher current.
- Colors: Wires are color-coded to aid in identification. Common colors include Red (power), Black (ground), Blue, Green, Yellow, etc. The diagram legend will specify what each color represents. Knowing the wire color helps locate the specific wire in the harness.
- Circles: Often represent connections or splices. A solid dot within a circle indicates a permanent connection.
- Rectangles: Can represent various components like relays, switches, or modules. The label inside the rectangle will identify the component.
- Ground Symbol (⏚): Indicates a connection to the vehicle's chassis ground.
- Resistor Symbol (Zigzag Line): Represents a resistor, which limits current flow.
- Capacitor Symbol (||): Represents a capacitor, which stores electrical energy.
- Diode Symbol (Triangle with a Line): Represents a diode, which allows current to flow in only one direction.
- Fuse Symbol: Represents a fuse, a safety device designed to protect the circuit from overcurrent conditions.
Color abbreviations are commonly used (e.g., BK = Black, RD = Red, BL = Blue, GN = Green, YL = Yellow, WT = White). Always refer to the diagram's legend for clarification.
How the Headlight Circuit Works
Here's a simplified explanation of how the 2008 Pontiac G6 headlight circuit typically functions:
- Power flows from the battery (B+) through a fuse to the headlight switch.
- When the headlight switch is turned on, it sends power to the headlight relay(s).
- The headlight relay(s) closes, allowing high current to flow directly from the battery (through another fuse or fusible link) to the headlight bulbs. This bypasses the headlight switch, preventing it from being overloaded by the high current demands of the headlights.
- The dimmer switch controls which filaments within the headlight bulbs are activated (low beam or high beam).
- The current then flows through the headlight bulbs, causing them to illuminate.
- Finally, the current returns to the battery through the ground (GND) connection.
Some G6 models may incorporate a Body Control Module (BCM) to manage headlight operation, particularly features like automatic headlights or daytime running lights (DRL). In these cases, the headlight switch sends a signal to the BCM, which then controls the headlight relays.
Real-World Use: Basic Troubleshooting Tips
Here are some troubleshooting tips for common headlight problems on a 2008 Pontiac G6:
- Headlights Don't Work at All: Check the fuses first! Use a multimeter to verify continuity. Next, check the headlight relay. You can often swap it with a known good relay to test. If that doesn't work, inspect the headlight switch and wiring for damage or loose connections.
- One Headlight Doesn't Work: Replace the bulb first. If that doesn't fix it, check the connector for corrosion or damage. Use a multimeter to verify voltage at the connector with the headlight switch on. If there's no voltage, trace the wiring back to the relay or fuse box.
- Headlights are Dim: Check the ground connections. A poor ground can cause voltage drops, resulting in dim headlights. Clean and tighten all ground connections. Also, check the voltage at the headlight connector; it should be close to battery voltage (around 12.6V with the engine off).
- Headlights Flicker: Loose connections are a common cause. Check all connectors and wiring for damage or corrosion. Also, check the headlight relay; a failing relay can cause intermittent flickering.
Using a Multimeter: A multimeter is essential for electrical troubleshooting. Learn how to use it to measure voltage, current, and resistance. Always disconnect the battery before probing circuits to avoid accidental shorts.
Safety Precautions
Working with automotive electrical systems can be dangerous. Take the following precautions:
- Disconnect the Battery: Always disconnect the negative battery terminal before working on any electrical component. This prevents accidental shorts and potential electrical shock.
- Work in a Well-Lit Area: Good lighting is essential for seeing what you're doing and avoiding mistakes.
- Use Proper Tools: Use insulated tools to prevent electrical shock.
- Be Careful with Airbags: Avoid probing or disturbing wiring related to the airbag system. Accidental airbag deployment can cause serious injury.
- High Intensity Headlights (HID/LED): HID ballasts operate at very high voltages. Handle them with extreme care and never touch the terminals when they are powered on.
- Know Your Limits: If you're not comfortable working with electrical systems, seek professional assistance from a qualified mechanic.
Warning: The headlight circuit involves potentially high-current circuits. Improper handling or modifications can lead to electrical fires. Always use properly sized fuses and wiring, and follow established wiring practices.
We have a detailed wiring diagram available for download. This diagram provides a comprehensive overview of the 2008 Pontiac G6 headlight wiring harness, including wire colors, component locations, and circuit paths. It will be invaluable for diagnosing and repairing headlight issues on your G6.