
How Much Is A Wiring Harness Replacement
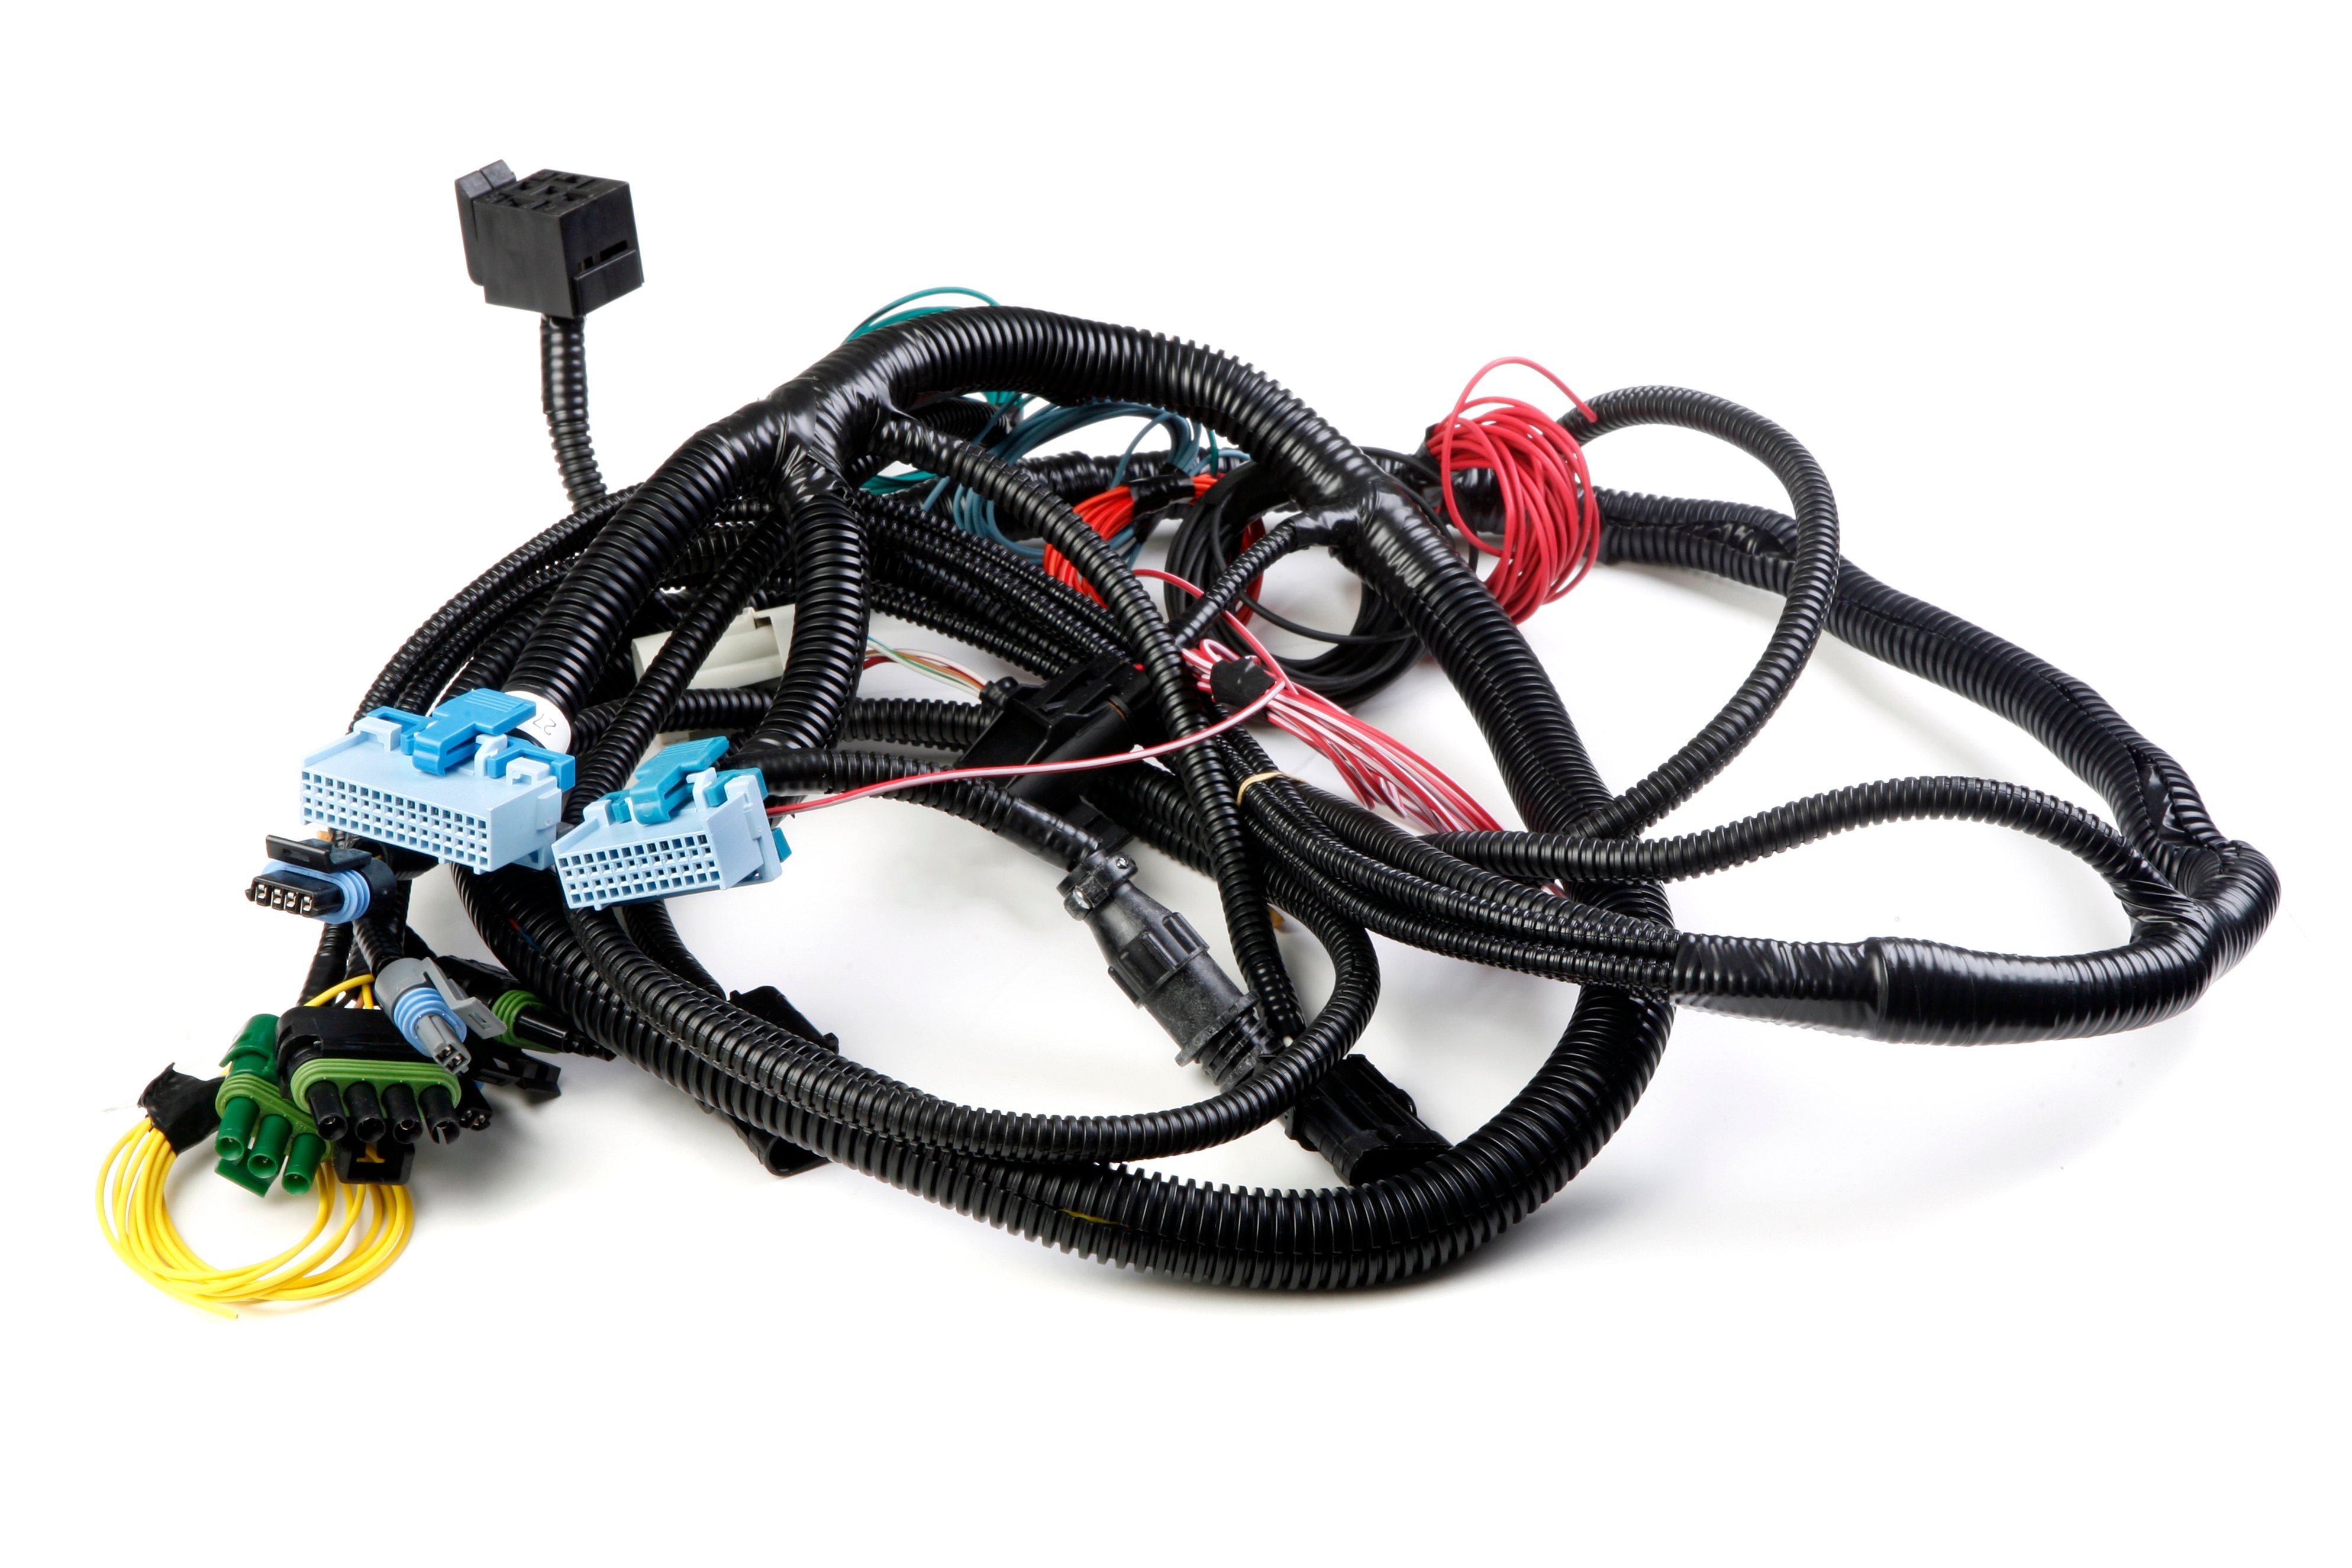
Let's talk wiring harnesses. We're not just talking about patching a stray wire here; we're discussing replacing the entire nervous system of your vehicle. This is a significant undertaking, both in terms of complexity and cost. So, how much are we *really* talking about when it comes to wiring harness replacement? The answer, predictably, is: it depends. But by the end of this article, you'll have a much better understanding of the factors involved and be able to estimate the potential cost for your specific vehicle.
Purpose: Why Understanding Wiring Harness Replacement Matters
Whether you're facing a failed harness due to rodent damage, corrosion, or a catastrophic electrical fire, knowing the ins and outs of a replacement is crucial. Maybe you're embarking on a custom build or engine swap and need a completely new or modified harness. Perhaps you're simply troubleshooting a persistent electrical problem and suspect the harness is the culprit. Regardless, understanding the process, costs, and potential pitfalls will empower you to make informed decisions.
Key Specs and Main Parts of a Wiring Harness
A wiring harness, also known as a wiring loom or cable assembly, is essentially a highly organized collection of wires, terminals, and connectors designed to transmit electrical power and signals throughout a vehicle. It's a complex system, and its specifications vary wildly depending on the vehicle's make, model, year, and trim level. Here's a breakdown of the key components:
- Wires: The backbone of the harness. These are typically copper conductors, insulated with PVC or other materials to prevent shorts and ensure proper signal transmission. Wire gauge (AWG – American Wire Gauge) is crucial; thinner wires handle less current.
- Terminals: These are the metal connectors that attach to the ends of the wires, allowing them to connect to components like sensors, actuators, and control modules. There are countless types of terminals, each designed for specific applications (e.g., blade terminals, ring terminals, weather-pack connectors).
- Connectors: These are the plastic housings that hold multiple terminals, providing a secure and organized connection point. Connector types vary widely, from simple two-pin connectors to complex multi-pin connectors used for engine control units (ECUs) or body control modules (BCMs).
- Protective Covering: This includes things like electrical tape, convoluted tubing (split loom), heat shrink tubing, and even more robust materials like braided sleeving. The purpose is to protect the wires from abrasion, heat, moisture, and other environmental factors.
- Grounding Points: These are critical points where the harness connects to the vehicle's chassis, providing a return path for electrical current. Proper grounding is essential for preventing electrical noise and ensuring the correct operation of sensors and actuators.
Cost Factors for Wiring Harness Replacement
Okay, let's get to the numbers. The cost of replacing a wiring harness can vary significantly. Here are the main factors:
- Vehicle Make, Model, and Year: Harnesses for older, more common vehicles are generally cheaper and more readily available than those for newer, rarer models. Luxury vehicles often have more complex wiring systems, leading to higher harness costs.
- Harness Complexity: The more features your car has (e.g., power windows, power seats, advanced driver-assistance systems (ADAS)), the more complex the wiring harness will be, and the higher the cost.
- New vs. Used vs. Aftermarket: A brand-new, OEM (Original Equipment Manufacturer) harness will typically be the most expensive option. A used harness can save you money, but you're taking a risk on its condition and longevity. Aftermarket harnesses can be a good compromise, but it's crucial to choose a reputable brand and verify compatibility with your vehicle.
- Labor Costs: This is a significant portion of the overall cost. Replacing a wiring harness is a labor-intensive job that requires significant time and expertise. Labor rates vary depending on your location and the shop you choose.
- Diagnostic Time: Before replacing the harness, a mechanic should perform thorough diagnostics to confirm that the harness is indeed the problem. This diagnostic time will add to the overall cost.
- Additional Parts: In some cases, you may need to replace other components along with the harness, such as connectors, sensors, or control modules that have been damaged by the electrical fault.
Estimating the Cost: As a general guideline, expect to pay anywhere from $500 to $2500+ for a complete wiring harness replacement, including parts and labor. Some high-end vehicles can easily exceed this range. A simple engine harness on an older car might be closer to the lower end, while a full body harness replacement on a modern, feature-rich vehicle could be significantly higher.
Real-World Use: Basic Troubleshooting Tips
Before you jump to replacing the entire harness, consider these troubleshooting steps:
- Visual Inspection: Carefully inspect the harness for any signs of damage, such as frayed wires, cracked insulation, corrosion, or melted connectors.
- Continuity Testing: Use a multimeter to check for continuity between different points in the harness. This can help you identify broken wires or corroded connections.
- Voltage Testing: Use a multimeter to check for proper voltage at various points in the harness. This can help you identify shorts or opens in the circuit.
- Connector Inspection: Examine the connectors for bent pins, corrosion, or loose connections. Clean the connectors with electrical contact cleaner if necessary.
- Look for Common Problem Areas: Areas near the exhaust system, areas exposed to the elements, and areas that are frequently flexed are more prone to failure.
Safety: Highlight Risky Components
Working with electrical systems can be dangerous. Here are some key safety precautions:
- Disconnect the Battery: Always disconnect the negative battery terminal before working on any electrical components. This will prevent accidental shorts and potential electrocution.
- Use Proper Tools: Use insulated tools designed for electrical work. This will help protect you from electrical shock.
- Work in a Well-Ventilated Area: Some electrical components can emit harmful fumes when heated or damaged. Work in a well-ventilated area to avoid inhaling these fumes.
- Be Aware of Capacitors: Some electronic components, such as capacitors in control modules, can store a charge even after the battery has been disconnected. Discharge these capacitors before handling the components.
- High-Current Circuits: Circuits powering components like the starter motor, alternator, and headlights carry substantial current. Exercise extreme caution when working on these circuits. Accidental shorts can result in severe burns or even fires.
Wiring Diagrams: Your Guide to Electrical Systems
A wiring diagram (also called a schematic) is a visual representation of the electrical circuits in your vehicle. It shows the components, wires, connectors, and other elements of the system, and how they are connected. Understanding wiring diagrams is essential for diagnosing and repairing electrical problems. Key elements to look for in a wiring diagram include:
- Symbols: Each component (e.g., resistor, capacitor, relay, sensor) has a specific symbol.
- Line Types: Solid lines represent wires, while dashed lines may represent shielded cables or data communication lines. Line thickness can sometimes indicate wire gauge (although this isn't always the case).
- Colors: Wires are often color-coded to help identify them. The diagram should include a key that explains the color codes. Common colors include red (power), black (ground), and various other colors for signal wires.
- Connections: The diagram shows how components are connected to each other, as well as to the power supply and ground. Connector symbols indicate where wires are joined together.
- Voltage and Current Values: Some diagrams may include information about the voltage and current levels in different parts of the circuit.
How It Works: Following the Circuit
The diagram essentially maps out the flow of electricity through the harness. By tracing the lines, you can follow the path from the power source (battery) to the component and back to ground. This allows you to understand how the different components interact with each other and identify potential points of failure.
Symbols – Explain Lines, Colors, and Icons
Understanding the symbols on a wiring diagram is paramount. While a comprehensive list is beyond the scope of this article, here are some common examples:
- Resistor: Often represented by a zigzag line.
- Capacitor: Two parallel lines.
- Ground: Typically three lines, decreasing in length, connected to a single point.
- Relay: A coil and a switch.
- Fuse: A squiggly line inside a rectangle.
- Diode: A triangle pointing to a line.
- Transistor: Similar to a diode, but with an additional terminal.
Colors, as mentioned earlier, are crucial for identifying wires. Red is almost always power, black is ground, and other colors indicate signal wires or control circuits. Always refer to the diagram's key for the specific color codes used.
Icons can represent anything from sensors and actuators to switches and lights. Familiarize yourself with the common symbols for your vehicle's specific systems.
Final Thoughts
Replacing a wiring harness is a complex and potentially expensive undertaking. Before you commit to a replacement, make sure you have properly diagnosed the problem and considered all your options. If you're not comfortable working with electrical systems, it's best to leave this job to a qualified mechanic. But, with the knowledge you've gained here, you'll be better equipped to understand the process and estimate the cost involved.
We have a sample wiring diagram available for download. Use it to practice identifying components and tracing circuits. Happy wrenching (safely!).