
How To Install A Trailer Wiring Harness
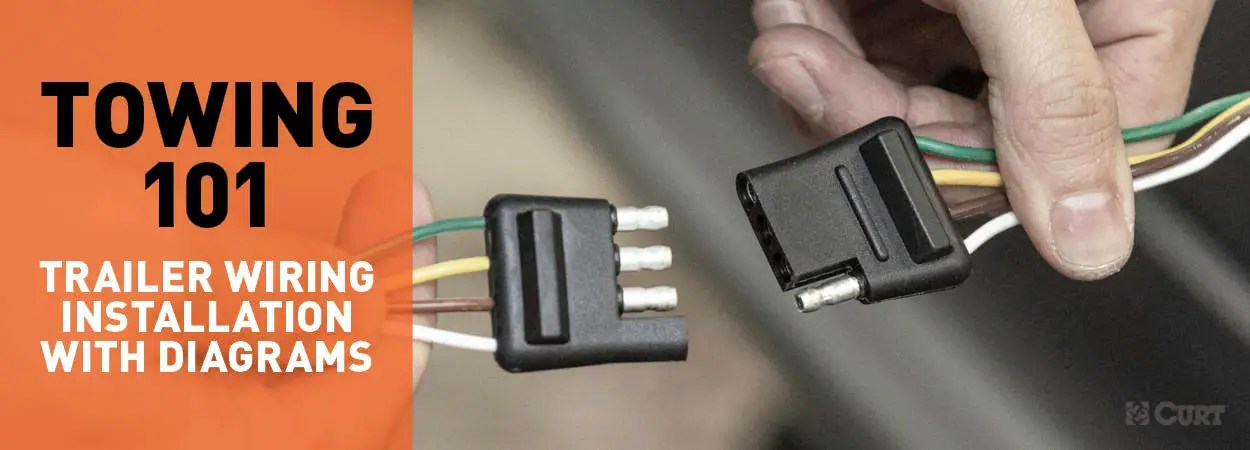
Installing a trailer wiring harness is a common upgrade for anyone who wants to tow a trailer, whether it's for hauling equipment, recreational vehicles, or just a small utility trailer. While it might seem daunting, with the right approach and understanding, it's a task that a reasonably experienced DIYer can tackle. This article will guide you through the process, focusing on understanding the wiring harness and providing troubleshooting tips.
Purpose
Understanding trailer wiring is crucial for several reasons:
- Towing Capability: Without a properly installed and functioning trailer wiring harness, you can't legally and safely operate trailer lights (brake lights, turn signals, and running lights).
- Repair and Maintenance: Knowing how the system works helps you diagnose and fix issues that may arise, saving you time and money.
- Customization: If you're modifying your vehicle or trailer, understanding the wiring allows for seamless integration of additional electrical components.
- Safety: Malfunctioning trailer lights are a safety hazard and can lead to accidents. Properly installed wiring ensures visibility and communication with other drivers.
Key Specs and Main Parts
A standard trailer wiring harness consists of several key components, each with a specific function:
- Vehicle-Side Connector: This connector plugs into your vehicle's existing wiring system. Common types include 4-way flat, 5-way flat, 6-way round, and 7-way round (also known as an RV blade connector). The 4-way flat is the most basic, handling ground, tail lights, left turn/brake, and right turn/brake signals. The 7-way connector adds functions like reverse lights, electric brakes, and auxiliary power.
- Trailer-Side Connector: This connector mirrors the vehicle-side connector and is mounted on the trailer.
- Wiring: Color-coded wires connect the vehicle-side and trailer-side connectors. The color coding is standardized, but it's always best to double-check.
- Converter (if needed): Some vehicles have separate turn signal and brake light circuits (e.g., vehicles with amber turn signals). A converter combines these signals into a single wire for the trailer.
- Fuse: A fuse protects the vehicle's electrical system from overloads caused by the trailer wiring.
- Ground Wire: Provides a return path for the electrical current and is crucial for proper operation.
The number of wires in the harness (4-way, 5-way, 7-way, etc.) dictates the functions supported. Always choose a harness that meets your trailer's needs.
Symbols and Wire Colors
Understanding the wiring diagram is essential. The following are common color codes and their typical functions, but always verify with your specific harness's documentation:
- White: Ground
- Brown: Tail Lights/Running Lights
- Yellow: Left Turn/Brake Light
- Green: Right Turn/Brake Light
- Blue: Electric Brakes (7-way only)
- Black: 12V Auxiliary Power (7-way only)
- Purple: Reverse Lights (7-way only)
Wiring diagrams typically use lines to represent wires and colors to identify their function. Connector symbols show the physical plug interface. Specific diagrams often have a legend explaining each symbol.
Note: Wire colors can vary slightly between manufacturers, so always refer to the harness's specific documentation.
How It Works
The trailer wiring harness essentially extends your vehicle's lighting circuits to the trailer. Here's a simplified explanation:
- When you activate your vehicle's lights (headlights, turn signals, brake lights), the electrical signals are sent through your vehicle's wiring system.
- The vehicle-side connector of the trailer wiring harness taps into these signals.
- The signals are then transmitted through the wires in the harness to the trailer-side connector.
- The trailer-side connector distributes the signals to the corresponding lights on the trailer.
- The ground wire provides a return path for the electrical current, completing the circuit.
If your vehicle has separate turn and brake light circuits, the converter combines these signals before sending them to the trailer.
Real-World Use and Basic Troubleshooting
Here are some common issues and how to troubleshoot them:
- No Lights: Check the ground connection. A poor ground is the most common cause of trailer light problems. Also, check the fuse. If it's blown, replace it with one of the same amperage.
- Dim Lights: This can be caused by a weak ground, corroded connections, or undersized wiring. Clean and tighten all connections.
- Flickering Lights: This is often due to loose connections. Inspect all connections and make sure they are secure.
- One Light Not Working: Check the bulb first. If the bulb is good, check the wiring and connections specifically for that light.
- Brake Lights Not Working (with electric brakes): Check the brake controller in your vehicle and the wiring to the trailer brakes. The blue wire is the key to electric brake function.
Use a multimeter to test for voltage at different points in the circuit. This will help you pinpoint the source of the problem.
Safety
Working with automotive electrical systems involves certain risks. Here are some key safety precautions:
- Disconnect the Battery: Always disconnect the negative terminal of your vehicle's battery before working on the electrical system. This prevents accidental shorts and electrical shocks.
- Use Proper Tools: Use insulated tools designed for automotive electrical work.
- Avoid Overloading Circuits: Never use a fuse with a higher amperage than specified. This can damage your vehicle's electrical system.
- Protect Wires: Protect exposed wires from abrasion and the elements. Use wire loom or electrical tape to insulate and protect the wiring.
- Be Careful with Reverse Polarity: Connecting the positive and negative wires in reverse can damage your vehicle's electrical system. Double-check all connections before powering up the system.
The most risky components are the vehicle's main electrical system and the battery. Always disconnect the battery before beginning work. Improper wiring can damage your vehicle's computer system or create a fire hazard.
This guide provides a general overview of trailer wiring. Always refer to the specific instructions for your vehicle and wiring harness. If you're not comfortable working with electrical systems, it's best to consult a qualified mechanic.
We have a detailed wiring diagram file that can further assist you with your trailer wiring harness installation. This diagram provides a visual representation of the wiring connections and can be downloaded for your reference.