
How To Install Trailer Wiring Harness
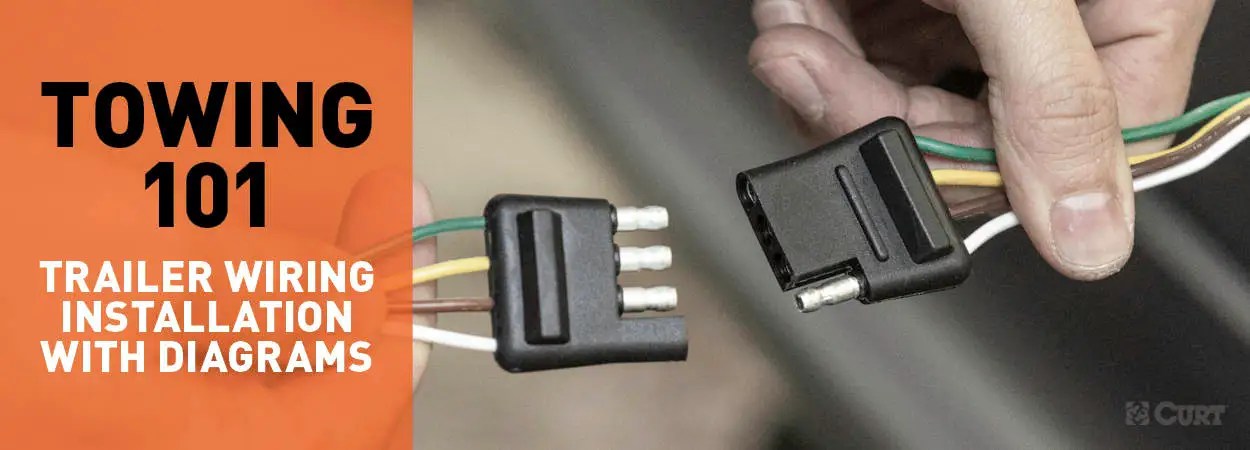
So, you’re ready to tackle installing a trailer wiring harness. Excellent! Towing opens up a whole new world of possibilities, from hauling gear for weekend adventures to tackling serious home improvement projects. But before you hit the road, you need a reliable electrical connection between your tow vehicle and the trailer. This article will walk you through the process, equipping you with the knowledge and confidence to do it right.
Why This Matters: Trailer Wiring Explained
Trailer wiring isn't just about getting your trailer lights to work; it's about safety and legality. Properly functioning lights – brake lights, turn signals, and running lights – are crucial for visibility and communication with other drivers. A faulty wiring harness can lead to fines, accidents, and a lot of frustration. Understanding how these systems work empowers you to maintain them properly and troubleshoot issues when they arise. It's not just about installing the harness; it's about ensuring your safety and the safety of others on the road.
Key Specs and Main Parts of a Trailer Wiring Harness
Before diving into the installation, let's break down the main components and specifications you'll encounter:
Wiring Connectors: The Interface
4-Pin Flat Connector: The most common type, providing connections for ground, running lights, left turn/brake, and right turn/brake. Typically used for small trailers without electric brakes.
5-Pin Flat Connector: Adds a wire for a surge brake lockout, commonly found on boat trailers.
6-Pin Round Connector: Often used for utility trailers or smaller campers and can include connections for electric brakes and auxiliary power.
7-Pin Round Connector (RV Blade Style): The standard for larger trailers and RVs, providing connections for ground, running lights, left turn/brake, right turn/brake, electric brakes, auxiliary power, and reverse lights.
Wiring Gauges and Color Codes
Wiring gauge (thickness) is critical. Using a wire that's too thin can lead to overheating and voltage drop, causing lights to dim or fail entirely. Refer to your trailer and vehicle's documentation for recommended wire gauges. Common color codes include:
White: Ground
Brown: Running Lights/Tail Lights
Yellow: Left Turn/Brake Lights
Green: Right Turn/Brake Lights
Blue: Electric Brake Controller (if applicable)
Red: Auxiliary Power (e.g., for charging trailer batteries)
Black: Typically Battery Power (to the trailer)
Main Harness Components
Vehicle-Side Connector: Connects to your vehicle's existing wiring, often through a factory-provided plug or by tapping into existing wires.
Trailer-Side Connector: Mounts on the trailer and connects to the trailer's wiring.
Wiring Harness: The bundle of wires connecting the two connectors.
Converter (if needed): Some vehicles have separate turn and brake lights. A converter combines these signals for trailers that use a combined turn/brake light circuit.
Fuse(s) and/or Circuit Breaker(s): Protect the wiring and electrical system from overloads.
Understanding the Symbols in a Trailer Wiring Diagram
A trailer wiring diagram is your roadmap. Here’s how to interpret the common symbols:
- Solid Lines: Represent wires. Thicker lines often indicate larger gauge wires.
- Dashed Lines: May represent optional connections or internal wiring within a component.
- Circles with a Cross: Indicate wire splices or connections.
- Ground Symbol (usually three horizontal lines decreasing in size): Represents a connection to the vehicle's chassis ground.
- Battery Symbol: Indicates a power source (e.g., the vehicle's battery).
- Lamp Symbol: Represents a light bulb (e.g., brake light, turn signal).
- Fuse Symbol: Represents a fuse.
- Connector Symbols: Depict the physical connector type (e.g., 4-pin flat, 7-pin round). The diagram will often show the pinout, indicating which wire connects to each pin.
Pay close attention to the color codes indicated on the diagram. These are essential for ensuring correct connections.
How Trailer Wiring Works: A Simplified Explanation
The basic principle is simple: when you activate a light on your vehicle (e.g., turn signal, brake light), the electrical signal is sent through the wiring harness to the corresponding light on the trailer. The ground wire provides a return path for the electrical current, completing the circuit. The electric brake wire is connected to the brake controller and sends an adjustable voltage to the electric brakes on the trailer, allowing for proportional braking. Auxiliary power can be used for charging trailer batteries, powering interior lights, or running other accessories.
Real-World Use: Basic Troubleshooting Tips
Even with careful installation, issues can arise. Here are some basic troubleshooting tips:
- No Lights: Check the vehicle-side connector, the trailer-side connector, and the ground connection. Ensure all connections are clean and tight. Also, check the fuses in both your vehicle and the trailer wiring harness.
- Dim Lights: Could indicate a poor ground connection, undersized wiring, or a corroded connector.
- Lights Not Working Correctly (e.g., turn signal activates brake light): Often caused by incorrect wiring or a faulty converter. Double-check the wiring against the diagram.
- Fuse Blowing Repeatedly: Indicates a short circuit. Inspect the wiring for damaged insulation or exposed wires.
A multimeter is your best friend for troubleshooting electrical issues. It allows you to check for voltage, continuity, and resistance, helping you pinpoint the problem. Remember to disconnect the battery before probing around the electrical system.
Safety Considerations: Handle with Care
Working with electrical systems involves risks. Here are some key safety precautions:
- Disconnect the Battery: Always disconnect the negative battery terminal before working on any electrical wiring. This prevents accidental shorts and potential electrical shocks.
- Use Proper Tools: Use insulated tools designed for electrical work.
- Avoid Working in Wet Conditions: Water is a conductor of electricity.
- Protect Wires: Use heat shrink tubing, electrical tape, or wire loom to protect exposed wires from damage and corrosion.
- Secure Wiring: Secure the wiring harness to the vehicle and trailer frame to prevent it from dangling and getting snagged on road debris.
- Be Mindful of the Electric Brake Controller: Incorrect wiring or a malfunctioning controller can lead to brake failure or erratic braking. Double-check your connections and test the brake controller before towing a trailer.
Fuses are your friends. Don’t bypass or use higher amperage fuses than recommended. They are there to protect the entire electrical system from overload and fire.
Remember, if you're uncomfortable working with electrical systems, it's best to consult a qualified mechanic. Your safety and the safety of others on the road are paramount.
By understanding the components, wiring, and safety precautions involved in trailer wiring installation, you're well on your way to a safe and enjoyable towing experience.