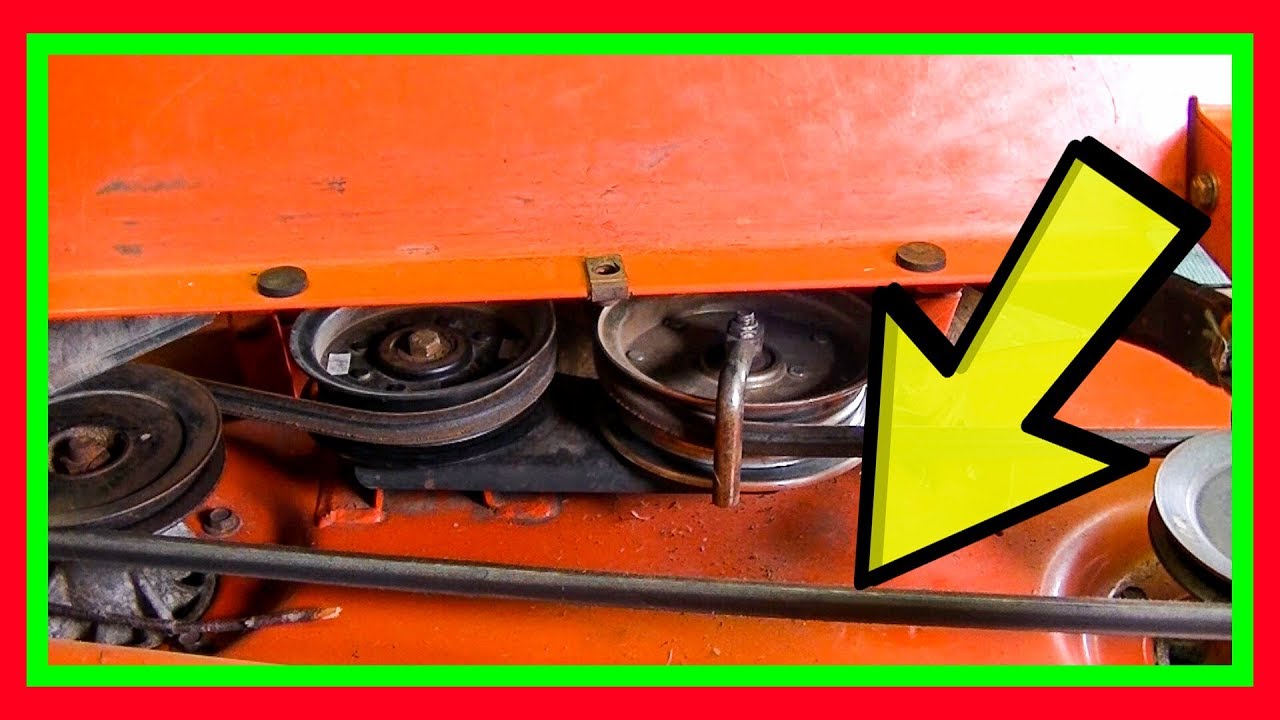
Husqvarna Belt Tensioner Spring Location Diagram
Alright, let's dive into the Husqvarna belt tensioner spring location diagram. This might seem like a niche topic, but understanding this diagram is crucial for anyone tackling repairs, maintenance, or even modifications on Husqvarna equipment, especially those involving the mower deck or drive system. We're going to break down the diagram piece by piece, so you can confidently troubleshoot and repair your machine.
Purpose of the Diagram
Why bother with a diagram? Simple. Accuracy and safety. When reassembling complex mechanisms like a belt tensioner, knowing the exact position of the spring is vital. Incorrect placement can lead to:
- Belt slippage: Reduces cutting efficiency or drive power.
- Premature wear: Increases stress on the belt and pulleys, leading to faster failure.
- System failure: Can cause significant damage to the engine or transmission.
- Safety hazards: A misaligned or improperly tensioned belt can fly off, potentially causing injury.
The diagram provides a visual guide to ensure the spring is installed correctly, maintaining proper belt tension and preventing these issues. It's especially useful when working on older models where service manuals might be scarce or when dealing with aftermarket or modified setups.
Key Specs and Main Parts (General Example – Refer to Your Specific Diagram)
Let's look at the core components you'll typically find represented in these diagrams. Keep in mind that specific parts and specs will vary depending on the Husqvarna model and the specific cutting deck or drive system you're working on. This is a general overview.
Main Parts Illustrated:
- Tensioner Spring: The key component! This provides the force that maintains belt tension. It's typically a coil spring, but sometimes torsion springs are used.
- Tensioner Arm: This lever pivots to apply or release tension on the belt.
- Tensioner Pulley: The pulley attached to the tensioner arm, which presses against the belt.
- Pivot Point/Bolt: The point where the tensioner arm rotates.
- Belt Guides/Keepers: Small metal pieces that prevent the belt from derailing.
- Mounting Brackets: The structure that supports the tensioner assembly on the mower deck or frame.
- Primary Drive Pulley: The pulley connected to the engine's crankshaft.
- Driven Pulley(s): Pulleys that power the blades or wheels.
Key Specs You Might Find (or Need to Know):
- Spring Free Length: The length of the spring when it's not under tension. Critical for comparing to replacement springs.
- Spring Rate (N/mm or lbs/in): How much force the spring exerts per unit of compression. Important for calculating the correct tension.
- Belt Size (Length and Width): The specific belt required for the application. Often found on the diagram or in the parts list.
- Torque Specs (for Mounting Bolts): Ensures proper fastening without overtightening.
Remember, these are examples. Your specific diagram will have its own set of parts and specs, so pay close attention to the details.
Symbols – Decoding the Diagram
Understanding the symbols used in the diagram is essential for accurate interpretation. While standards exist, manufacturers often use slightly different conventions. Here's a breakdown of common symbols:
- Solid Lines: Typically represent physical components like the tensioner arm, spring, or mounting brackets.
- Dashed Lines: Often indicate the belt path or hidden components behind other parts. Sometimes indicates the direction of movement.
- Arrows: Show the direction of rotation for pulleys or the direction of force applied by the spring.
- Circles/Dots: Indicate pivot points or bolt locations.
- Numbers/Labels: Identify specific parts or dimensions. These correspond to a parts list if available.
- Shading/Hatching: Can denote different materials or represent cutaway views to show internal details.
- Color Coding (if applicable): Some diagrams use color to differentiate between components or highlight specific features. Consult the diagram's legend if color is used.
Important: Always check for a legend or key on the diagram itself. This will clarify any manufacturer-specific symbols or conventions used.
How It Works: The Tensioner System
The belt tensioner system is designed to maintain constant tension on the drive belt, ensuring efficient power transfer. Here's how it works:
- The tensioner spring is pre-loaded, meaning it's already under a certain amount of compression or extension even when the system is at rest.
- This pre-load force is transferred to the tensioner arm.
- The tensioner arm pivots, pressing the tensioner pulley against the drive belt.
- This pressure keeps the belt taut, preventing slippage and allowing the engine to efficiently drive the blades (in a mower deck) or the wheels (in a drive system).
- As the belt stretches over time (due to wear and heat), the tensioner spring automatically adjusts to maintain constant tension.
The key is that the spring must be properly positioned and exerting force in the correct direction to achieve this constant tension. The diagram shows you exactly where that spring needs to be.
Real-World Use: Basic Troubleshooting Tips
Using the diagram, you can diagnose and fix common tensioner-related problems:
- Belt Slippage: If the belt is slipping, check the spring. Is it broken, weak, or dislodged? Compare its position to the diagram. Replace the spring if necessary. Also, check the belt for wear or damage.
- Belt Noise (Squealing): A squealing belt often indicates insufficient tension. Again, focus on the spring and its correct placement. Look for any obstructions preventing the tensioner arm from moving freely.
- Belt Coming Off Pulleys: This can be caused by a misaligned tensioner, a worn belt, or damaged pulleys. Use the diagram to ensure the tensioner arm is properly aligned and that the belt guides are in place. Check for bent or damaged pulleys.
- Tensioner Arm Not Moving Freely: Inspect the pivot point for corrosion or debris. Lubricate the pivot point if necessary. If the arm is seized, it may need to be disassembled and cleaned or replaced.
Remember: Always refer to your specific model's diagram and service manual for accurate troubleshooting information.
Safety – Handle With Care!
Working with tensioner springs can be hazardous if you're not careful. These springs store a significant amount of energy, and if released unexpectedly, they can cause serious injury. Wear safety glasses at all times.
- Spring Compression/Extension: When removing or installing a spring, use appropriate tools to control its compression or extension. Avoid using pliers that might slip. Spring compressors are ideal.
- Sharp Edges: Mower decks and tensioner assemblies often have sharp edges. Wear gloves to protect your hands.
- Engine Off: Always ensure the engine is off and the spark plug is disconnected before working on the tensioner system.
Always prioritize safety when working on mechanical equipment. If you're not comfortable with a particular task, consult a qualified mechanic.
By understanding the Husqvarna belt tensioner spring location diagram, you're better equipped to maintain and repair your equipment. Remember to always consult the specific diagram for your model and prioritize safety. Happy wrenching!
We have a comprehensive collection of Husqvarna diagrams on file. Contact us if you need a specific diagram for your model. We are here to help you.