
Installing Wiring Harness For Trailer
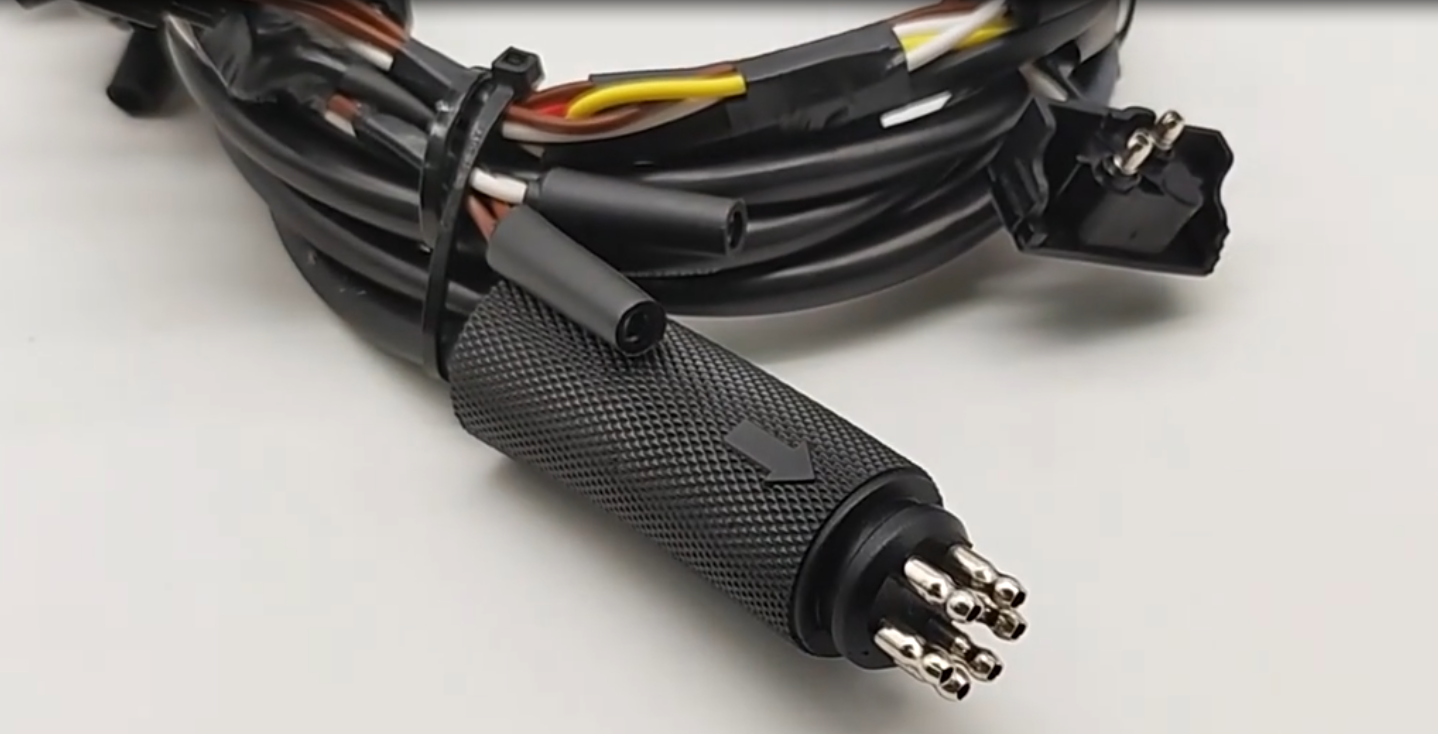
So, you're ready to wire up your trailer. Great! Towing opens up a world of possibilities, from weekend camping trips to hauling equipment for that big project. This article is your guide to understanding and installing a trailer wiring harness. We'll cover everything from the basics to troubleshooting, all while keeping safety paramount. Consider this your comprehensive reference as you tackle this rewarding DIY project.
Purpose of Understanding Your Trailer Wiring Harness
Why bother diving into the intricacies of trailer wiring? Several good reasons: Repair, Maintenance, and Upgrades. Knowing how your wiring harness functions allows you to diagnose and fix problems yourself, saving you money on mechanic fees. You'll also be able to perform preventative maintenance, keeping your lights bright and your brakes functioning correctly. Finally, understanding the system empowers you to upgrade your trailer with additional features like backup lights or electric brakes.
Key Specs and Main Parts of a Trailer Wiring Harness
Let's break down the components of a typical trailer wiring harness. The most common types are 4-way flat, 5-way flat, 6-way round, and 7-way round connectors. The 'way' refers to the number of conductors (wires) providing different functions. For most light-duty trailers, a 4-way flat connector will suffice. However, if your trailer has electric brakes or auxiliary functions like a 12V power supply, you'll need a 7-way connector.
Main Parts:
- Vehicle-Side Connector: This plugs into the wiring interface on your tow vehicle, often a pre-wired socket or needing splicing into existing lighting circuits.
- Trailer-Side Connector: This mates with the vehicle-side connector and resides on the trailer tongue.
- Wiring Harness: The bundle of wires connecting the two connectors, transmitting electrical signals for lighting and braking. Wire gauge (thickness) is crucial; use the correct gauge to handle the amperage draw of your lights and brakes.
- Ground Wire: Usually a white wire, it's essential for completing the electrical circuit. A poor ground is the #1 cause of trailer wiring problems.
- Fuses and Relays (for 7-way): Protect the vehicle's electrical system from overload and manage higher current demands, especially for electric brakes.
Decoding Trailer Wiring Harness Symbols and Color Codes
Understanding the color codes and symbols used in trailer wiring diagrams is critical. While standards exist, always double-check with the specific diagram for your vehicle and harness. Here's a general guide:
- Lines: Solid lines represent wires. Dashed lines may indicate optional or auxiliary circuits. Thicker lines generally indicate wires carrying higher current.
- Colors:
- White: Ground
- Brown: Tail Lights/Running Lights
- Yellow: Left Turn Signal/Left Brake Light
- Green: Right Turn Signal/Right Brake Light
- Blue: Electric Brake Controller Output (7-way only)
- Red: Auxiliary Power (12V+) (7-way only)
- Black: Battery Charge Line (7-way only) - Charges trailer battery.
- Icons: Diagrams often use symbols for lights (circles with an "X" inside), fuses (a zigzag line inside a rectangle), relays (a square with diagonal lines), and ground connections (a series of downward pointing lines).
Important Note: Color codes can vary slightly between manufacturers. Always refer to the wiring diagram included with your harness.
How a Trailer Wiring Harness Works
The trailer wiring harness essentially extends the vehicle's lighting and braking circuits to the trailer. When you activate your turn signals or brake pedal, the vehicle's electrical system sends a signal through the appropriate wire in the harness to the corresponding light on the trailer. The ground wire completes the circuit, allowing the current to flow back to the vehicle's battery.
For trailers with electric brakes, the brake controller in the vehicle sends a variable voltage signal to the trailer's electric brake magnets. The strength of the signal determines the braking force applied to the trailer wheels. This requires a dedicated wire (usually blue) and a compatible brake controller.
Real-World Use: Basic Troubleshooting Tips
Troubleshooting trailer wiring issues doesn't require advanced tools. Here are a few common problems and how to address them:
- No Lights: Check the vehicle-side and trailer-side connectors for corrosion or damage. Clean the contacts with electrical contact cleaner. Ensure the ground wire is securely attached to both the vehicle and trailer frame. Use a multimeter to check for voltage at the connector pins when the corresponding lights are activated. Start with the ground connection, most often the culprit.
- Dim Lights: Often caused by a poor ground connection or corroded wiring. Check the ground connection first. Replace any corroded wiring.
- Blown Fuses: Indicates a short circuit or an overload. Identify and repair the short before replacing the fuse. If the fuse continues to blow, you may have too much load on the circuit (too many lights or a high-amperage device).
- Erratic Brake Operation (Electric Brakes): Check the brake controller settings. Inspect the wiring to the brake magnets for damage or corrosion. Verify the ground connection for the brake magnets.
Using a test light or a multimeter can be invaluable for diagnosing electrical problems. A test light will indicate whether a circuit is receiving power, while a multimeter can measure voltage, current, and resistance, providing more detailed information.
Safety Precautions When Installing a Wiring Harness
Working with automotive electrical systems can be dangerous if proper precautions aren't taken. Here are some essential safety tips:
- Disconnect the Battery: Always disconnect the negative battery terminal before working on any electrical system to prevent accidental shorts and shocks.
- Wear Safety Glasses: Protect your eyes from sparks and debris.
- Use Proper Tools: Use insulated tools designed for electrical work.
- Avoid Working in Wet Conditions: Water conducts electricity, increasing the risk of shock.
- Proper Wire Gauge: Using too small of wire can cause a fire.
- Fuses are there for a Reason: Never bypass a fuse.
- Check the Brake Controller: If installing electric brakes, verify the brake controller is compatible with your trailer's brakes and is properly configured. An incorrectly setup controller can cause over-braking or under-braking, leading to accidents.
High-Risk Components: The electric brake circuit (if equipped) and the auxiliary power circuit (if equipped) carry higher current and require careful attention to wiring and fusing. An improperly wired electric brake circuit can lead to brake failure, and an overloaded auxiliary power circuit can cause a fire.
Installing a trailer wiring harness is a manageable DIY project with the right knowledge and tools. By understanding the components, wiring diagrams, and troubleshooting techniques, you can confidently wire your trailer and enjoy the benefits of safe and reliable towing.