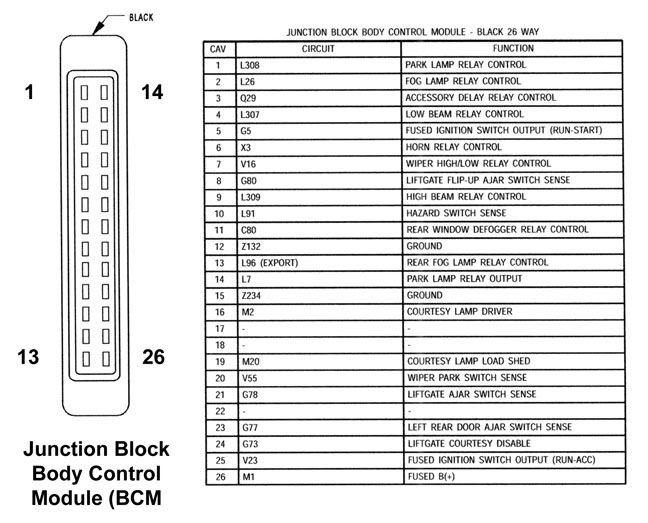
Interior Fuse Panel 1999 Jeep Grand Cherokee Fuse Box Diagram
The interior fuse panel of a 1999 Jeep Grand Cherokee is a crucial component for managing and protecting the vehicle's electrical circuits. This panel, often located inside the cabin, houses fuses and relays that safeguard various systems from overcurrent conditions. Understanding its diagram is essential for effective troubleshooting, repair, and even custom modifications. This guide will provide an in-depth look at the 1999 Jeep Grand Cherokee interior fuse panel diagram, helping you navigate its complexities and confidently tackle electrical issues.
Purpose of the Fuse Panel Diagram
Why bother with a fuse box diagram? Several reasons make understanding this diagram indispensable:
- Troubleshooting Electrical Problems: The most common use is identifying a blown fuse. Without the diagram, you're guessing which fuse controls which system. The diagram allows you to pinpoint the faulty circuit quickly and efficiently.
- Performing Repairs: When replacing components or tracing wiring issues, the diagram reveals the fuse associated with that system, enabling you to isolate the circuit and prevent further damage.
- Custom Modifications: Adding aftermarket accessories like lights, stereos, or alarms requires tapping into the vehicle's electrical system. The diagram helps you identify suitable power sources and ensure proper fuse protection for the new circuits.
- Preventative Maintenance: Periodically checking the fuse panel and comparing it to the diagram can help identify potential issues before they escalate into major problems. For example, repeatedly blown fuses on a specific circuit suggests an underlying issue like a short circuit.
- Learning about Vehicle Electrical Systems: Studying the fuse panel diagram provides insight into how the vehicle's electrical system is organized and how different components are interconnected.
Key Specs and Main Parts
The 1999 Jeep Grand Cherokee's interior fuse panel typically houses a mix of fuses and relays. The fuses protect individual circuits, while the relays act as electrically controlled switches that allow low-current circuits to control higher-current circuits.
- Fuses: These are sacrificial devices designed to interrupt a circuit when the current exceeds a safe level. They come in various amperage ratings, typically indicated on the fuse itself. Common types include blade fuses (also known as spade fuses) and occasionally cartridge fuses.
- Relays: These electromagnetic switches control higher-current circuits with a lower-current control signal. They are commonly used to power accessories like headlights, power windows, and the horn.
- Fuse Panel Housing: This is the physical enclosure that holds the fuses and relays. It usually includes a cover that displays a basic fuse layout diagram.
- Bus Bars: These are conductive strips within the fuse panel that distribute power to the fuses and relays.
- Connectors: These provide electrical connections to the fuse panel from the vehicle's wiring harness.
Knowing the physical location of these elements is essential to navigating the fuse panel.
Understanding Symbols in the Diagram
Fuse box diagrams employ symbols to represent different components and circuits. Here's a breakdown of common symbols and their meanings:
- Lines: Lines represent wiring. Thicker lines often indicate higher current carrying capacity. Dashed lines may indicate a shielded or grounded wire.
- Fuse Symbol: This is typically a zig-zag line or a rectangle with a line through it. The diagram will indicate the amperage rating of each fuse.
- Relay Symbol: Usually a rectangle with two sets of lines indicating the coil and the switch contacts.
- Ground Symbol: Often depicted as a series of horizontal lines decreasing in length, representing a connection to the vehicle's chassis ground.
- Component Icons: Simplified icons representing the system controlled by the fuse or relay. Examples include headlights, windshield wipers, power windows, etc. These icons are usually self-explanatory but may require referencing a legend for less common symbols.
- Color Coding: Some diagrams use color coding to differentiate circuits. For example, red might indicate a constant 12V power supply, while yellow might indicate an ignition-switched power supply.
The legend that accompanies the diagram is your key to understanding any unfamiliar symbols. Always consult the legend before making assumptions about a circuit's function.
How It Works: A Simplified Explanation
The fuse panel acts as a central distribution point for electrical power. Power from the battery is routed through the ignition switch and other control modules before reaching the fuse panel. Each circuit is protected by a fuse of the appropriate amperage rating. If a fault occurs, such as a short circuit, the excessive current flowing through the fuse will cause the fuse element to melt, interrupting the circuit and preventing damage to the wiring and components.
Relays operate as follows: a small current applied to the relay coil creates an electromagnetic field that pulls the switch contacts together, completing a higher-current circuit. This allows a low-current signal from a switch or control module to control a high-current device like a fuel pump or starter motor.
Think of the fuse as a thin point in the circuit, and the relay as an electronically-controlled gate.
Real-World Use: Basic Troubleshooting Tips
Here are some basic troubleshooting tips using the fuse panel diagram:
- Identify the Symptom: Determine which system is malfunctioning. For example, the power windows aren't working.
- Locate the Fuse: Consult the fuse panel diagram to find the fuse associated with the power windows.
- Inspect the Fuse: Visually inspect the fuse for a broken filament. You can also use a multimeter to check for continuity across the fuse.
- Replace the Fuse: If the fuse is blown, replace it with a fuse of the same amperage rating. Never use a fuse with a higher rating, as this can damage the wiring and components.
- Test the System: After replacing the fuse, test the system to see if it is working correctly.
- If the Fuse Blows Again: If the fuse blows again immediately, there is likely a short circuit in the wiring or a faulty component. Further investigation is required to locate and repair the fault. This may involve tracing the wiring, checking for damaged insulation, or testing the components connected to the circuit.
Safety Precautions
Working with automotive electrical systems can be hazardous. Here are some safety precautions to follow:
- Disconnect the Battery: Before working on the fuse panel or any electrical component, disconnect the negative battery cable to prevent accidental short circuits.
- Use Insulated Tools: Use insulated tools to avoid electrical shock.
- Never Replace a Fuse with a Higher Amperage Rating: This can overload the circuit and cause a fire.
- Be Careful around the Airbag System: The airbag system is a high-risk area. Consult the vehicle's service manual before working near any airbag components. Incorrect handling can cause accidental deployment.
- If unsure, seek professional help: If you are not comfortable working with electrical systems, consult a qualified mechanic.
The airbag system, in particular, deserves special attention. Fuses related to the Supplemental Restraint System (SRS) are critical for safety. Tampering with these circuits without proper knowledge and precautions can result in serious injury or death.
Remember also to always consult the vehicle's service manual for specific instructions and warnings related to the electrical system.
We have a downloadable PDF version of the 1999 Jeep Grand Cherokee Interior Fuse Panel Diagram available. This resource provides a detailed visual representation of the fuse panel layout, including fuse locations, amperage ratings, and circuit descriptions. You can download the diagram for easy reference during troubleshooting and repairs.