
Jeep Cherokee Wiring Harness Replacement
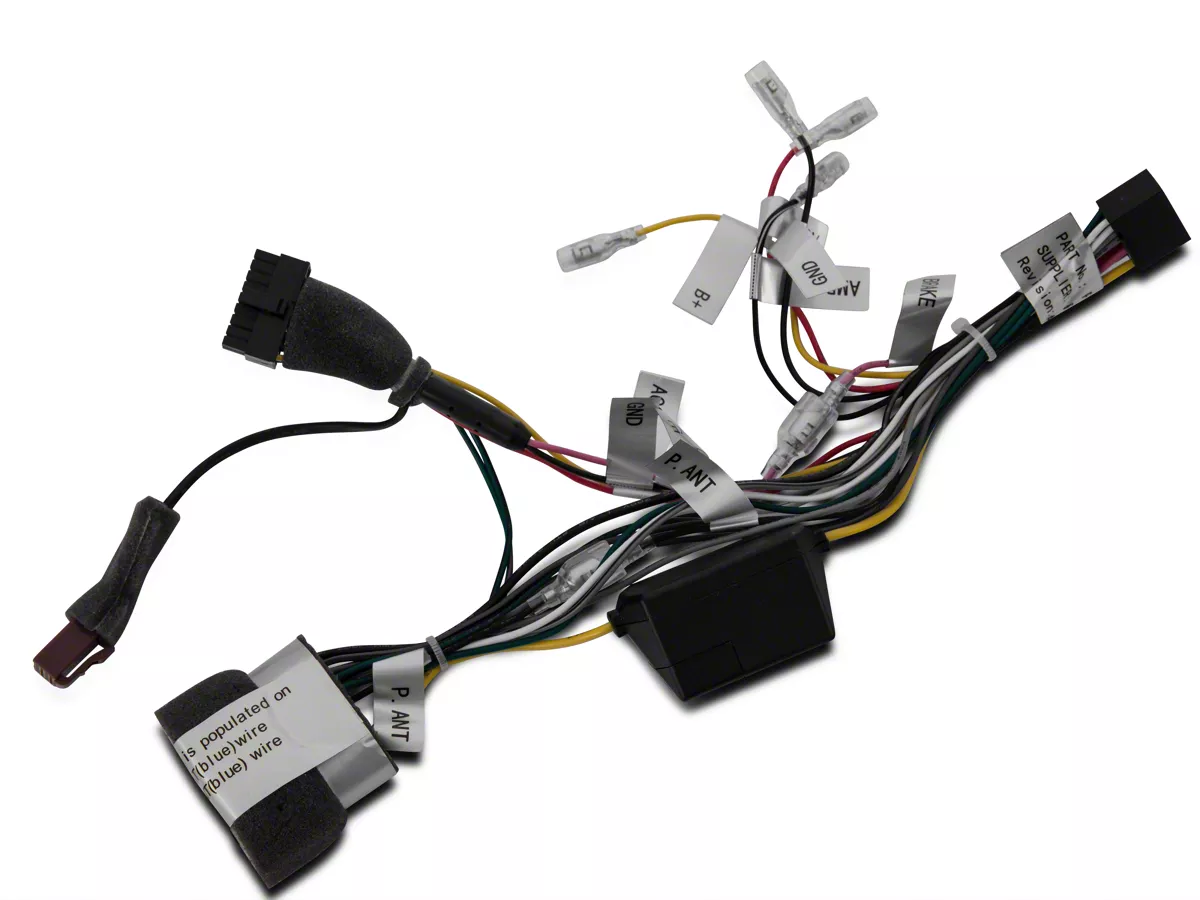
Replacing a wiring harness in your Jeep Cherokee (XJ, particularly) can seem like a daunting task. It's definitely a job that requires patience, careful planning, and a solid understanding of electrical systems. This article will walk you through the key aspects of a Cherokee wiring harness replacement, focusing on how to interpret wiring diagrams, identify components, and approach the task safely and effectively. We'll assume you're already comfortable with basic automotive tools and procedures.
Purpose of Understanding Wiring Diagrams
Why bother with a wiring diagram? Simple: Wiring diagrams are the roadmaps of your vehicle's electrical system. Whether you're troubleshooting a persistent electrical problem, performing modifications like installing aftermarket lights or stereos, or undertaking a full harness replacement, understanding these diagrams is absolutely essential. They allow you to:
- Diagnose Faults Accurately: Pinpoint the exact location of shorts, opens, or other electrical issues.
- Perform Repairs Safely: Avoid damaging components or causing further problems by connecting wires incorrectly.
- Customize Your Vehicle: Integrate aftermarket accessories seamlessly and correctly.
- Understand System Operation: Gain a deeper understanding of how different electrical systems interact within your Cherokee.
- Avoid Costly Mistakes: Prevent accidental damage and the need for expensive professional repairs.
Key Specs and Main Parts of a Cherokee Wiring Harness
Before diving in, let's familiarize ourselves with the key specifications and components you'll typically encounter:
Specs
- Voltage: The Cherokee electrical system is primarily 12V DC (Direct Current).
- Gauge (AWG): Wire thickness is specified in American Wire Gauge (AWG). Lower numbers indicate thicker wires, which can handle higher current. Common gauges in a Cherokee include 18 AWG (for low-current signals), 16 AWG (for lights), 14 AWG (for some circuits), 12 AWG and 10 AWG (for higher current applications like power windows and door locks), and larger gauges (8 AWG, 6 AWG, etc.) for the main power feeds from the battery.
- Fuse Ratings: Fuses protect circuits from overcurrent. Knowing the correct fuse rating for each circuit is crucial. Refer to your owner's manual or a reliable wiring diagram for these values.
Main Harness Sections
The Cherokee wiring harness isn't a single entity but rather a collection of interconnected harnesses. Major sections include:
- Engine Harness: Controls the engine's sensors (crankshaft position sensor, MAP sensor, etc.), actuators (fuel injectors, ignition coil, etc.), and starting/charging system.
- Dash Harness: Connects the instrument cluster, switches, climate control, and other interior components.
- Body Harness: Manages lights (headlights, taillights, turn signals), door locks, power windows, and other body-related functions.
- Lighting Harness: Could be a section of the body harness or a separate harness, specifically for the lighting systems
Connectors are crucial parts of the harness. They allow for easy disconnection and reconnection of different components. Look for connector pinouts in the wiring diagram – these show which wire goes to which pin on the connector.
Understanding Wiring Diagram Symbols
Wiring diagrams use a standardized set of symbols to represent electrical components and connections. Here's a breakdown of common symbols:
- Lines: Solid lines represent wires. Dashed lines may represent shielded cables or connections within a component.
- Wire Colors: Wires are identified by color codes (e.g., "RD/BK" for Red with Black stripe). These colors are essential for tracing wires and ensuring correct connections.
- Ground Symbol: Represents the connection to the vehicle's chassis, providing a return path for current.
- Resistors: A zig-zag line.
- Capacitors: Two parallel lines.
- Diodes: A triangle pointing to a line. The direction indicates the direction of current flow.
- Switches: Represented by a break in the line with a lever or button.
- Relays: Show the coil and the switched contacts. Often displayed in the diagram as they are when the relay is not powered.
- Fuses: Represented by a small line with a break in the middle.
- Connectors: Shown as circles or rectangles, often with numbers indicating pin assignments.
Pay close attention to the "legending" on the wiring diagram. This legend explains what each symbol represents and provides a key to the wire color codes.
How the Wiring Harness Works
The wiring harness acts as the central nervous system of your Cherokee's electrical system. It distributes power from the battery to various components and provides pathways for signals between sensors, controllers, and actuators.
Here’s the basic flow:
- Power Source: The battery provides the initial power.
- Distribution: The power is distributed through the harness, typically via a fuse box or power distribution center (PDC).
- Control: Switches, relays, and electronic control units (ECUs) regulate the flow of power to different components.
- Ground: The circuit is completed when the current returns to the battery through a ground connection.
Understanding this flow is essential for troubleshooting. If a component isn't working, you need to trace the power path from the battery, through the fuse, switch, relay (if applicable), and finally to the component itself, checking for voltage at each point. A break in this path will prevent the component from operating.
Real-World Use: Basic Troubleshooting Tips
Let's say your headlights aren't working. Here's how you might use a wiring diagram to troubleshoot the problem:
- Consult the Diagram: Locate the headlight circuit in the wiring diagram. Identify the fuse, switch, relay (if used), and wiring to the headlights.
- Check the Fuse: Verify that the headlight fuse is intact. If it's blown, replace it with the correct amperage fuse. If it blows again immediately, there's likely a short circuit in the wiring.
- Test the Switch: Use a multimeter to check if the headlight switch is providing power when turned on.
- Inspect the Wiring: Visually inspect the wiring harness for any signs of damage, such as frayed wires, corroded connectors, or rodent damage.
- Check the Grounds: Ensure that the headlight grounds are clean and secure. A poor ground can cause all sorts of electrical problems.
Continuity testing is another crucial troubleshooting technique. Use a multimeter to check for continuity between two points in a circuit. If there's no continuity, there's a break in the wire.
Safety Considerations
Working with automotive electrical systems can be dangerous. Here are some essential safety precautions:
- Disconnect the Battery: Always disconnect the negative battery terminal before working on the electrical system. This prevents accidental shorts and potential electrocution.
- Work in a Well-Ventilated Area: Some electrical components can release fumes when overheated.
- Use Appropriate Tools: Use insulated tools to prevent shorts.
- Protect Yourself: Wear safety glasses and gloves.
- Capacitors: Be aware that capacitors can store a charge even after the battery is disconnected. Discharge capacitors before handling them to avoid electrical shock.
- Airbag System: If you're working near the airbag system, consult the service manual for proper deactivation procedures. Mishandling airbags can result in serious injury.
Specifically, avoid cutting or splicing into wires indiscriminately. Always consult the wiring diagram to ensure you're making the correct connections. Improper wiring can damage components, create fire hazards, or disable critical safety systems.
Replacing an entire wiring harness is a significant undertaking. It's often necessary when dealing with extensive damage from fire, floods, or severe rodent infestations. When replacing a harness, take photos of the original routing and connections to ensure you reinstall the new harness correctly.
Take your time and do the job correctly. This will save you headaches and potentially dangerous mistakes down the road.